How to complete the Suthorn Ruins Dungeon and find every chest.
This dungeon is actually part of the biggerThe Mysterious Rifts quest.
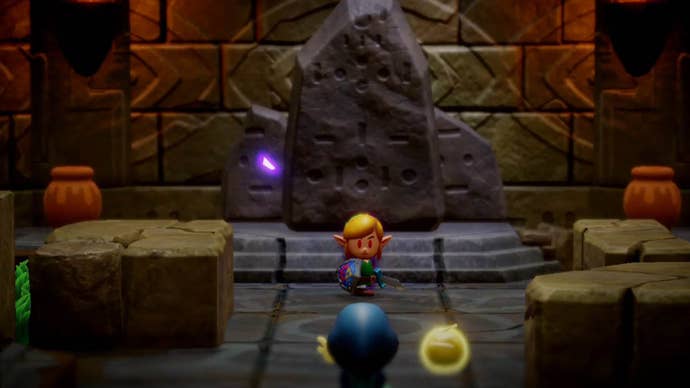
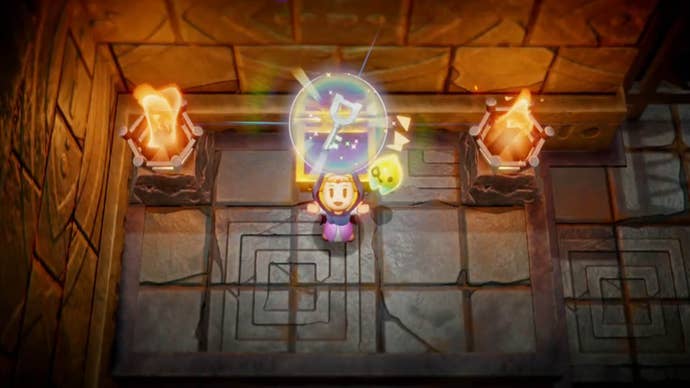
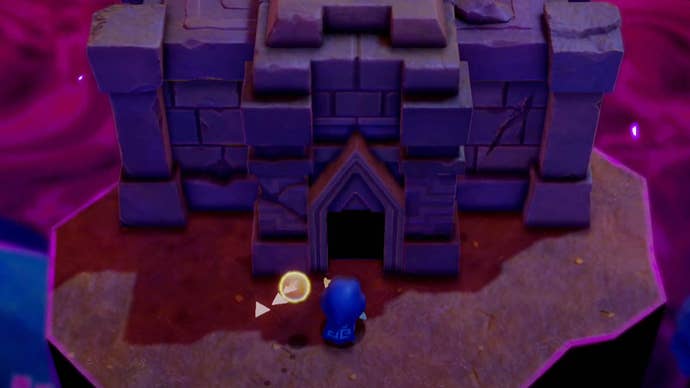
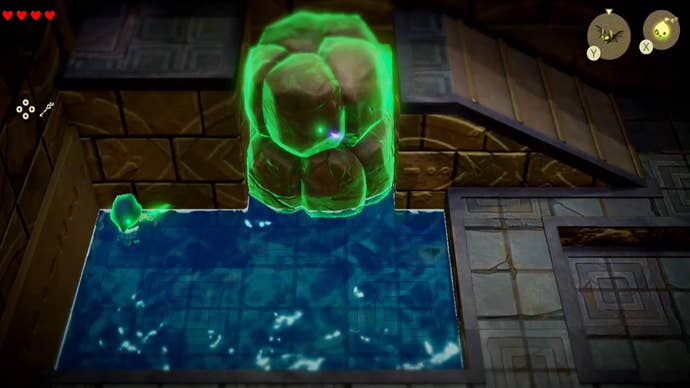
You’ll now learn the ‘Bind’ ability.
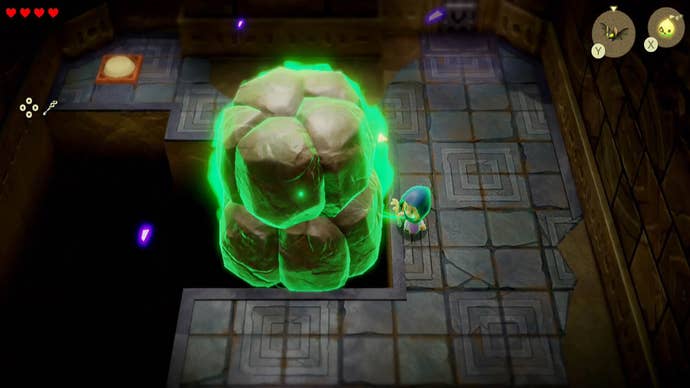
When you’re ready to let go of the boulder, press ‘ZR’ to release it.
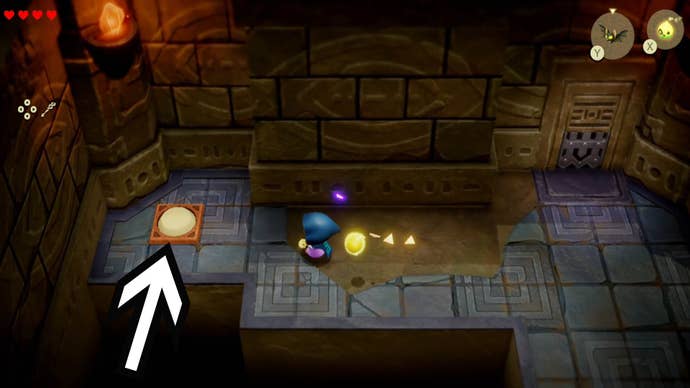
Stand on this and the gate to the next room will open.
Head on through the gate and you’ll be in the second room.
This will reveal a ladder - but don’t go down it just yet!
Now go up the ramp and across the path you’ve just made into the room to the left.
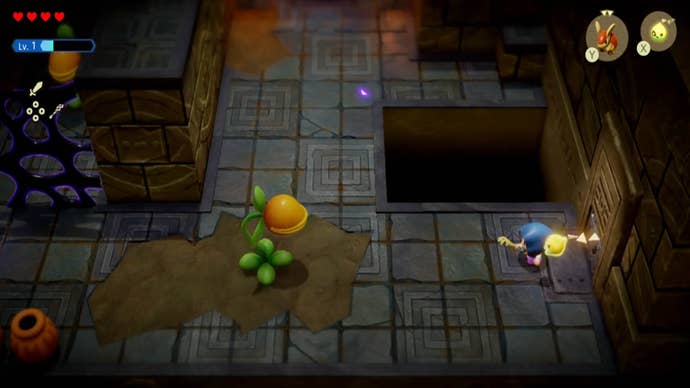
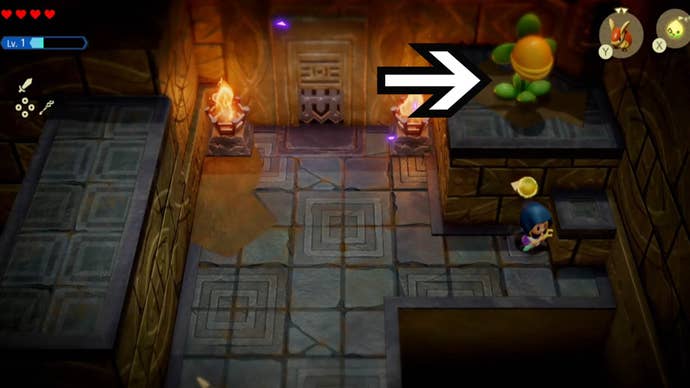
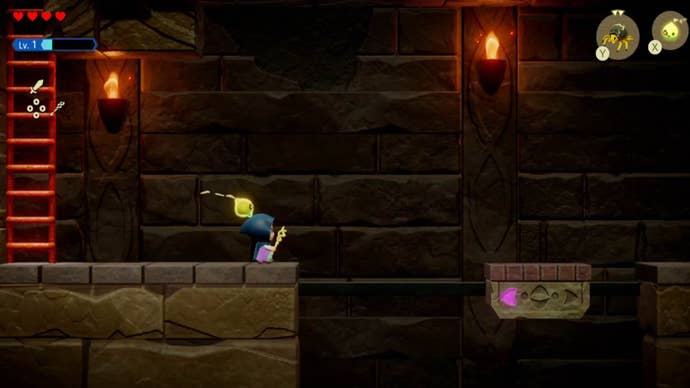
In here you’ll see a chest half buried in sand.
Climb this string to the next platform and collect the chest for theDungeon Map!
Worth the effort there.
When it’s open you could toggle the view using the left and right arrows on the directional pad.
Once here, climb the ladder.
You know what to do, climb the string then hop off to the platform on the left.
Exit the elevator and continue to head north past the fallen pillar and up the stairs here.
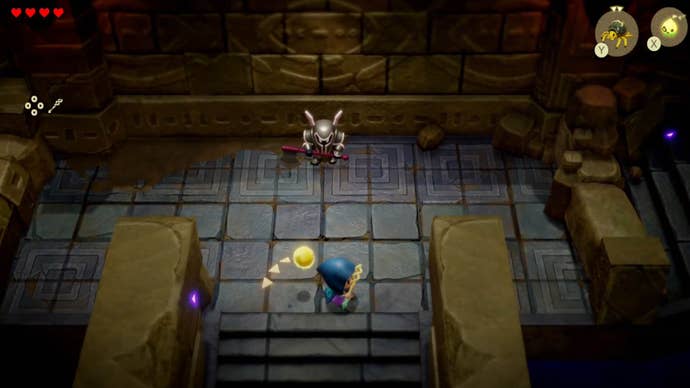
At the top of the stairs is a Darknut enemy - we used an Ignizol to defeat them.
They’ll drop Rupees when defeated and you’ll learn the Darknut Echo.
We used a table.

In the next area, follow the path to the right and drop down.
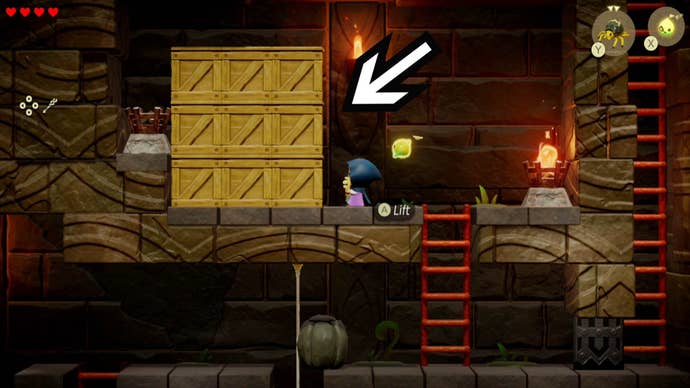
Continue to the right past the wooden box until you hit a wall.
Here, use your Strandtula to create a string and climb it all the way to the top.

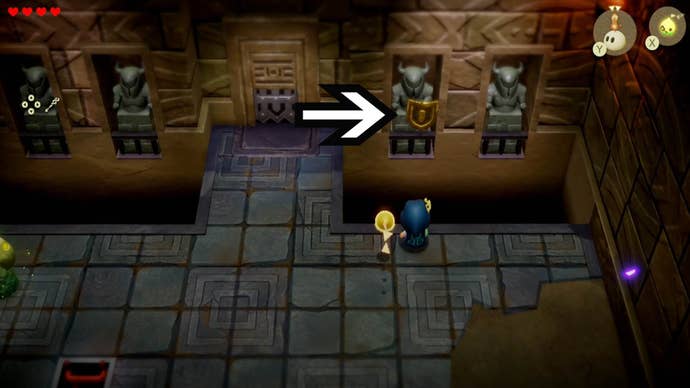
In this room head to the right and look at the statues on the wall.
There are a few Keese flying around and two Darknuts in here so be careful.
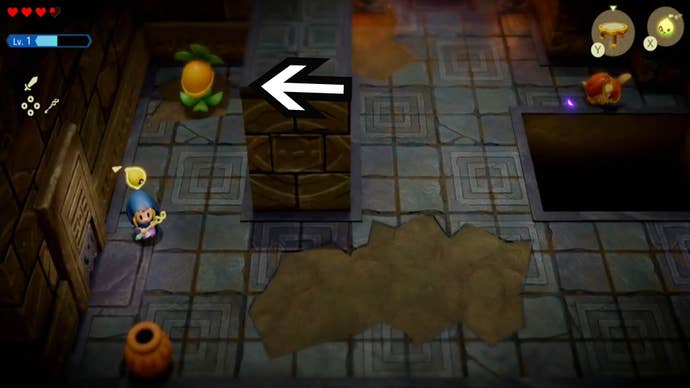
In this room, head straight to the left and you’ll come face to face with a wall.

Now bring up the chest to obtain50 Rupees.
Continue up the large staircase into the next area.
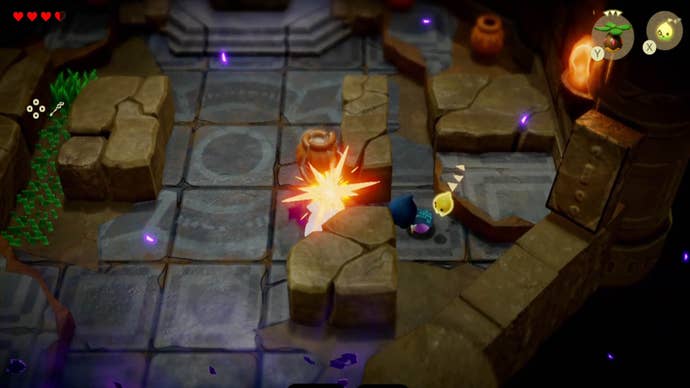
Rinse and repeat with all the jars in the room.

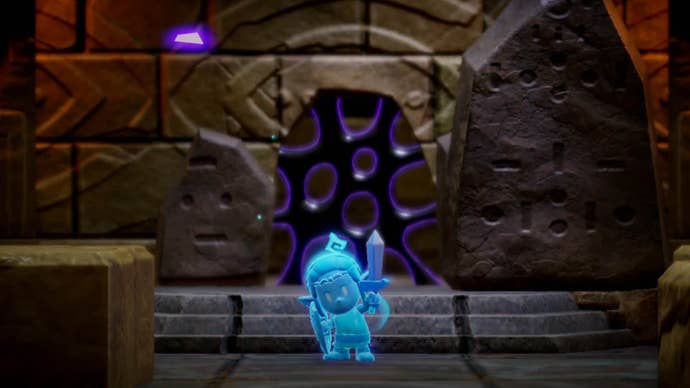
There’s goo blocking the doorway but, luckily, the sword is the answer.
Press up on your directional pad to transform into a ghostlike Link - also known as Swordfighter Form.
you’re able to also defend yourself with the shield by using ‘ZL’.

Go past the goo-covered door to collect some energy and then head down the ladder here.
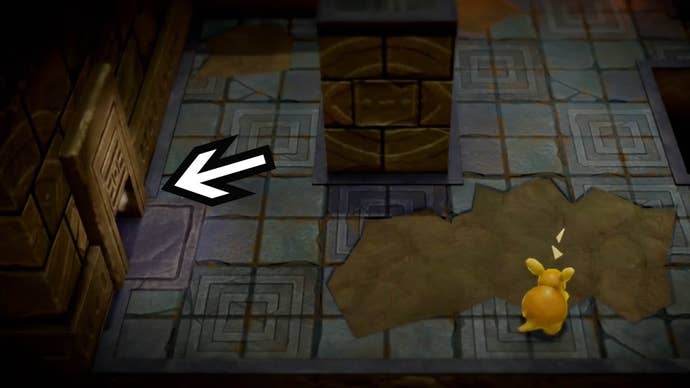
Once at ground level head to your right and you’ll find a rock blocking your path here.
In the next room will be some energy floating around, walk into this to collect it.

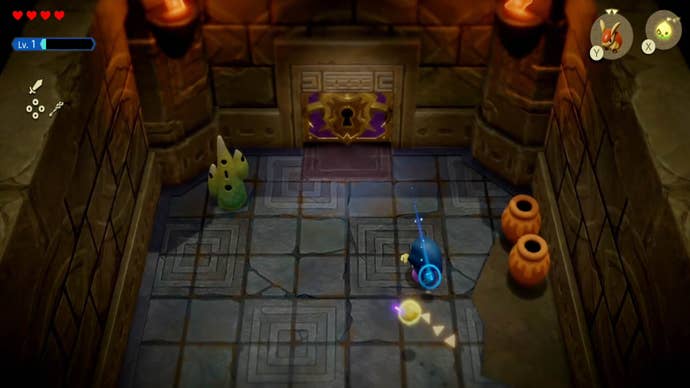
Next to the waypoint is a purple locked doorway - we’ll come back to this later.
For now, head back to the entrance to this area and through the open door on the left.
We entered Swordfighter Form to quickly defeat this one and it will drop some Rupees.

The other is sitting behind a goo wall on the left side of this space.
It will drop Rupees when it falls.
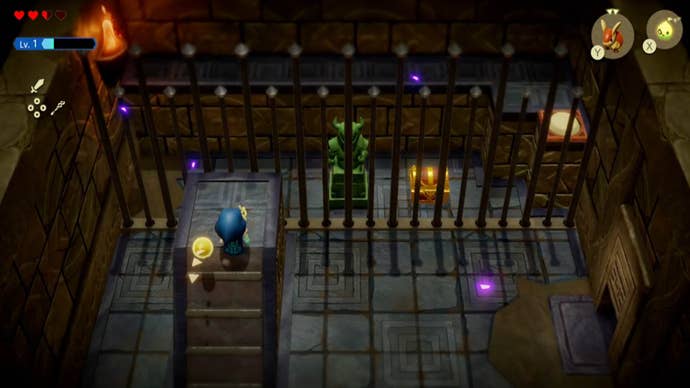
In here you’ll find that a chest is locked behind some very sturdy-looking bars.

In doing so, the statue you’re holding on to should hover over the tall back platform.
you might now collect the chest here for50 Rupees.
In this area you’ll see a Deku Baba behind a grated wall and two torches to your left.
When you’re able to’t pull any more, let go of it and it will be defeated.
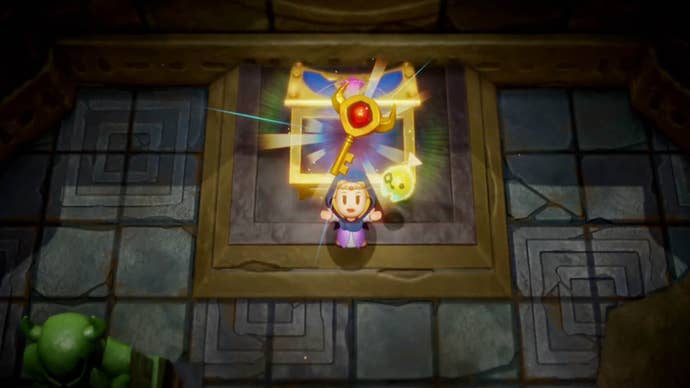
Open it to collect aSmall Key.
Press ‘A’ to kick off the door here and head into the next area.

In here, you’ll find another puzzle awaits you.
you’re free to now head down the ladder.
Then, follow the path to the right into the next part of this area.

When you’re safely on the next platform to your right, let go of the moving one.
While you’re on it, look above you and you’ll find another moving platform is here.
Open this chest to collect20 Rupees.

Now, climb up the ladder on the right and onto the platform to your left.
Drop off here carefully, then continue up the very tall ladder on the left side of this space.
In the next room you’ll be faced with yet more bars blocking a very shiny-looking chest.
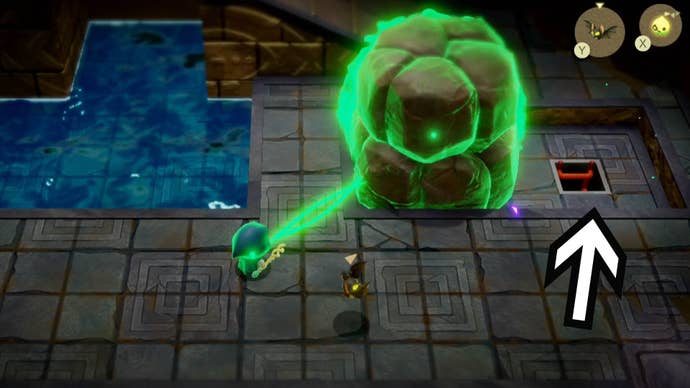
Behind the bars is also a statue and a switch - yes this again.
you should probably use ‘Bind’ to move the statue onto the switch.
Head to the purple door and interact with it with ‘A’ to open it up.
It’s now time tobeat Seismic Talus- the Suthorn Dungeon boss.
Once you’ve beaten Seismic Talus you’ll have completed the Suthorn Ruins Dungeon!
That’s all for now!