How to complete the Faron Temple, including all puzzle solutions and chest locations.
Faron Temple in Zelda: Echoes of Wisdomis part of the Stilled Faron Wetlands rift.
Also, there are enemies everywhere so we recommend making somesmoothie recipesbefore you enter.

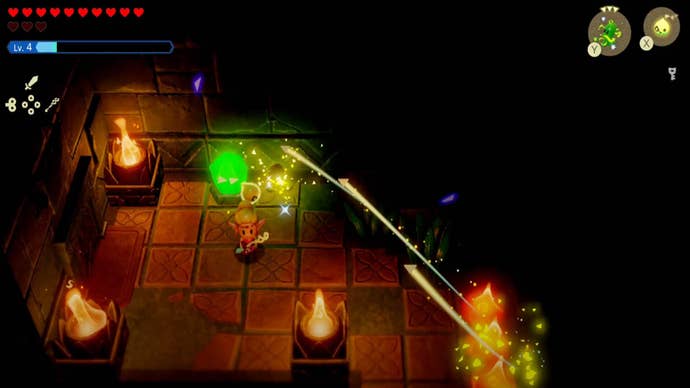
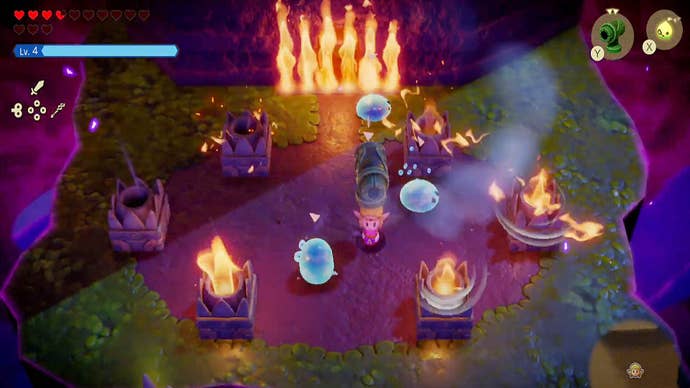
you gotta extinguish all of the torches here, but they’ll reignite themselves after a few seconds.
Again, be mindful of the enemy crawling around here.
At the top of the wall hop off onto the platform on the left and up the ladder here.

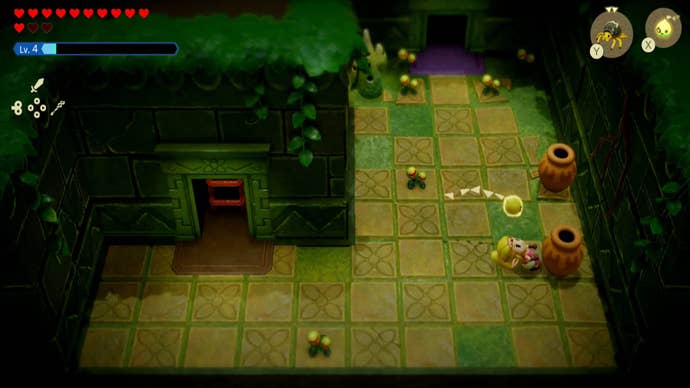
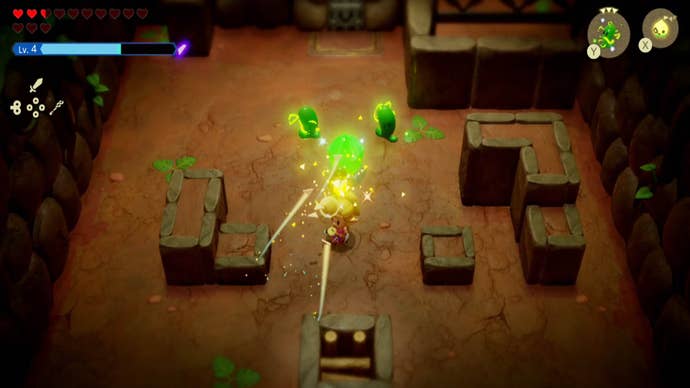
This will bring you out into a room that has two Buzz Blobs in it.
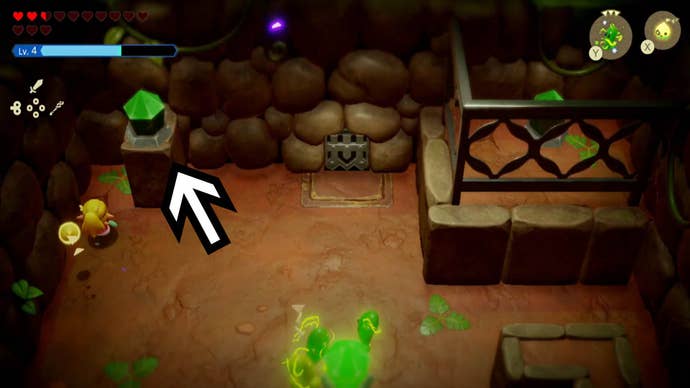
Then head to the upper left-hand corner of the room.
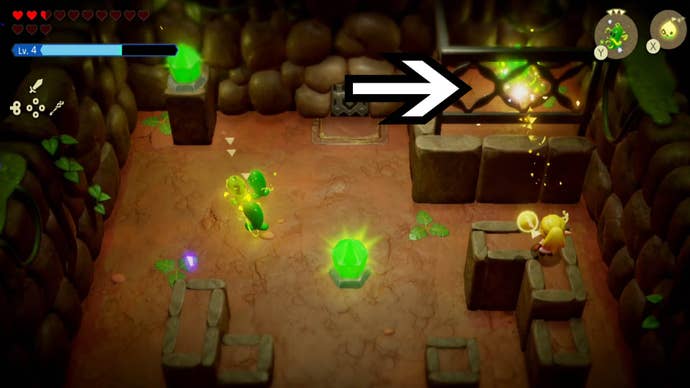
Finally, in the upper right-hand corner of the room is a crystal stuck behind a metal wall.
When all crystals are lit the door to the next room will open.
Head through here and into the next area.
This will bring you outside the Faron Temple.

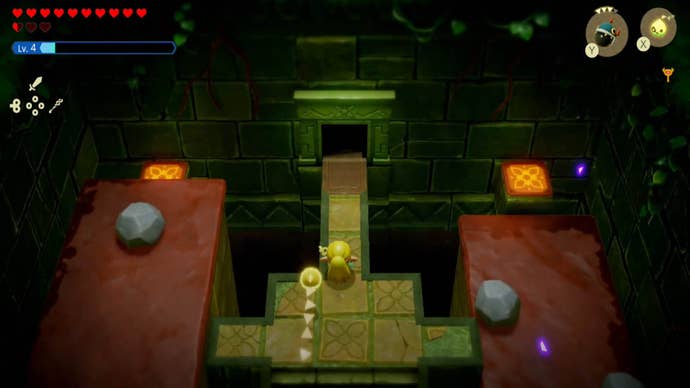
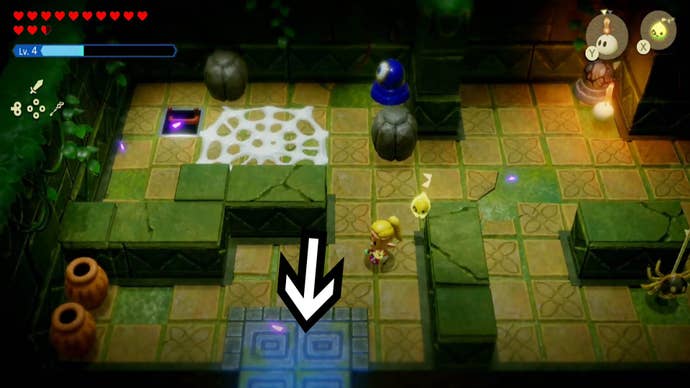
Climb down this ladder and you’ll be in your first part of Faron Temple.
At the bottom of this ladder, hop off onto the platform to the right.
If you look above you, you should see a gap in the platforms here.

On the platform you come to, head through the gap on your right.
From here, you gotta use an Echo to weigh down the platform on your left.
This ladder will bring you out to an area that’s split in half by a large metal gate.
Stand on this switch to activate it and the metal gate will lower.
Once the gate is down, follow the path south and activate the Waypoint here before moving on.
Now, head back to the point you exited the ladder and head up the stairs here.
Make your way to the lower left-hand corner of the room and use the door here to head outside.
This will bring you out onto the roof of the temple itself.
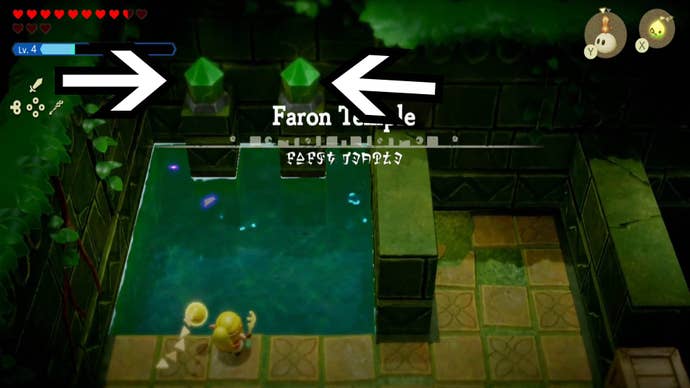
Out here, head across the roof to the right until you find four statues lined up here.
We lit these by sending Buzz Blob Echoes over to them.
This then leaves the third crystal which is on the right side of the room.
Remove this box by pushing it into the void below.

Open this chest to get50 Rupees.
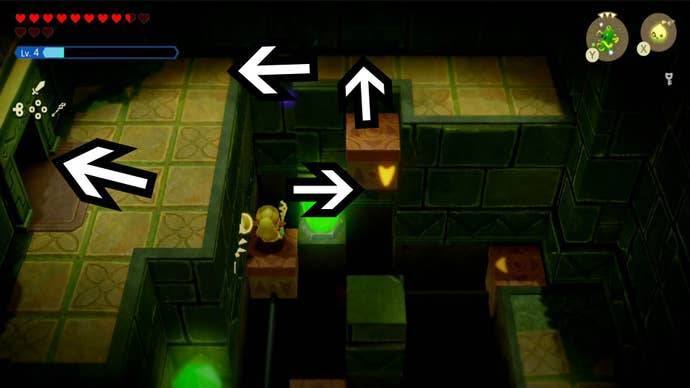
This will bring you out into another room with thin platforms and a few moving platforms.
This platform will pull you to the left and very close to the crystal here.

Once you’re ready, light it (we used a Buzz Blob Echo for this).
Once all three crystals are lit the door in the upper left-hand corner of the room will open.
Make your way up here riding the longest moving platform that goes from south to north.

Slice this grass down to clear it and head through the door.
You’ll now be in a very dark room.
In this section we strongly recommend holding onto a bright Echo like Ignizol to help you avoid any surprises.

Head out this door and you’ll find yourself locked in the next room.
This door will bring you out to a seemingly empty room with a Waypoint in it.
Interact with this to activate it and then dive into the water here.
Don’t worry, there are no enemies here.
Exit the water to the right and look at the back wall here - it’s covered in webs.
Use an Echo to burn this web away and head inside (we used Ignizol.)
This brings you back inside another part of Faron Temple.
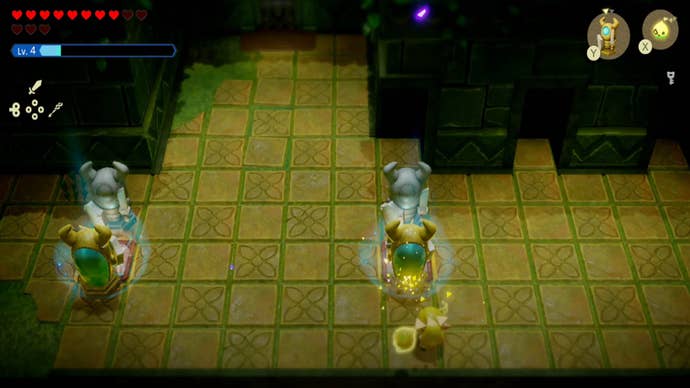
In here you’ll find two statues and two more pressure switches on the ground.
you’ve got the option to smash the jars in here for some Refreshing Grapes.

When the room has been cleared of enemies, head through the door that opens.
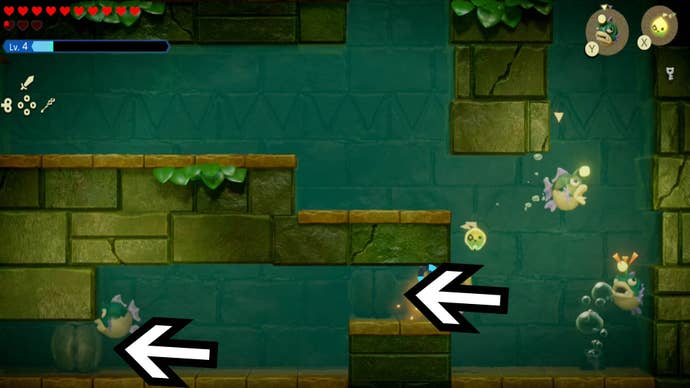
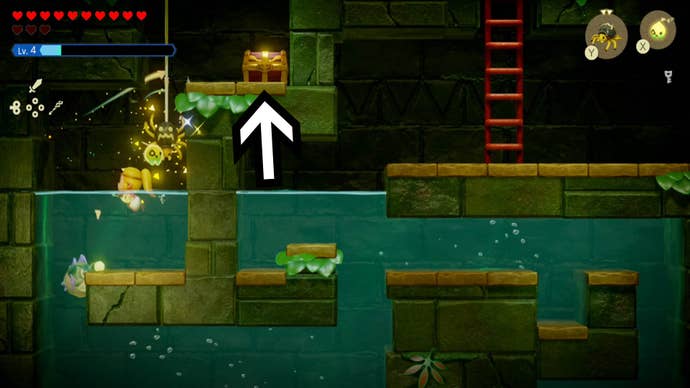
From the bubbles swim to the left and you’ll find a Boulder blocking your path.
You’ll encounter more enemies on the way so use your Echoes to clear them out.

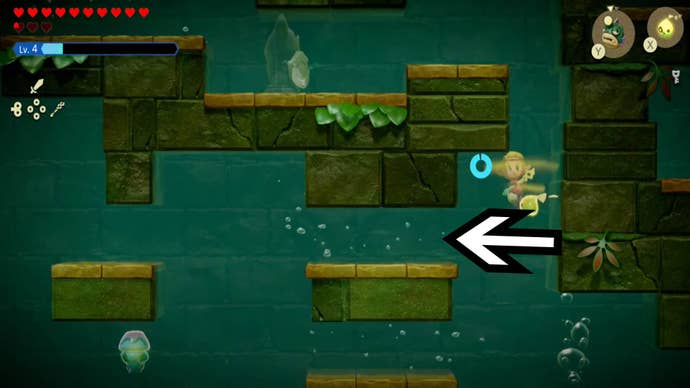
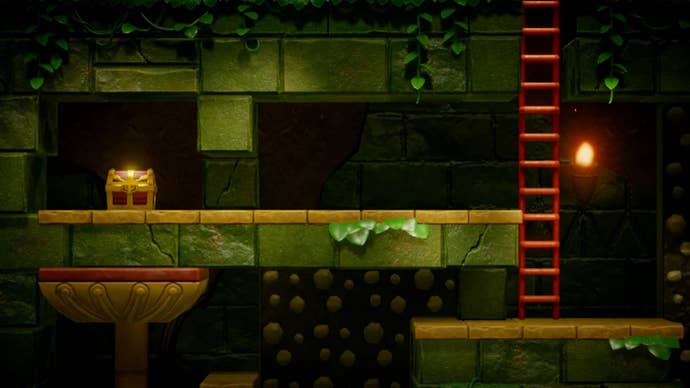
Use an Echo to get up here (we used Strandtula) and launch the chest to collect50 Rupees.
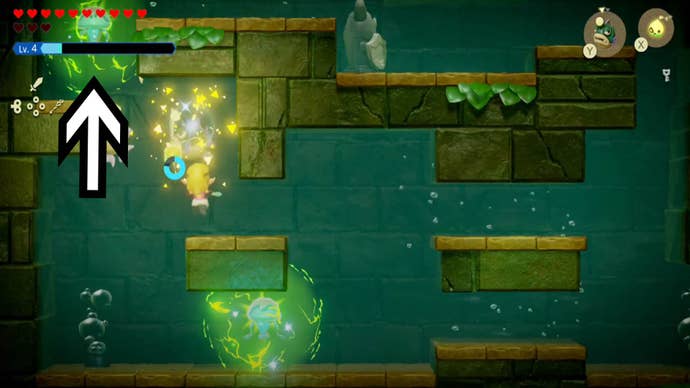
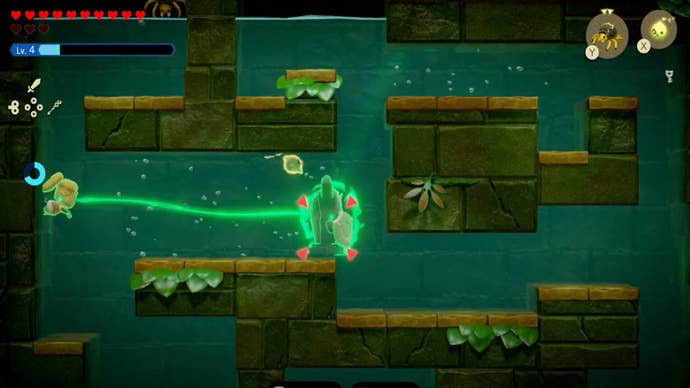
Then, swim down and around to where the statue now is and swim up past it.
This brings you out in another dark room and your exit is locked.
Yes, you better light yet more crystals (again).
The next crystal is in the lower right-hand corner of the room.
Once that’s level we placed Armos Echoes on each platform to move onto the pressure switches.

Enter the door and scale the ladder.
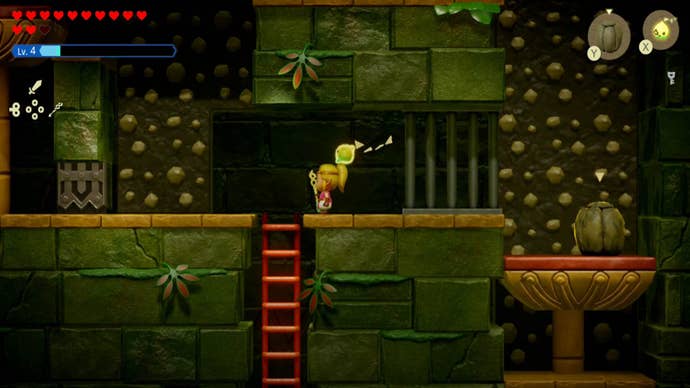
At the top of the ladder look to your right, you should see some bars here.
Once it’s orange the smaller gates blocking the rest of the path around the room will open.
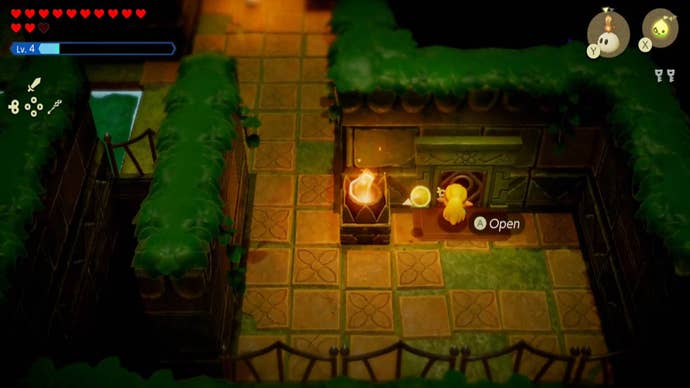
Climb up the ladder halfway and jump off onto the platform on the left with the chest on it.
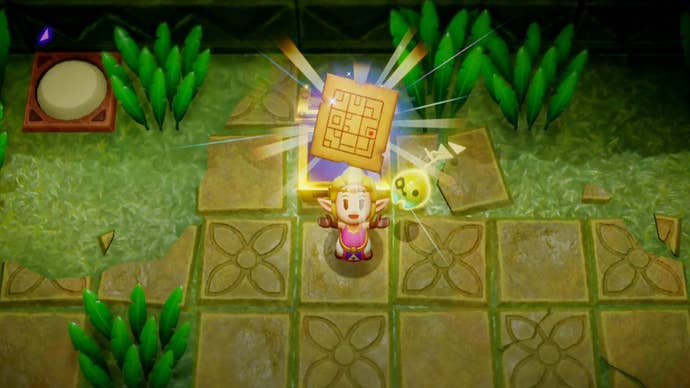
Open this chest to collect anotherSmall Key- so now you should have two again.
Now, head back to the ladder and climb up it all the way to reach the next area.

If you better rest to stock up on Hearts we recommend doing it now before moving forwards.
Once it’s open and you’re ready, head inside.
you better do this to both heads.

Right now you gotta go open up your map and look at the third floor map.
Then at the back wall follow the path to the left.
Here, you should find a door with a ladder in it.

Go through the door and scale the ladder.
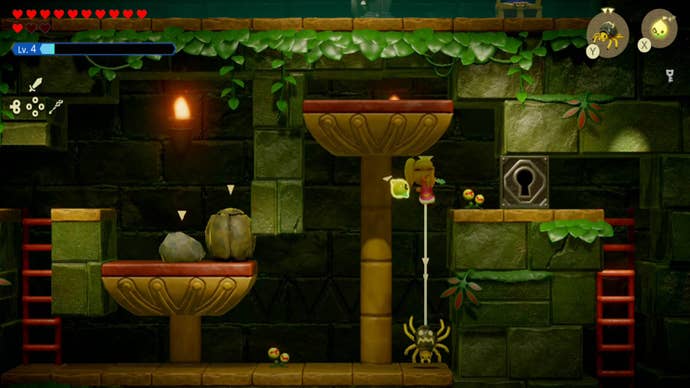
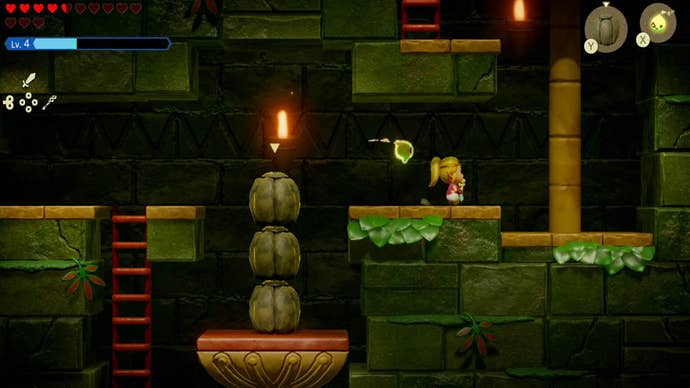
In the next room, head left and stand beneath the rock that’s between the two platforms here.
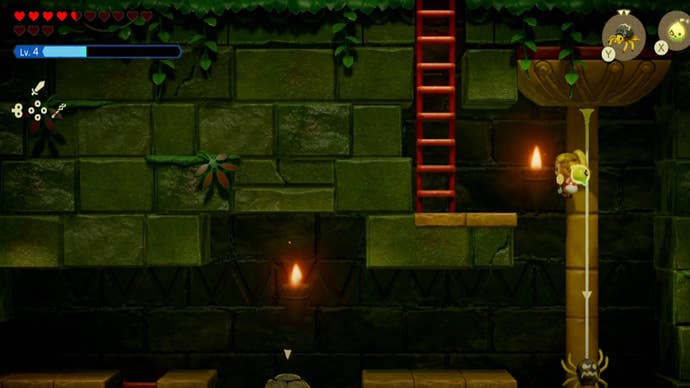
Then, continue forwards and down the ladder here.

This will bring you out to a small room with a Waypoint in it.
When you enter this room the pesky plant is back again!
Head through the door at the top of these stairs.
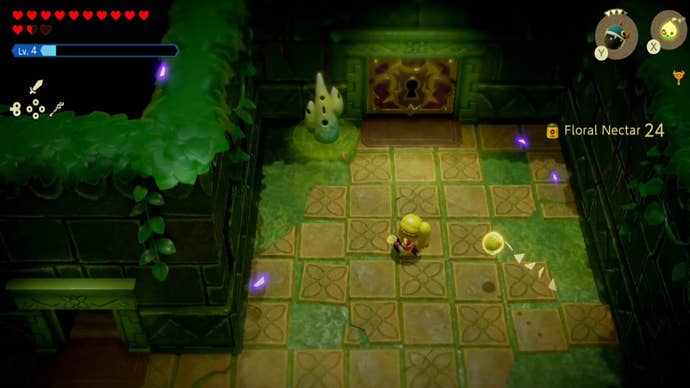
This will bring you out into the room with the Big Door in it!
Smash the jars in here to get some Refreshing Grapes and Floral Nectar.
When you’re ready, use the Big Key on the Big Door and head through.
In this room you’ll face the Faron Temple boss - Gohma.
Once you’ve beaten Gohma you will have completed the Faron Temple, well done!
That’s all for now!

If you’re looking for more handy tips for your adventure, check out ourLanayru TempleandEldin Templewalkthroughs.