How to complete the Eldin Temple and get the Bombs of Might.
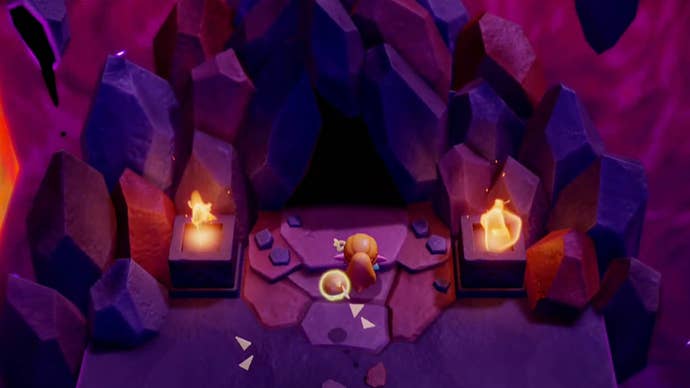
When you’re ready, here’s ourEldin Temple walkthrough in Zelda: Echoes of Wisdom.
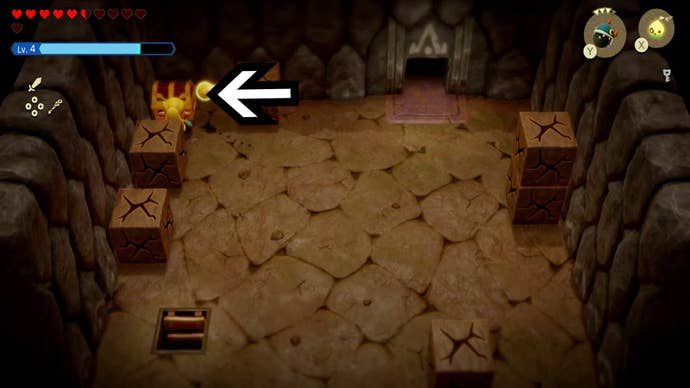
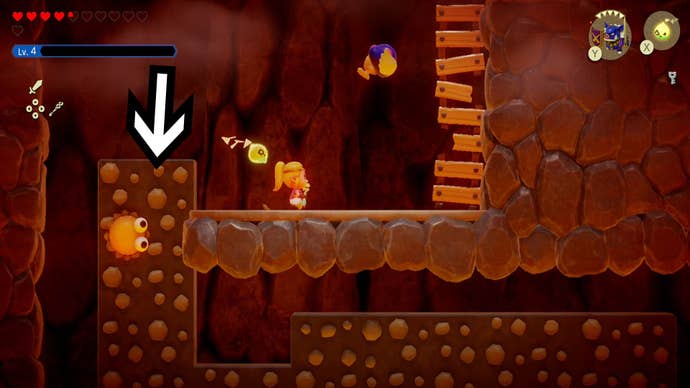
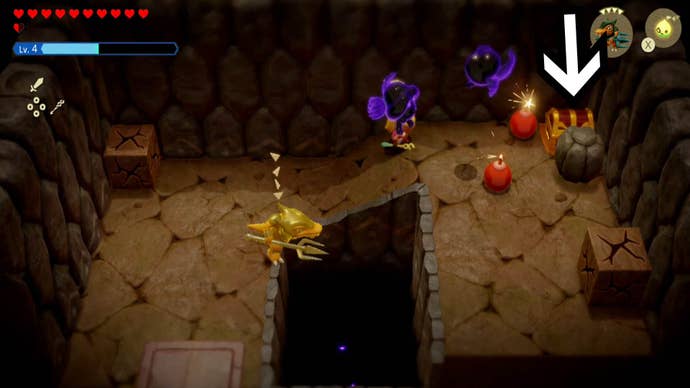
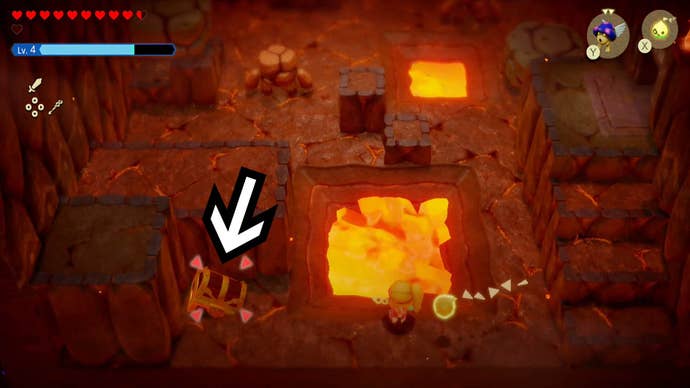
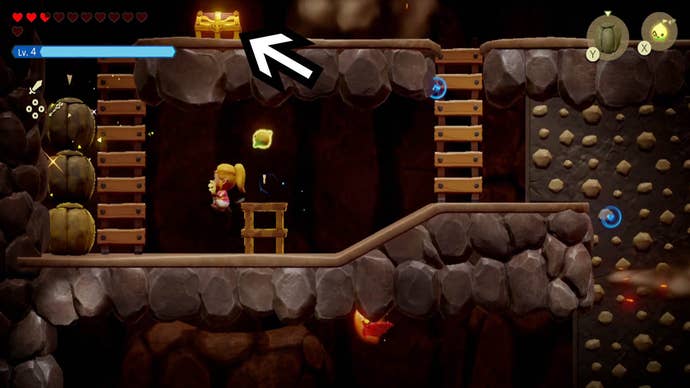
Once you’ve defeated them you should notice a few cracked cubes dotted around the room.
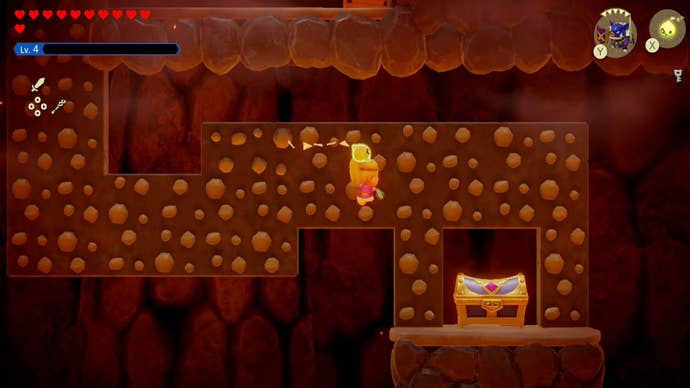
Destroy the one in the upper right-hand corner of the room to reveal a chest.
Use ‘Bind’ to pull it free of the sand and then open it to collecteight Twisted Pumpkins.
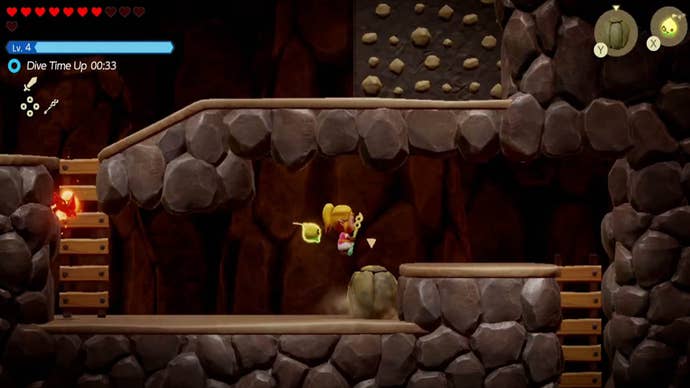
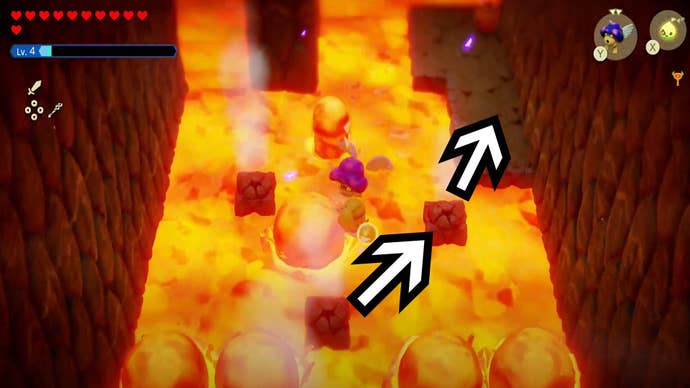
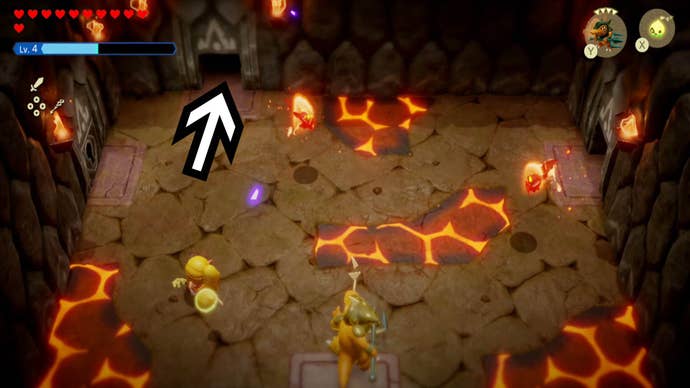
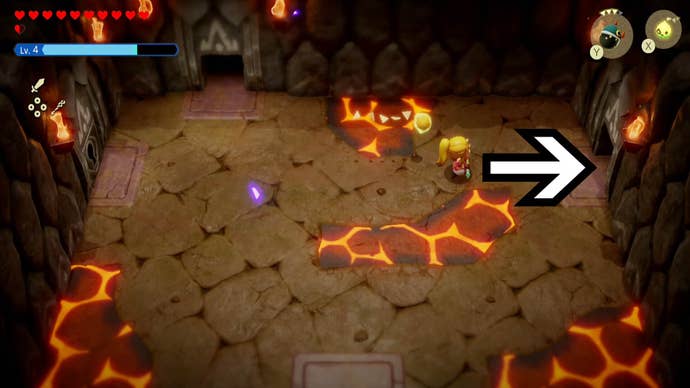
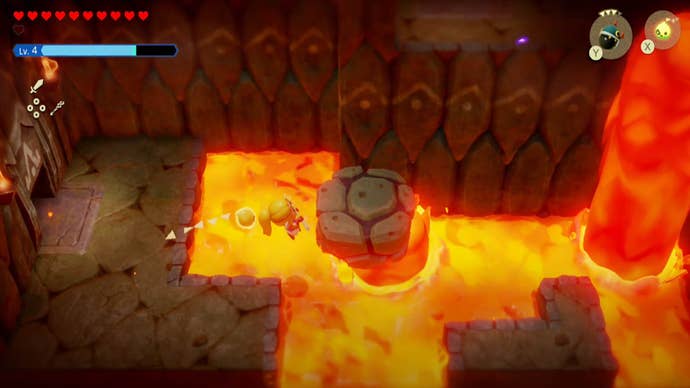
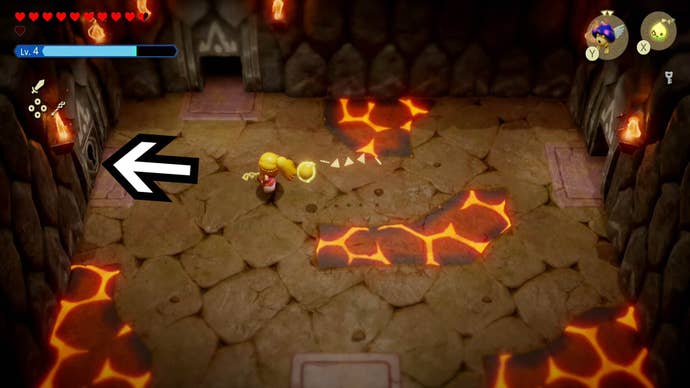
Head back into the room with partial-lava floors and head through the door on the right-hand side.

The floor is mostly made of molten lava here too.
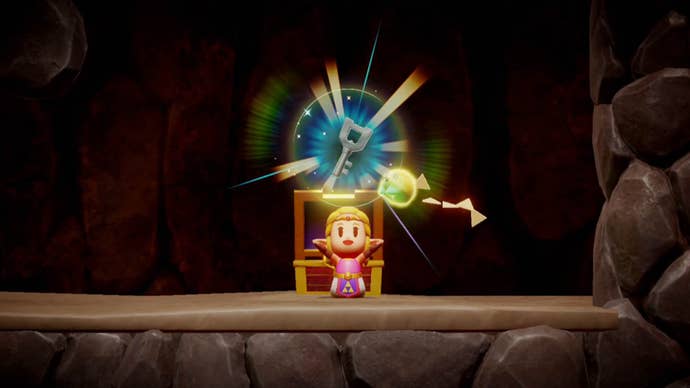
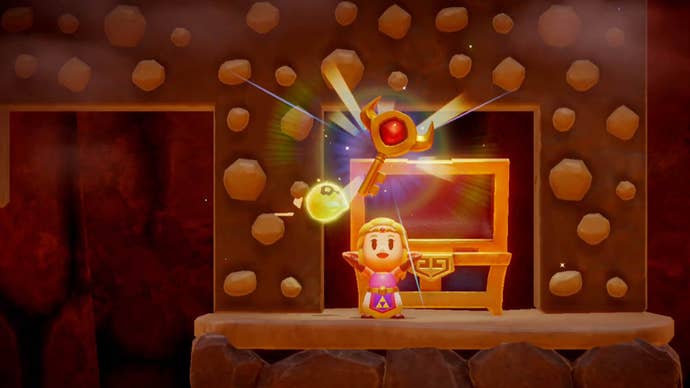
Open this chest to obtain aSmall Key.
Interact with it to open it using the Small Key you just collected.
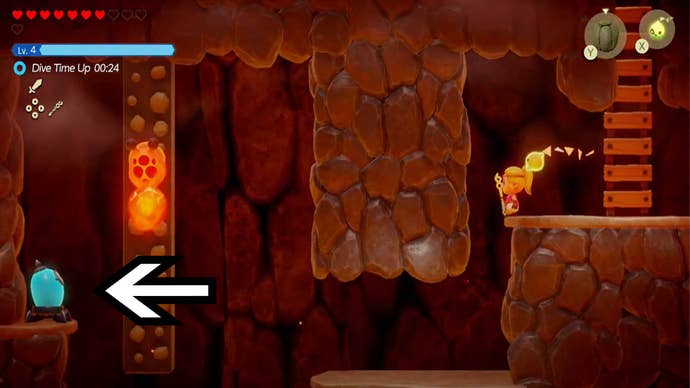
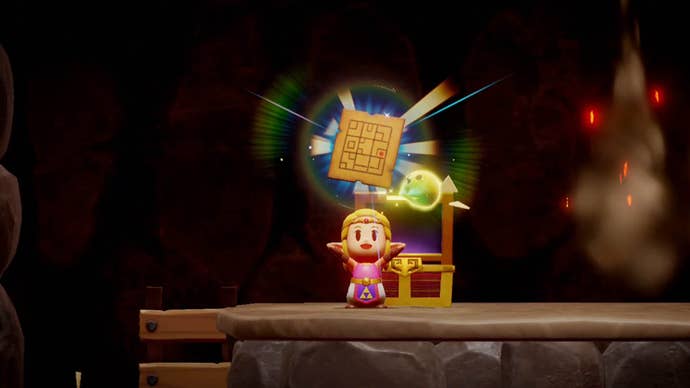
Open this chest to collect aGolden Egg.
To open this you gotta use Echoes to defeat the Tweelus enemies that appear when the lava drains.
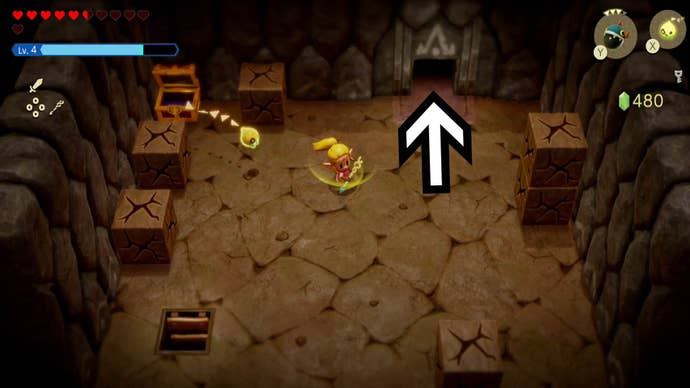
Then, when you’re ready, head through this door into the next area.
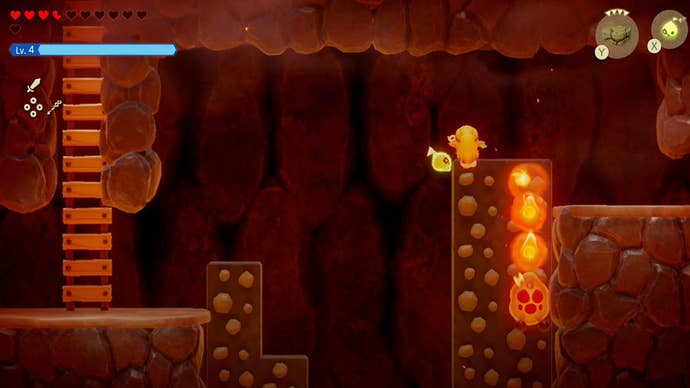
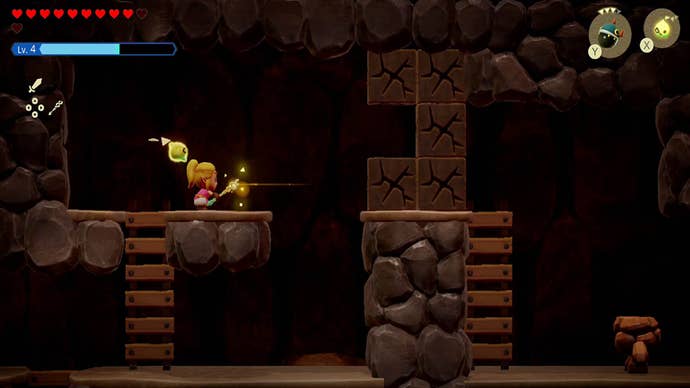
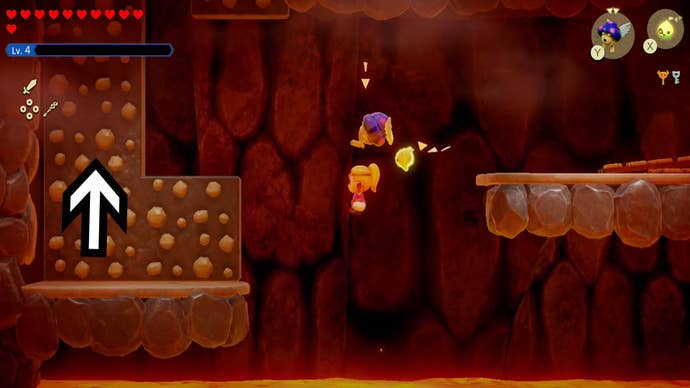
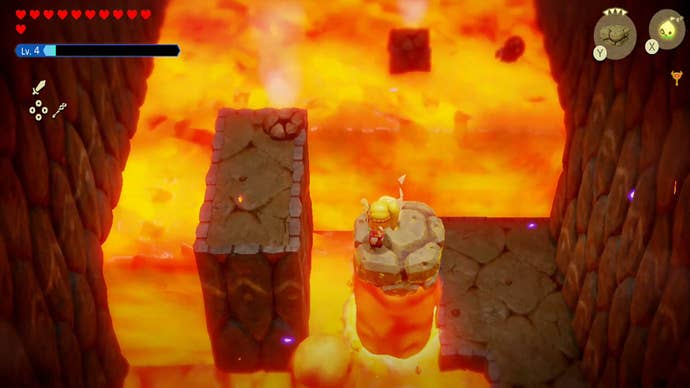
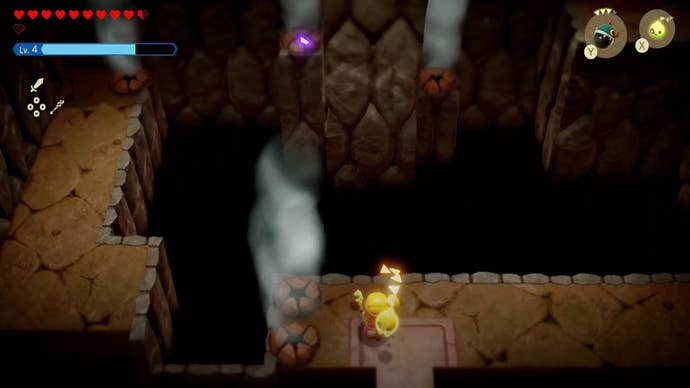
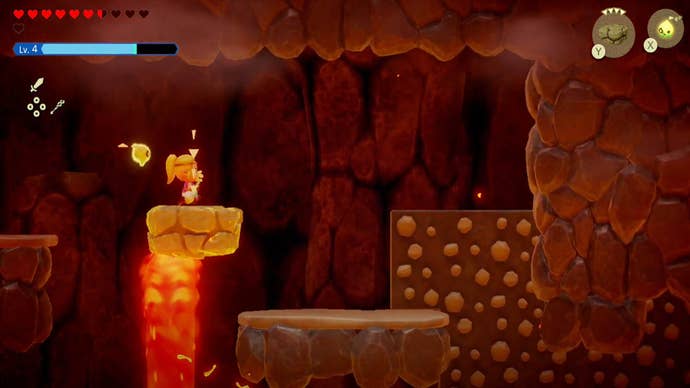
From this platform continue to head right and down the climbable wall here.
Here, we stacked Boulder Echoes on top of each other to block the heat coming through.
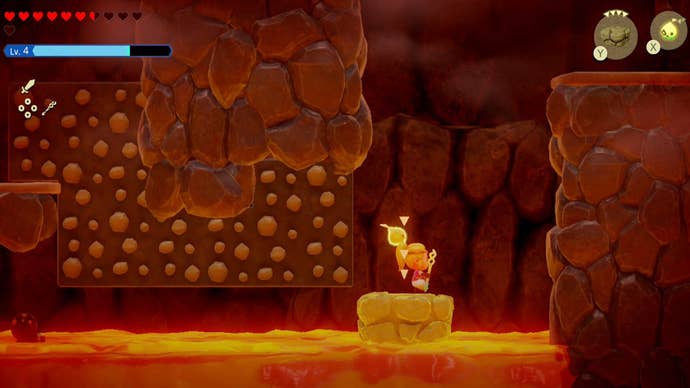
At the bottom of the wall head to the left and down the short ladder here.
Then, continue to the right and down the ladder into the next area.
Your task is to find a way to cross it safely.
Your task, once more, is to turn the machine from blue to orange.
Open this chest to collect anotherSmall Key.
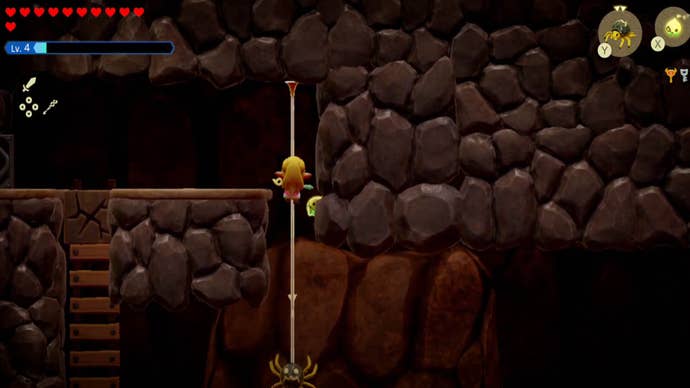
From here, head up the ladder on the right into the next area.
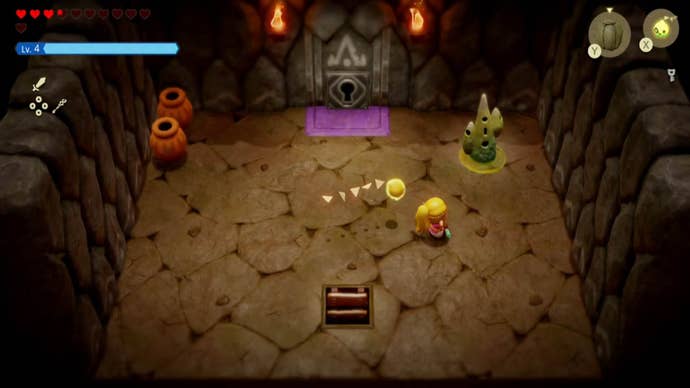
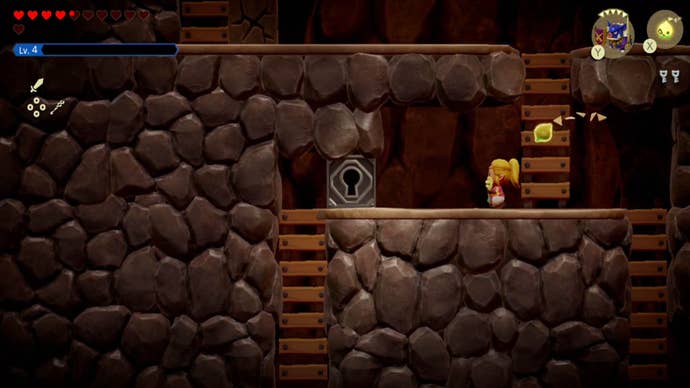
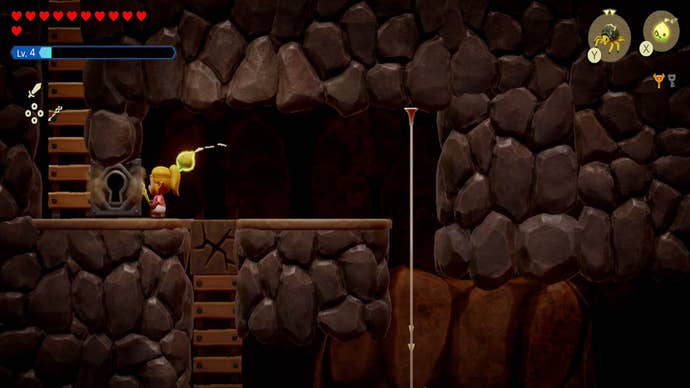
In this room you’ll find a Waypoint, some jars and a locked door.

you’ve got the option to smash the jars here for some Floral Nectar too.
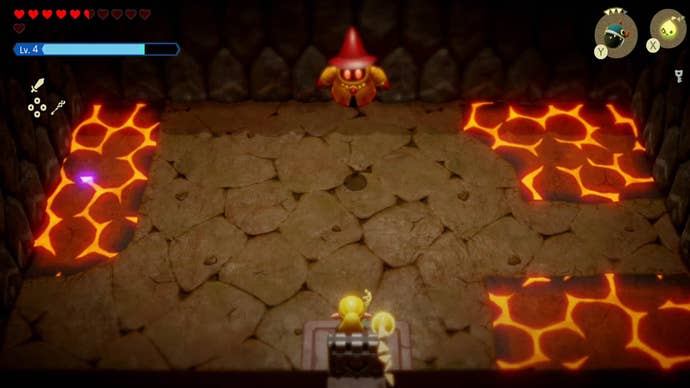
Oh look who’s back again, doesn’t this imposter ever take a hint?
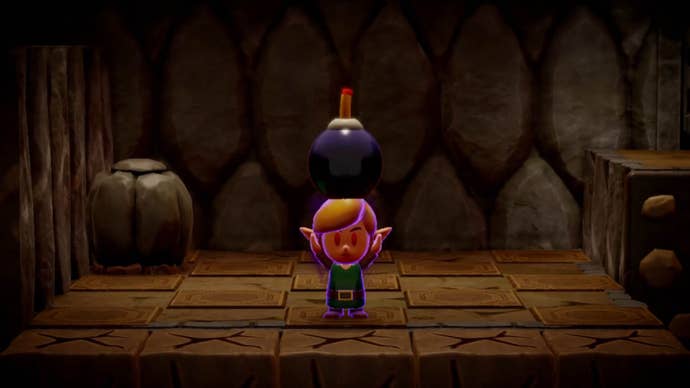
He’s got a bomb?
Just rinse and repeat to eventually defeat him (for now).
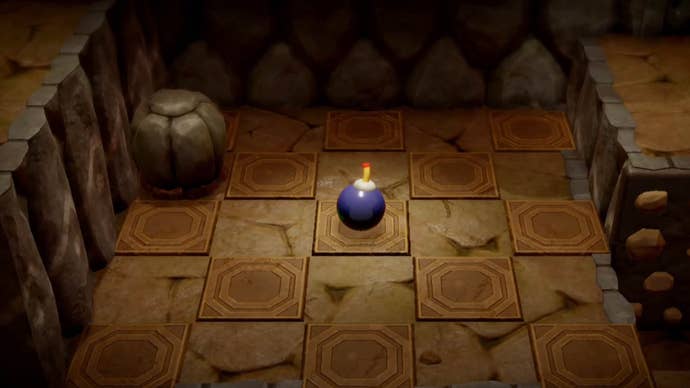
it’s possible for you to now collect theBombs of Might.
This allows you to throw bombs by pressing ‘A’ in Swordfighter form.
You should be able to see a goo wall here.
Use Echoes to cross the gap here and then attack the wall in Swordfighter form to remove it.
(Yes, ignore the lock for now).
This will reveal a chest - open this to collect aSmall Key.
Now, head back up the small ladder on your left and follow the path here to the right.
Then, continue following the path here along to the right and up the very tall ladder here.
This will bring you out into a room with more breakable cubes and a Tweelus.
Deal with them using an Echo (we used Bombfish).
Open this chest to collect100 Rupees- nice!

Open it to collect anotherSmall Key- so you should now have two Small Keys.
Head back out of the room and towards the locked section by the ladder we ignored earlier.
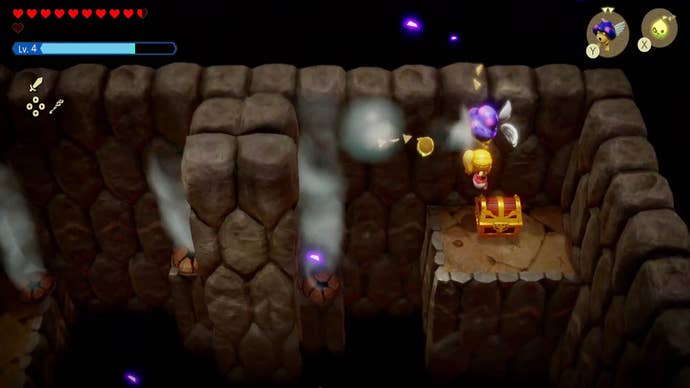
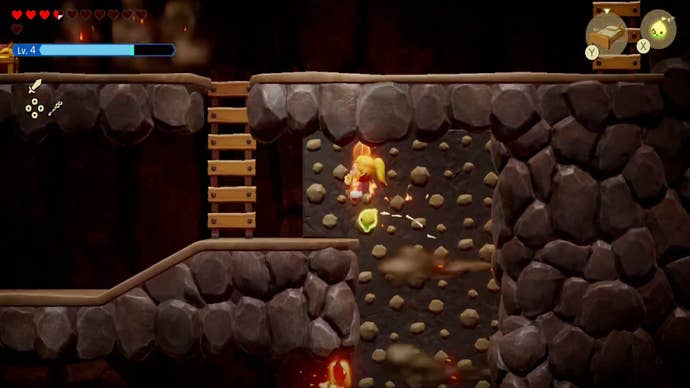
Climb along this carefully and drop down to where the chest is - open it to collect theBig Key.
However the very last ladder will break!
Scale these to the platform with the ladder on it and quickly run up the ladder to safety.
Once you’re safe, head back through the doorway here.
Now, head up the ladder here.
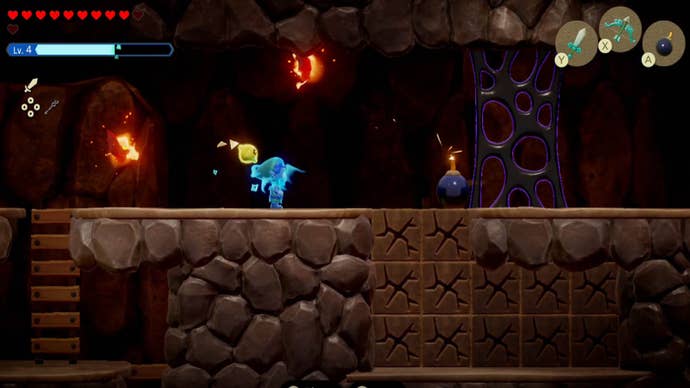
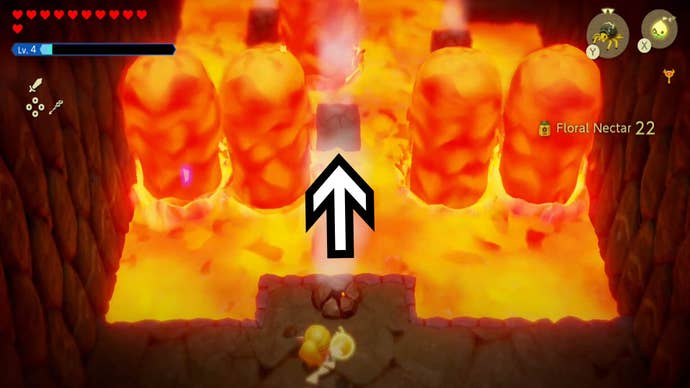
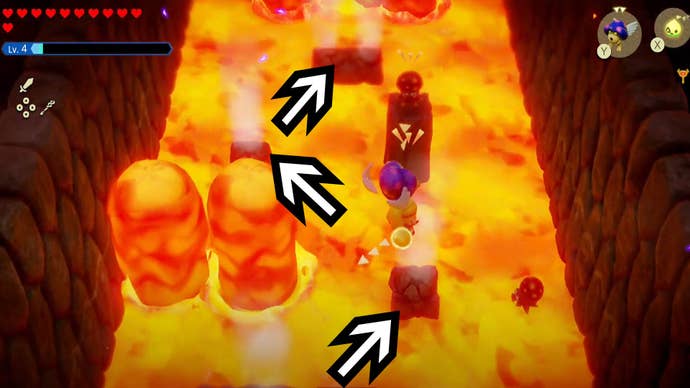
Now it’s time to get across the lava without toasting Zelda.
There’s a Jar on this platform, smash it to collect a Fairy!
You’re now in the next section of the room and you should see some more steam vents here.
Once you’re at this steam vent you should see two next to each other just north of you.
Glide over to these.
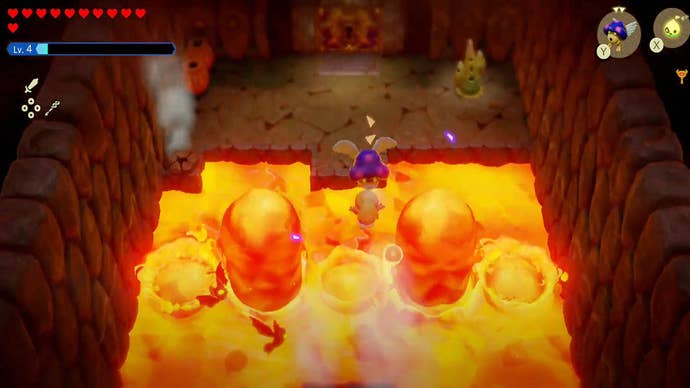
Once you’re on the safety of this final solid platform activate the Waypoint on your right.
Head inside here to face the Eldin Temple Boss Volvagia.
We’ve got an entirely separate guide showing youhow to beat Volvagiaif you need a helping hand.
Once you’ve beaten Volvagia you’ll have completed the Eldin Temple, congratulations!
That’s all for now!