Guide for all puzzle solutions, codes, and item and enemy locations in Blue Creek Apartments.
Blue Creek Apartmentsis the second major area you explore inSilent Hill 2after reaching the end ofWood Side Apartments.
For more help, check out ourSilent Hill 2 walkthrough.
Then turn around and follow the corridor until you get to the maps on the wall.
verify you pick these maps up, as they’re essential for navigating around the apartment block.
Continue along the corridor westwards, but watch out for theexploding Lying Figure enemyon the way.
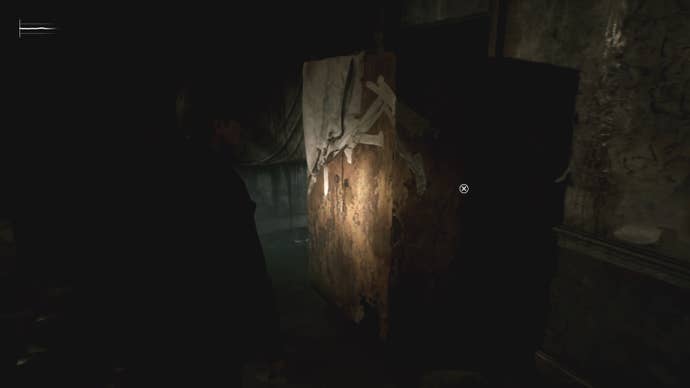
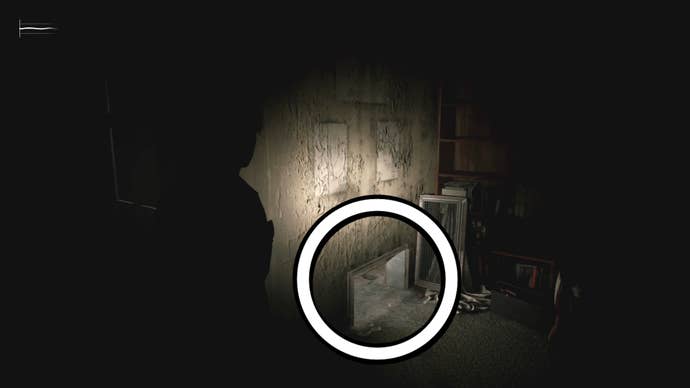
At the end of this corridor you’ll find a fragile-looking wall.
Use your melee weapon to break it, then crawl through into Room 206.
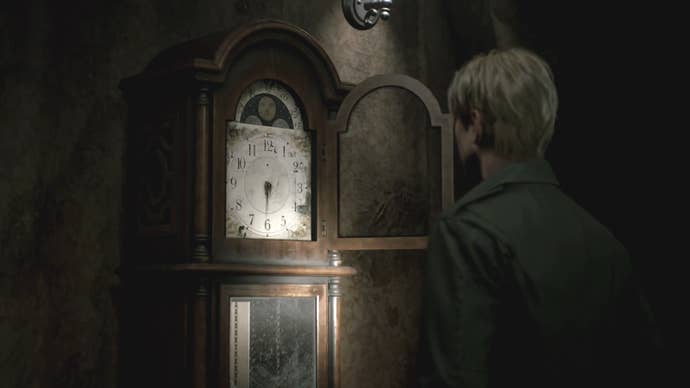
Now, it’s possible for you to start your journey towards getting the three hands for the Clock.
Leave Room 203 and go down the right corridor, where you’ll come across acrawling exploding Lying Figureenemy.
We recommend you use your Handgun to kill it, to avoid getting hurt.
Now go up the stairs and climb through the gap at the top into Room 303.
Ignore the valve pipes for now and go through the nearby door, onto the fire escape.
Now you’re able to turn the valve in Room 204 and get theValvekey item.
When you leave Room 204, you’lltrigger a lot of enemy encounters.

Now you might use the Valve on the pipes you passed earlier to bring the Radio crashing down.
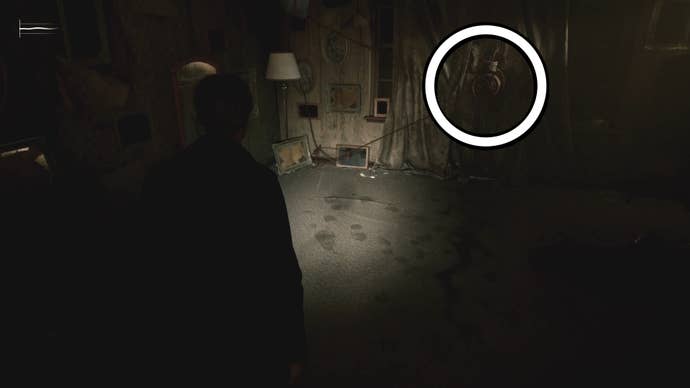
Examine the fallen Radio to finally get theHour Handfor the Clock back in Room 212.
Turn around and enter the Clock room again to start the first part of the Clock puzzle.
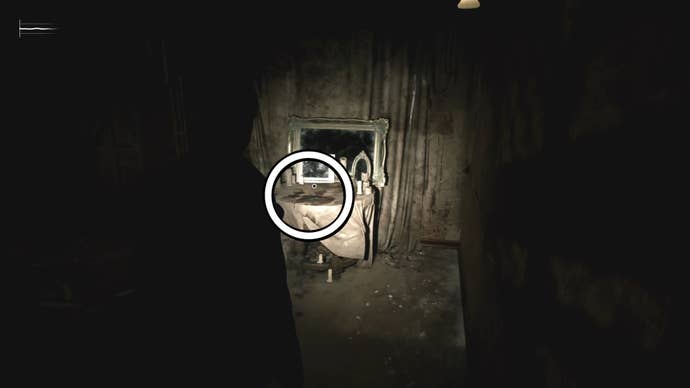
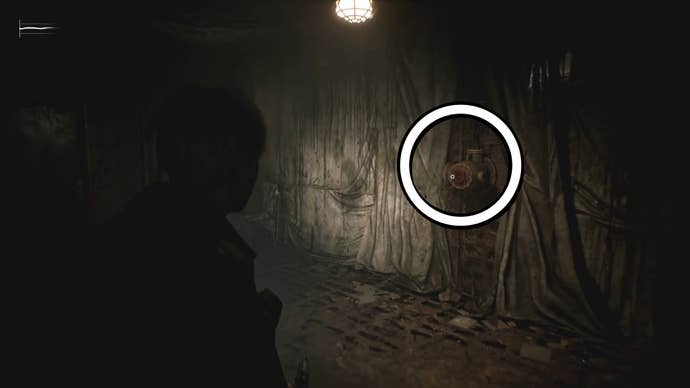
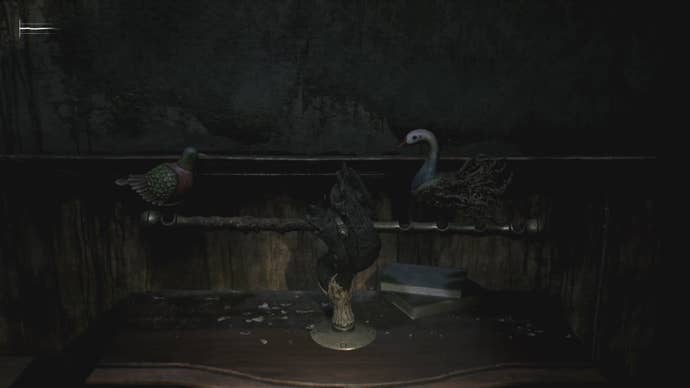
Collect theWooden Swan Headhanging in this room.
Now go back to Room 210 and combine theWooden Swan HeadandMalformed Figurine Partto get theSwan Figurine.
Now crawl through the gap in the southern wall and turn left into Room 109.
Now climb the stairs and take a left after exiting the next room.
‘Hard’ difficulty mode only changes what equation you get, not the moth amounts.
This means the code is373on ‘Standard’ puzzle difficulty and522on ‘Hard’ puzzle difficulty.
To get to the ‘S’ door, take the stairs opposite Room 201.
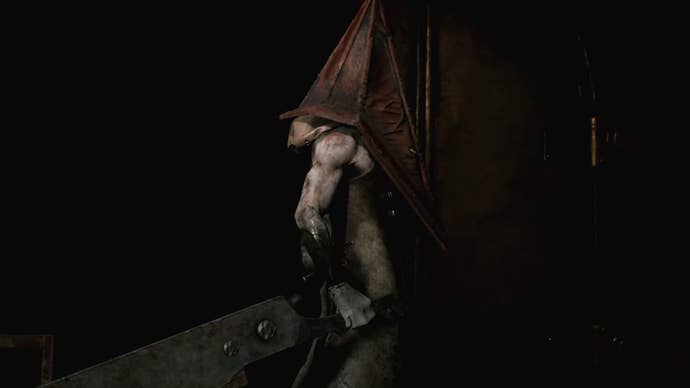
Be very cautious if doing this though, as Pyramid Head gets quicker as the fight goes on.