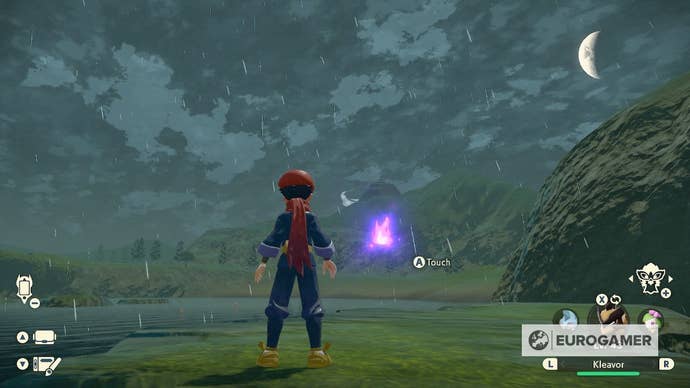
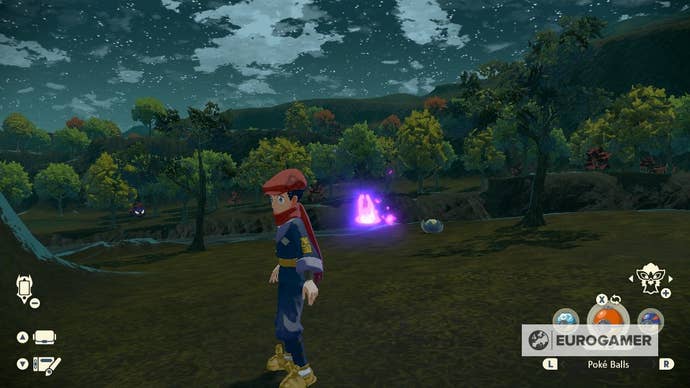
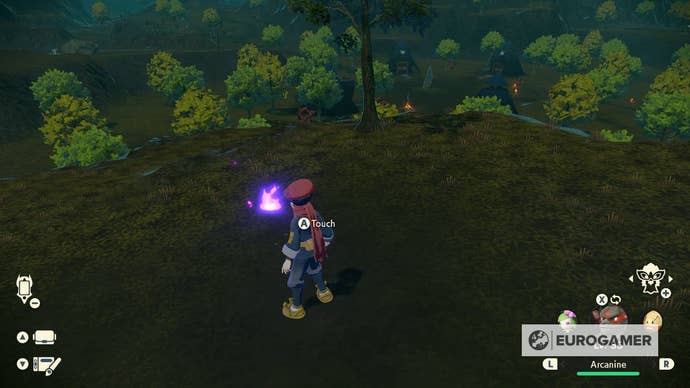
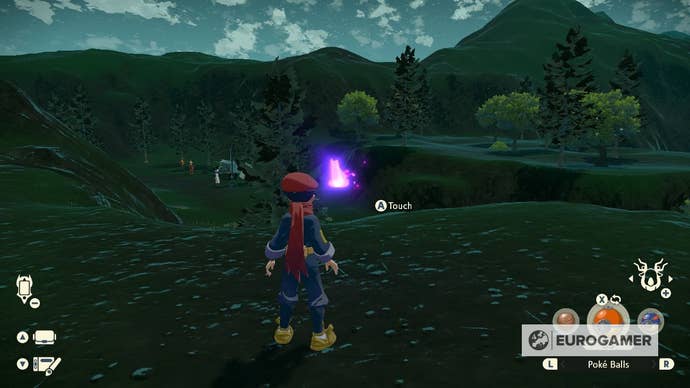
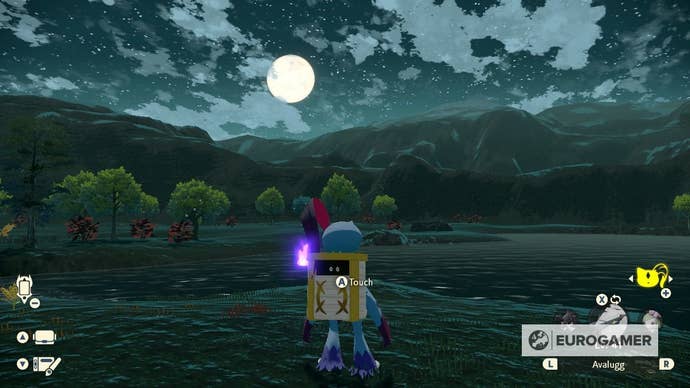
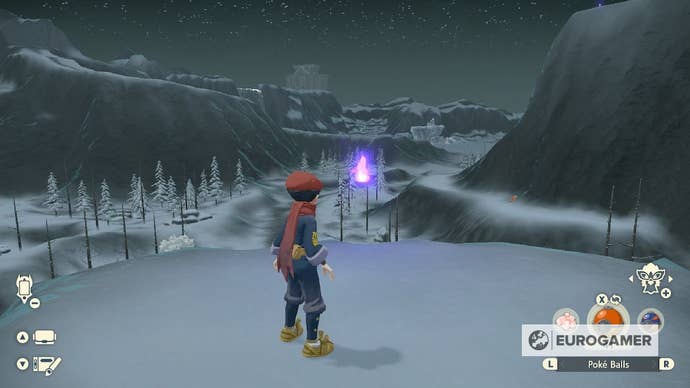
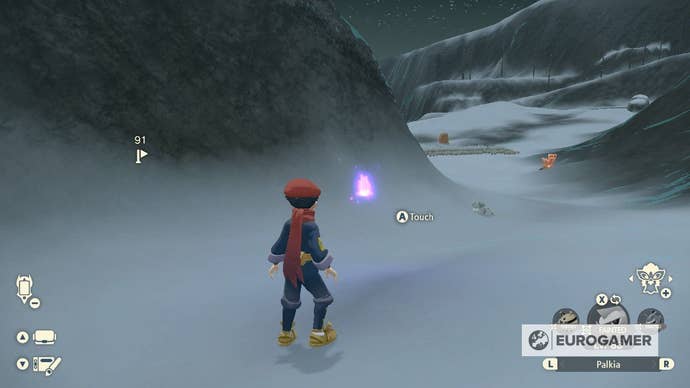
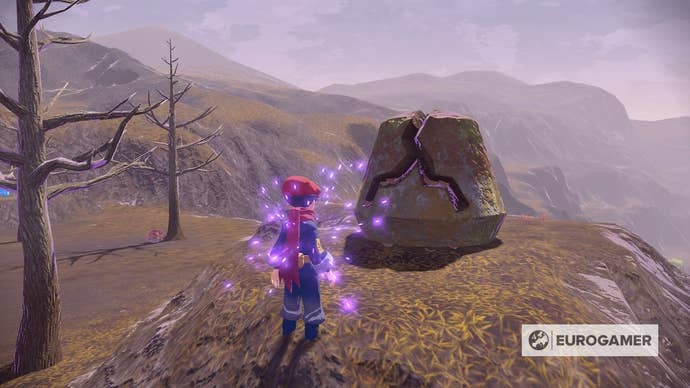
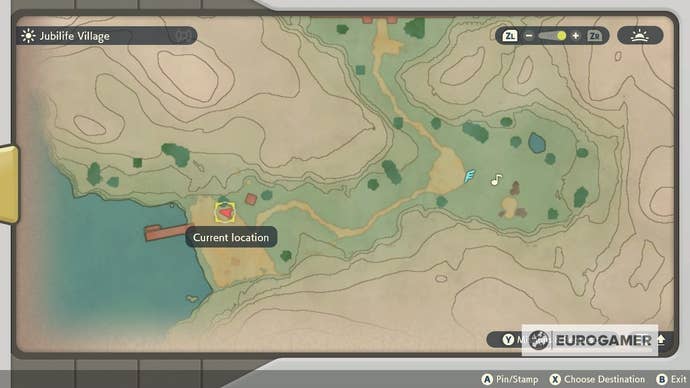
FindingPokemon Legends Arceus Wisp locationsis the goal ofRequest 22: Eerie Apparitions in the Night.
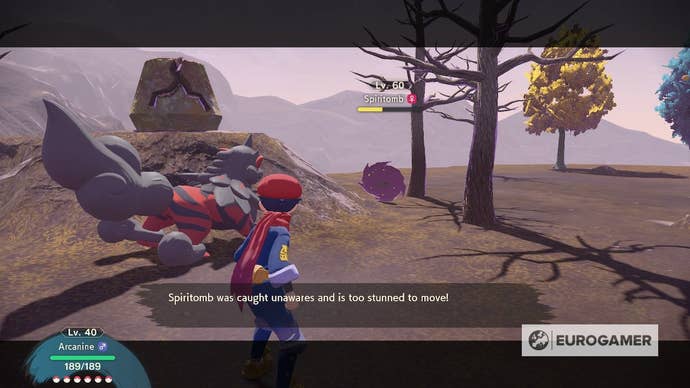
Died in the Wooloo Pokemon fans will know joy of hunting downSpiritomb.
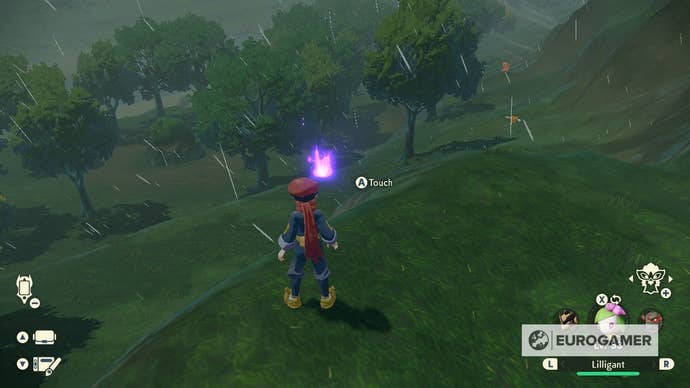
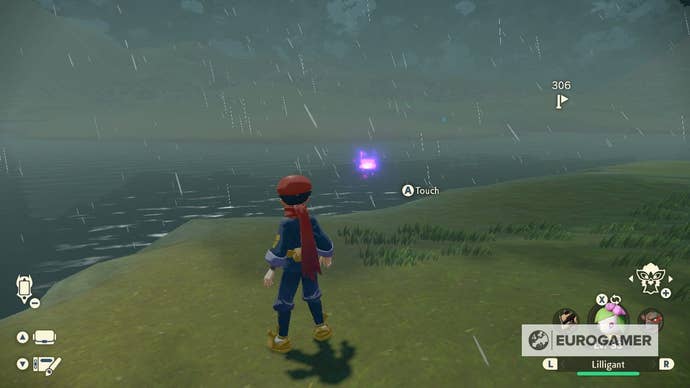
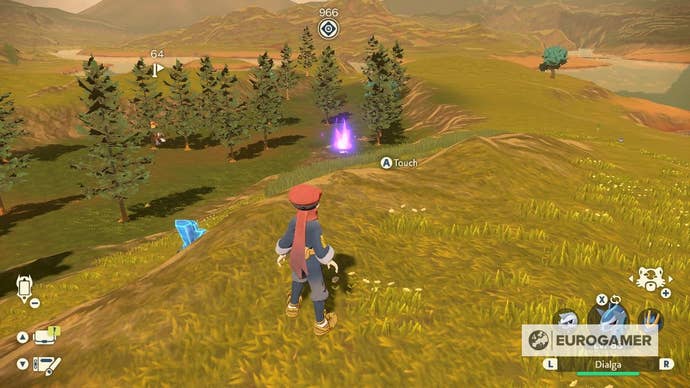
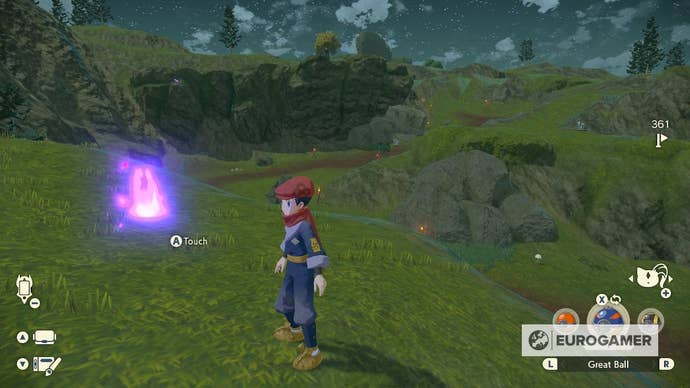
Request 22 will have you running around the world hunting down 107 ghostly purple fireballs.
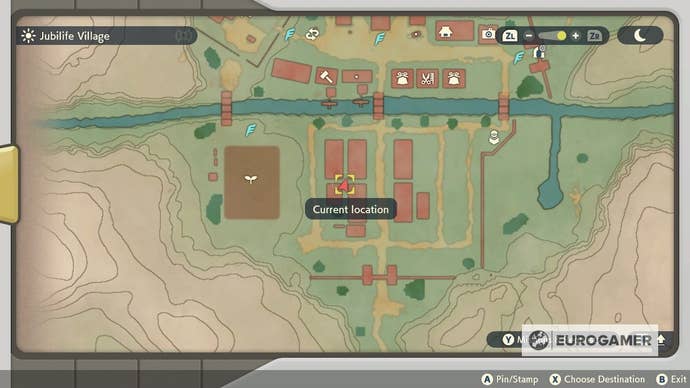
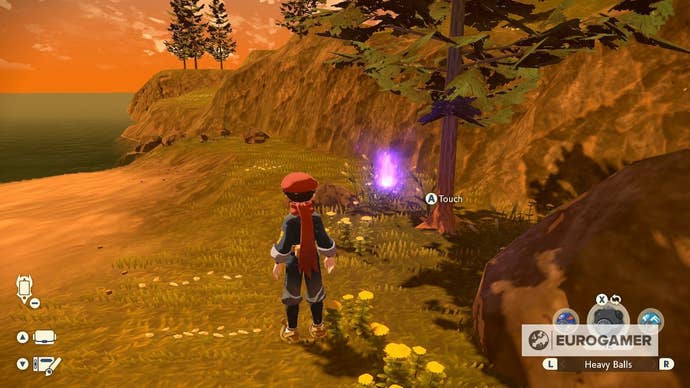
Run west to the farm; your next Wisp is behind the wooden shed.
Head north over the bridge, then east towards the crafting shot.
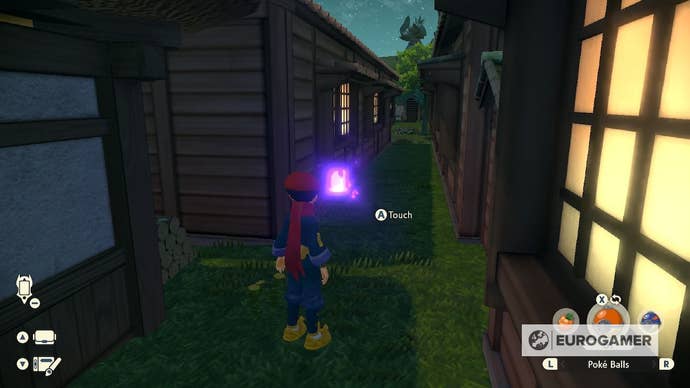
The Wisp is behind said shop.

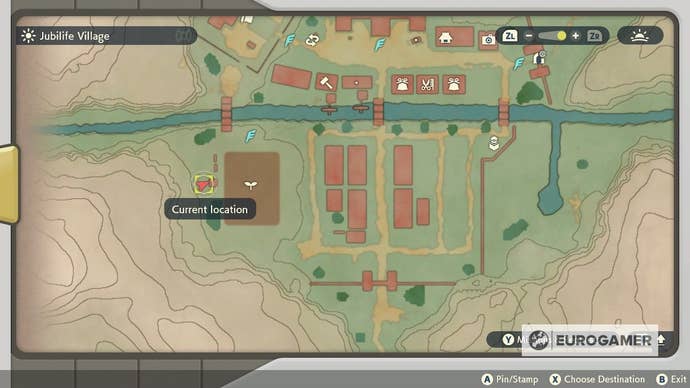
Turn around and head to the back of the training arena; the Wisp is hidden behind the dojo.
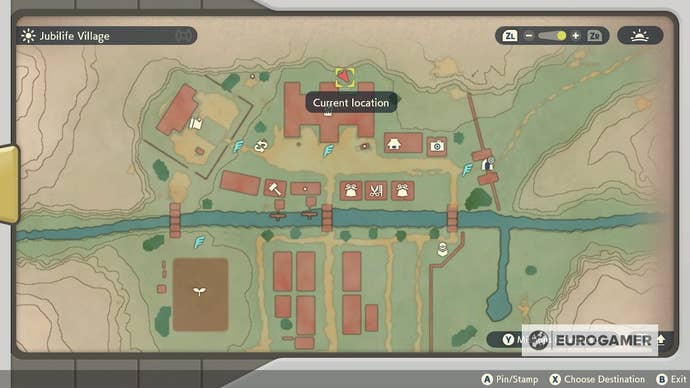
With the mountain to your back, head left until you’re behind the Galaxy Team HQ.
You’ll find the next Wisp here.
Your last Wisp is at Prelude beach.
Quick-travel to the nearest marker and run to the beach.
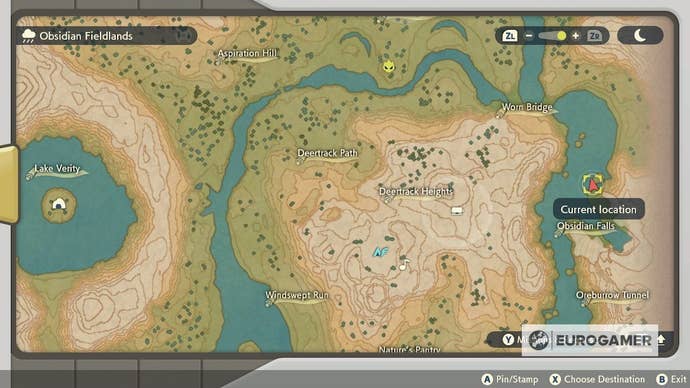
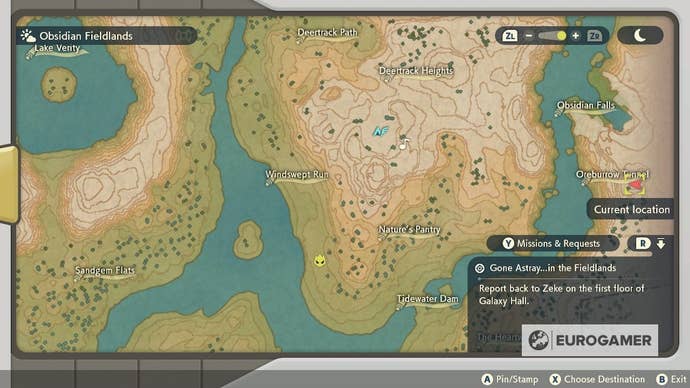
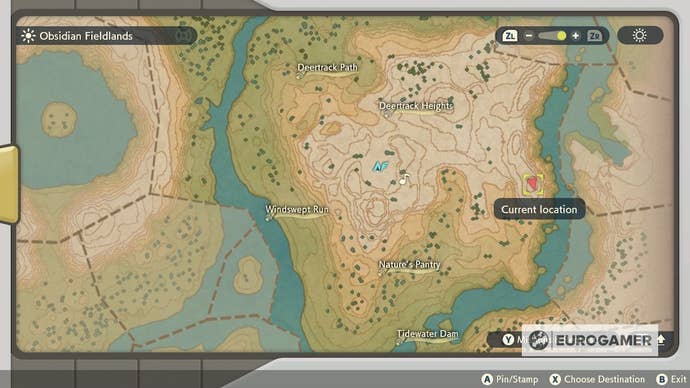
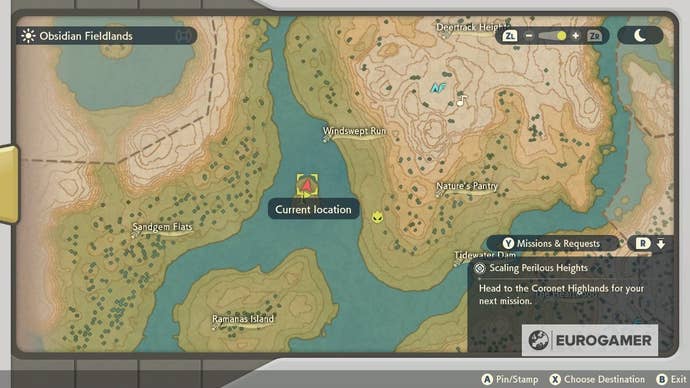
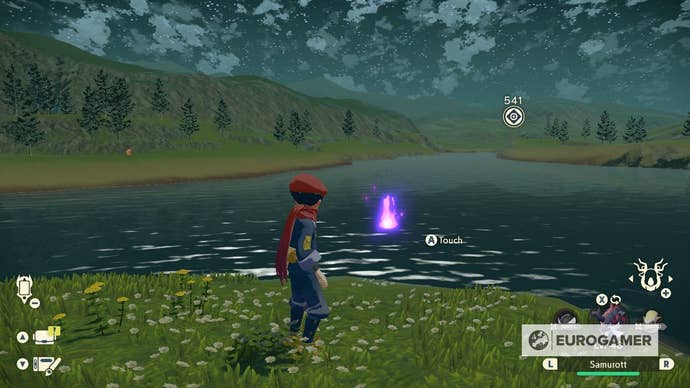
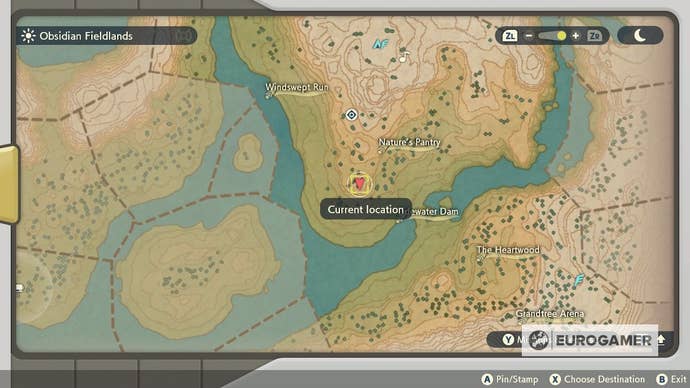
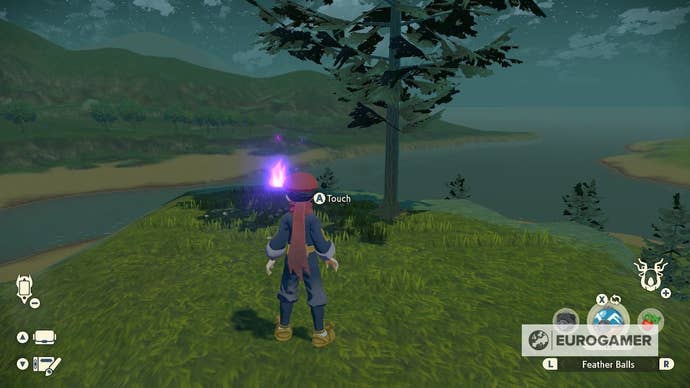
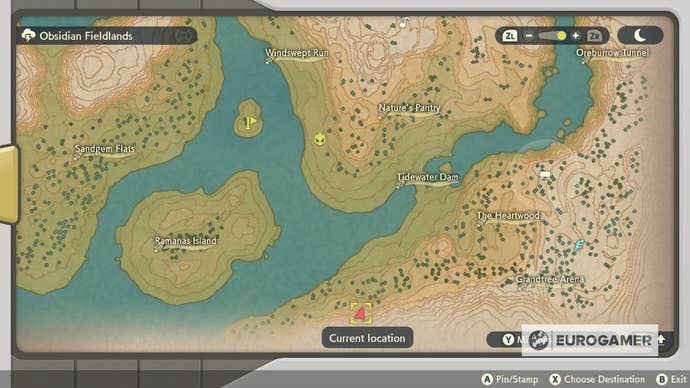
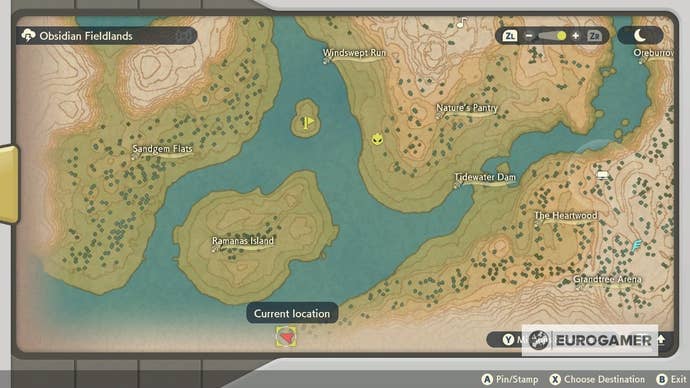
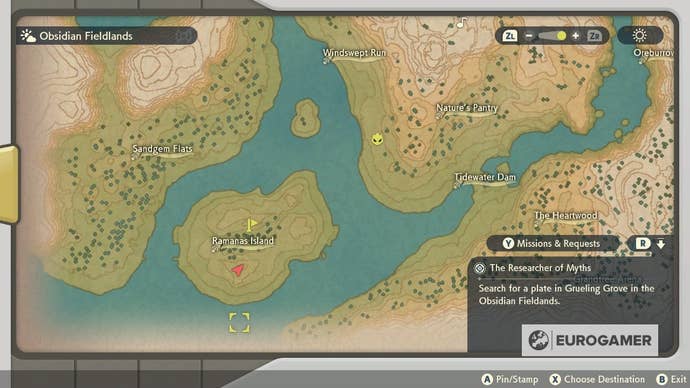
Obsidian Fieldlands wisp locations
There are20 Wispsto find in the Obsidian Fieldlands.

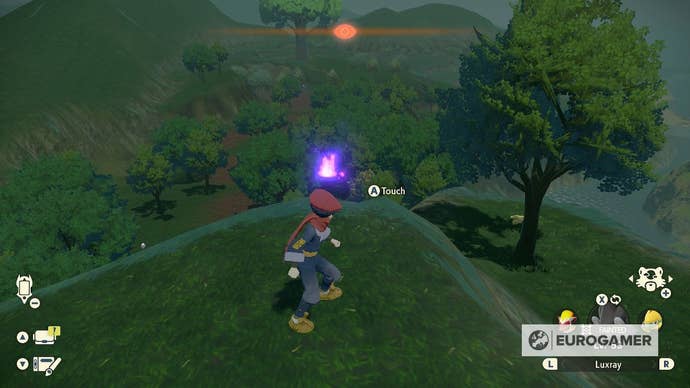
Staring from your base camp, head southwest to your first Wisp.
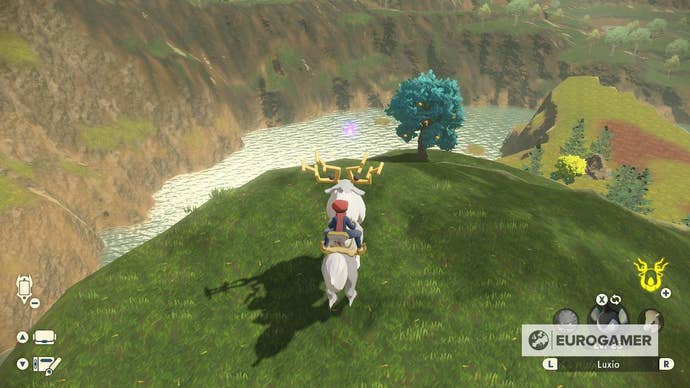
Jump on your Braviary and fly to the northeast of the Horseshoe Plains.
You’ll find the Wisp on a hill near the water.
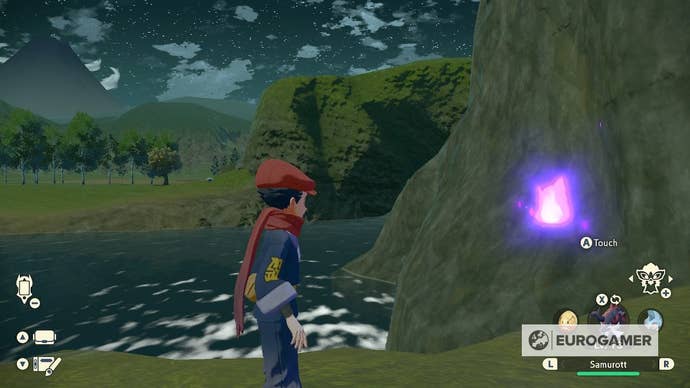
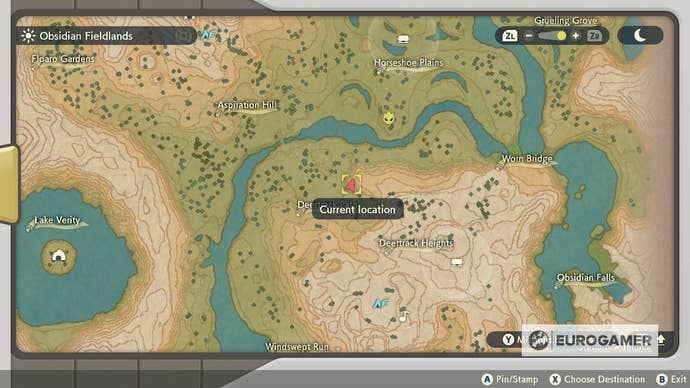
Fly over the water to the Gruelling Grove.
You’ll see this Wisp on the side of the mountain.
Head south, staying as high as you’re free to.
You’ll find the next Wisp above the Oreburrow Tunnel.
Fly west over the water to the map location below.
The Wisp is on top of a tall grassy hill.
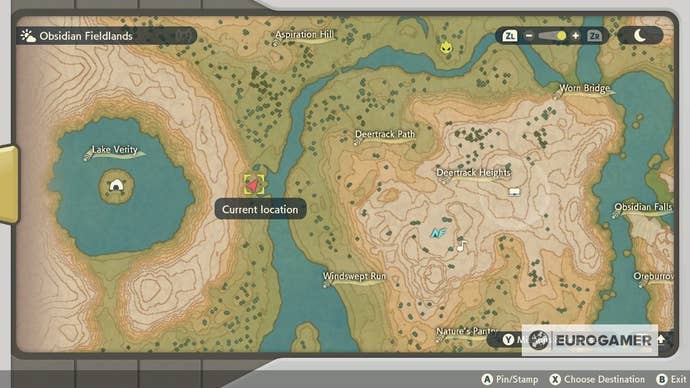
Quick detour north now - fly to the north of this island, just west of the Worn Bridge.
The Wisp is at water level.
Head anti-clockwise around the island until you’re almost level with your basecamp.

You’ll see the next Wisp on the mountainside.
Once you reach the top of the crater, head north.
The next Wisp is on the inside mountainside.

It’s pretty difficult to miss this one.
The next Wisp is on the small atoll north of Ramanas Island.
Over the water again, head east towards the dam.

This Wisp is on another grassy hill.
Head over the dam to the mountain north of The Heartwood.
This is the first of four few Wisps heading southwest towards the edge of the map.

Fly southwest to the location below.
Continue southwest along the mountainside.
Grab the last Wisp of this stretch at the far end of the island.

Fly over to Ramanas Island for the next Wisp.
Quick-travel to your camp in the middle of the map and head south up the massive mountain.
You’ll find the next wisp up there.
Glide north to the next location - you’ll see it by the torch-lit path.
Finally, fly east to just north of Obsidian falls.
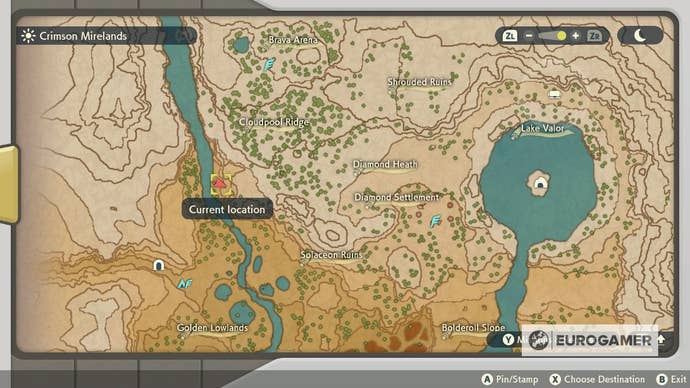
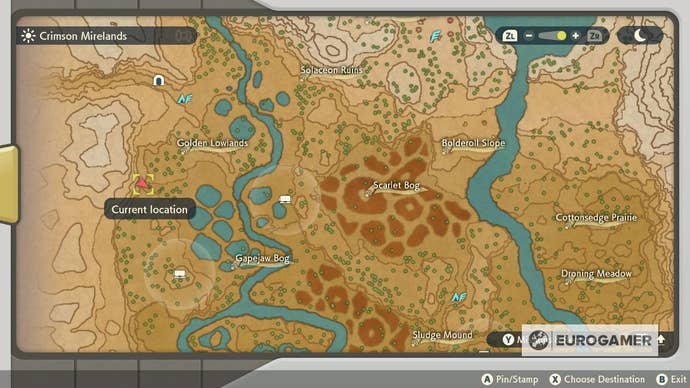
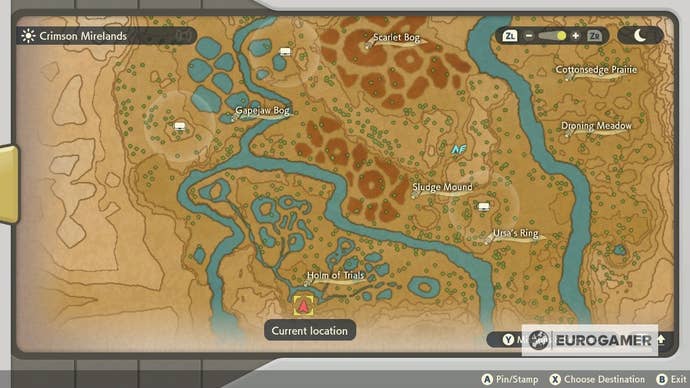
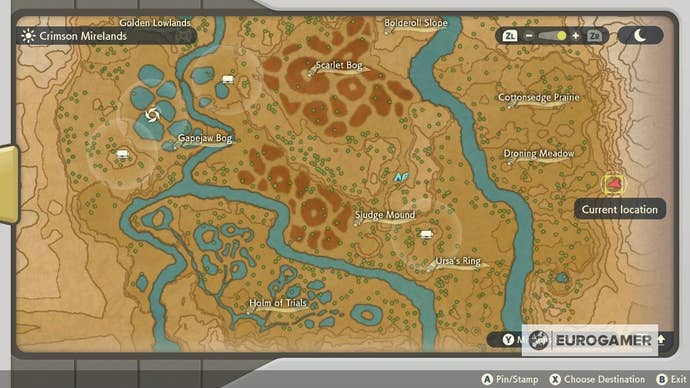
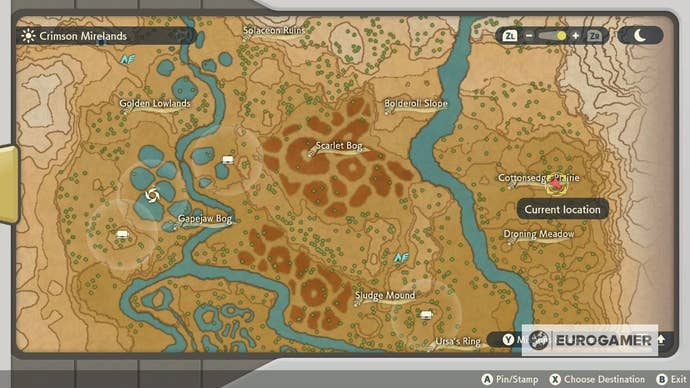
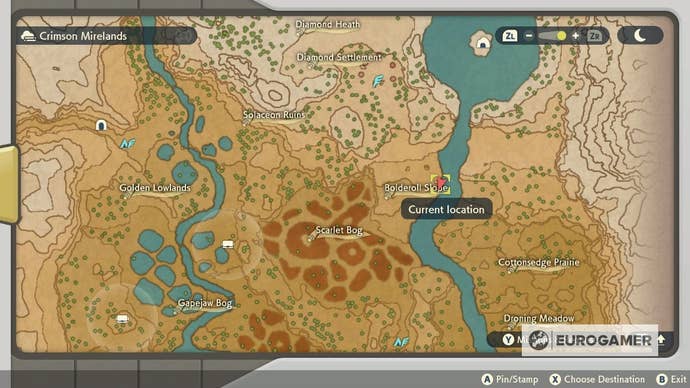
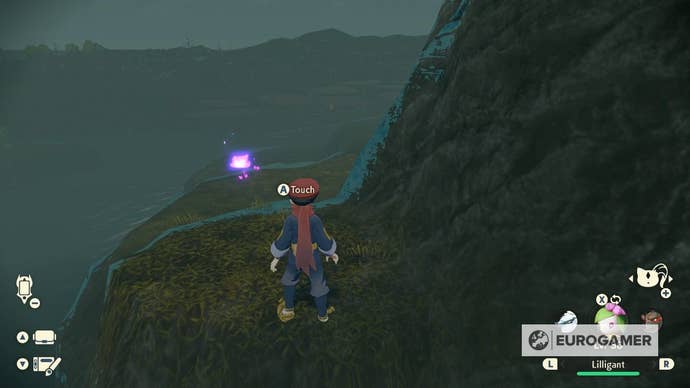
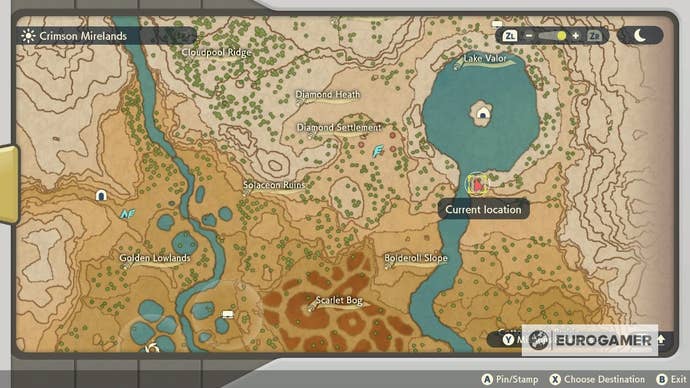
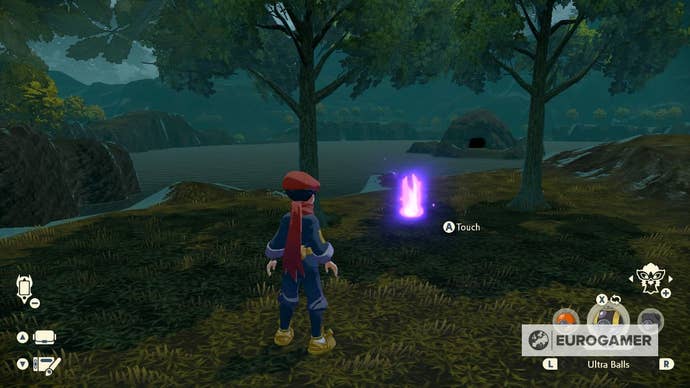
Crimson Mirelands wisp locations
There are19 Wispsin total to find throughout the Crimson Mirelands.

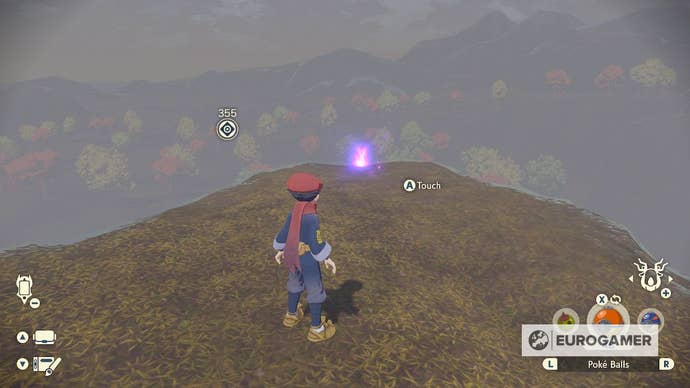
This Wisp is pretty difficult to miss.
Continue on towards the Cloudpool Ridge.
From the air, you should see the next Wisp clearly on the mountainside.
Turn northeast towards the Shrouded Ruins.
This one’s pretty high up, so getting some extra elevation with Braviary will help.
Quick-travel back to your first basecamp and head south this time.
You’ll find a Wisp on a ridge at the location below.
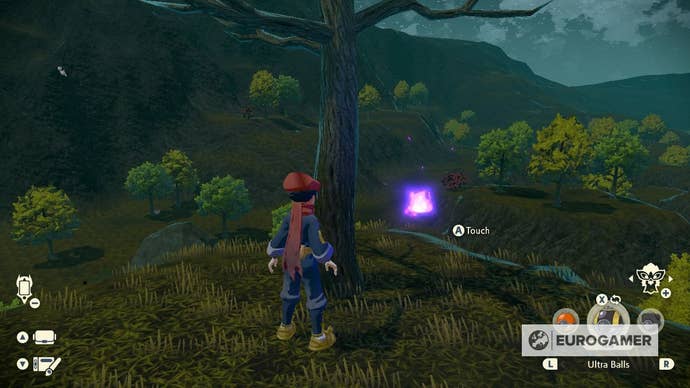
Turn west and look for a gap in the mountainside.
The Wisp is hiding behind a tree.

Get back in the air and head to the southmost pool east of the river.
Again, it’s pretty difficult to miss this one.
Fly east-by-southeast to the hills south of the Holm of Trials.

There’s a Wisp hugging the mountainside.
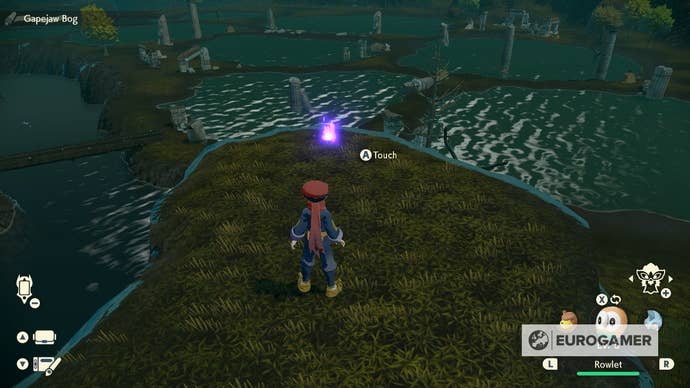
Continue east to the big pool with the island in it.
You’ll find another Wisp there.

Head over the water again, continuing east.
The next Wisp is in the southeast corner of this body of land.
It’s fairly high up, but should be clearly visible from the air.

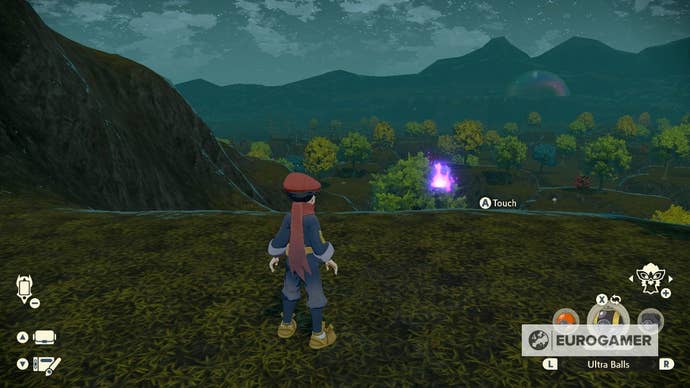
Looking to the eastmost body of land now, head to the next location east of the Droning Meadow.
have a go at stay pretty high up on Braviary as you’ll need the elevation.
Continue north to the Cottonsedge Prairie.

There’s a Wisp on a hill to the east.
Turn west towards where the river bends.
You’ll see a Wisp on top of a hill.

Fly southwest over the water to the Wisp at the location below.
…and then immediately follow the river north to this location on the Bolderoll Slope.
Head towards the right-hand bank of where the river meets Lake Valor.
You’ll see the Wisp between the two trees.
Now fly west (or quick-travel) to the Diamond Settlement.
There’s a Wisp on the overlook at the location below.
Look south, back towards the Bolderoll Slope.
You’ll find the Wisp tucked away on the mountainside.
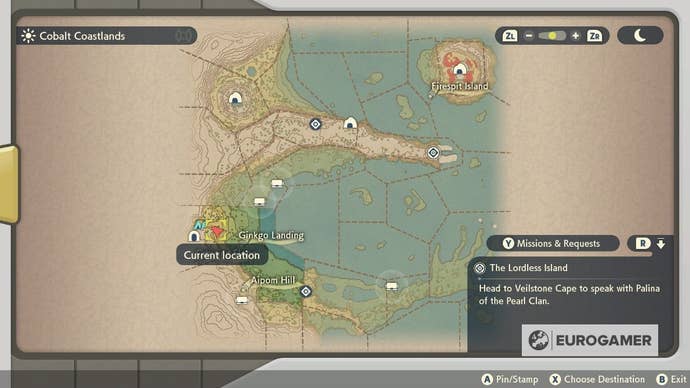
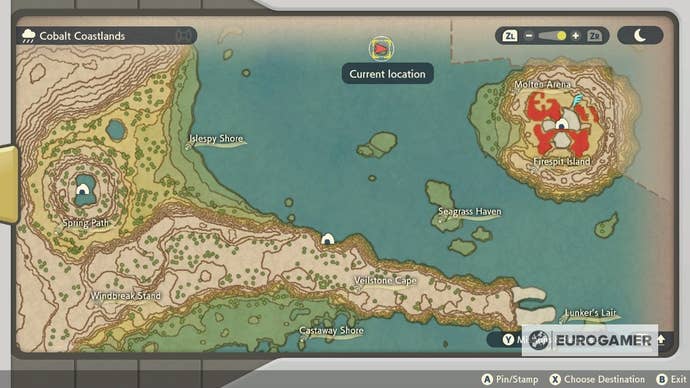
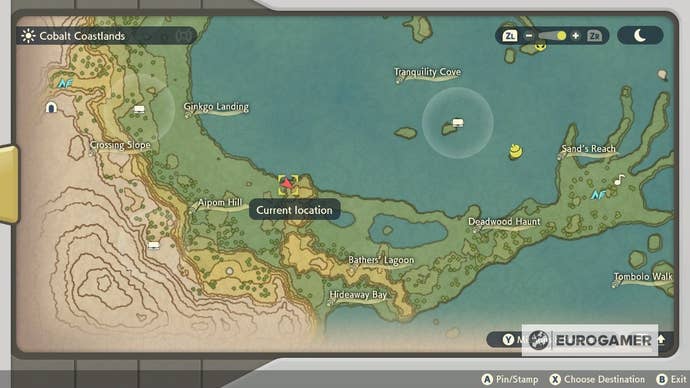
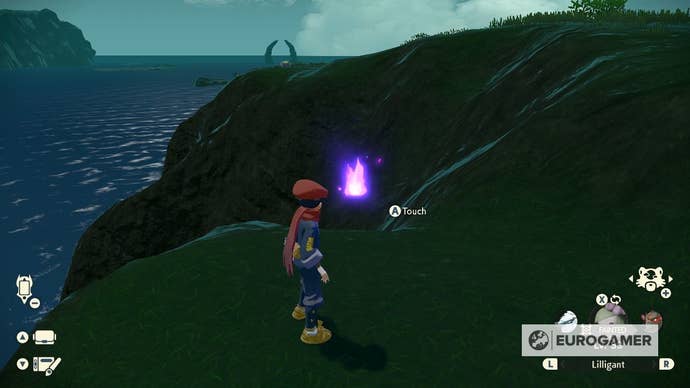
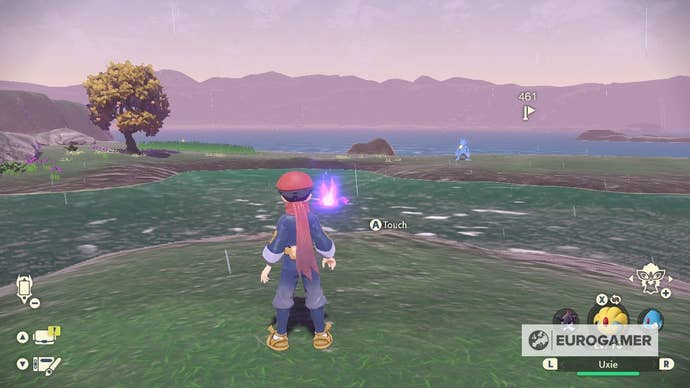
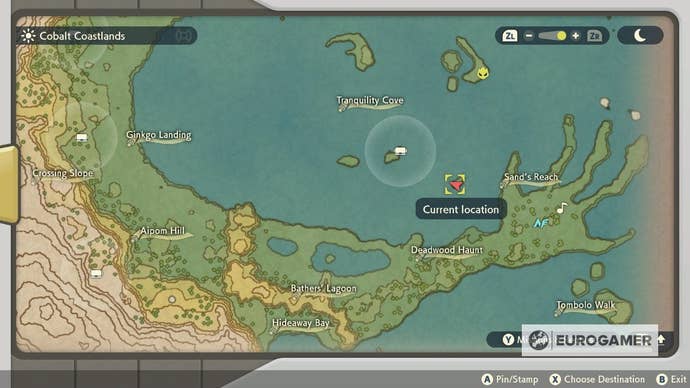
Cobalt Coastlands wisp locations
There are20 Wispsin total to find throughout the Cobalt Coastlands.
Starting at your basecamp, head straight down the path and climb the cliff to your right.
This one is very easy to spot.
You’ll find the next Wisp on the path.
Pick up this Wisp, then head descend the cliff to the next Wisp.
Now that you’re at sea level, head west to the Spring Path.
You’ll find the next Wisp in the crater near the cave.

Keep going in that direction - you’ll find the next Wisp beyond the crater on the mountainside.
Leave the crater heading northeast, following the mountainside.
You’ll see the next Wisp before you drop down to sea level.
You’ll find this Wisp hidden behind Firespit Island in the far northeast of the map.
While you’re here, fast-travel to Firespit Island and jump on Braviary.
From this altitude, you should be able to easily soar south to the island with the next Wisp.

Back on Basculegion, follow the cliffs towards the Castaway Shore.
Either fly up or climb the cliff to the next Wisp.
Use your elevation to fly south to the weird-shaped island south of you.

The Wisp is on the western tip.
Quick travel back to your first basecamp and then follow the mountain to the south.
The next Wisp is by the Crossing Slope.
Continue past Aipom Hill to the northern peak of this part of the coast.
On the western-side of this hill you’ll find the nest Wisp.
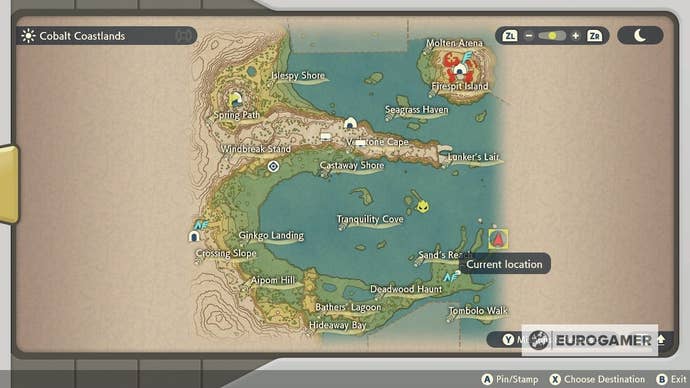
Continue East to the large lake with the island in the middle.

You’ll find the next Wisp there.
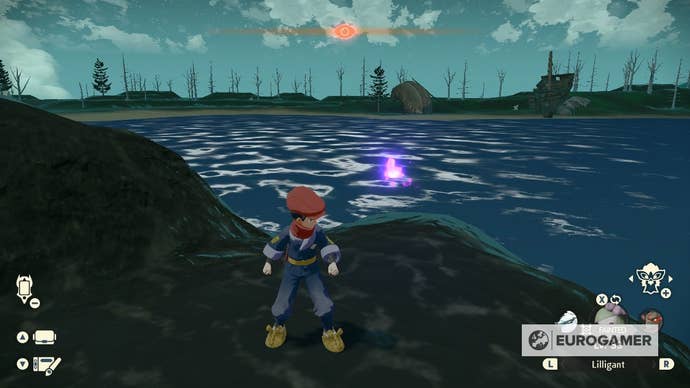
Take Basculegion northeast to the island immediately west of Sand’s Reach for the next Wisp.
This Wisp is on the ‘ring finger’ of the Reach.

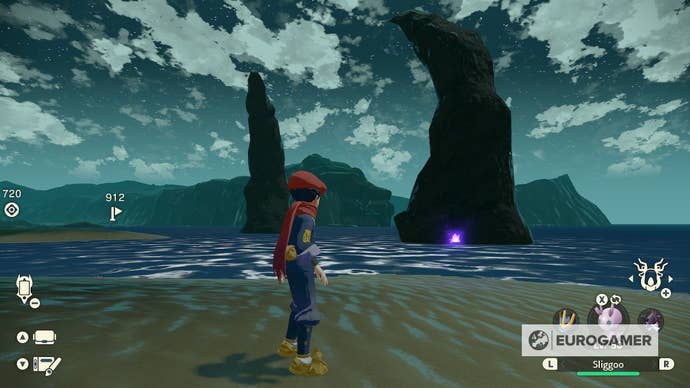
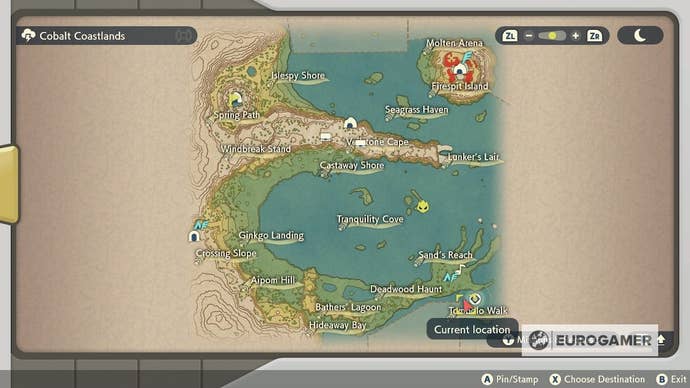
Your last Wisp for this area is on the southmost island, south of Deadwood Haunt.
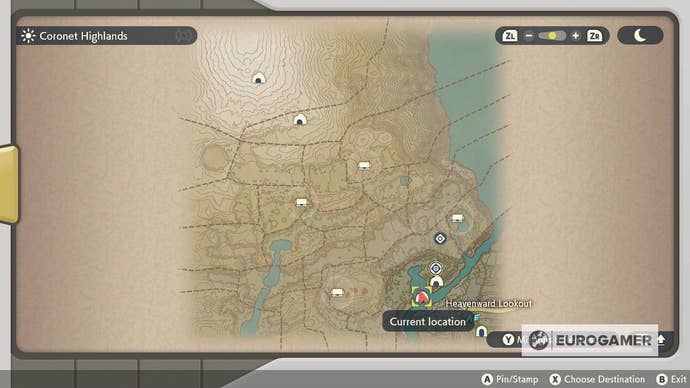
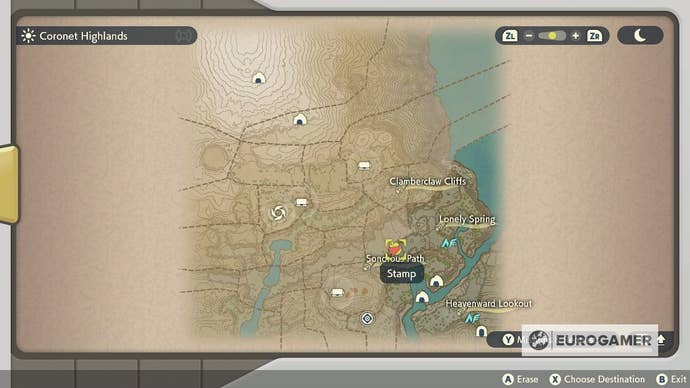
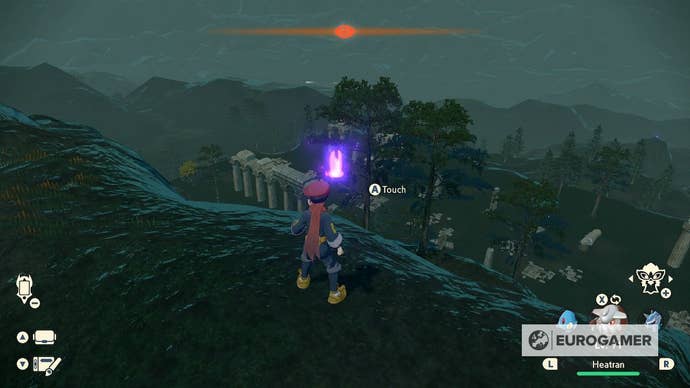
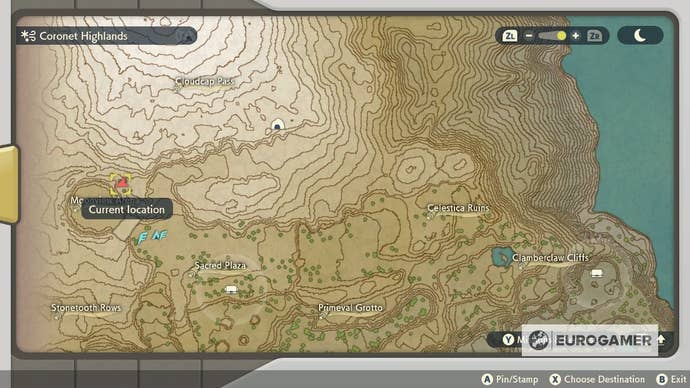
Coronet Highlands wisp locations
There are21 Wispsin total to find throughout the Coronet Highlands.
Starting at basecamp, follow the path north (to the right).

You’ll find your first Wisp at the very edge of the path.
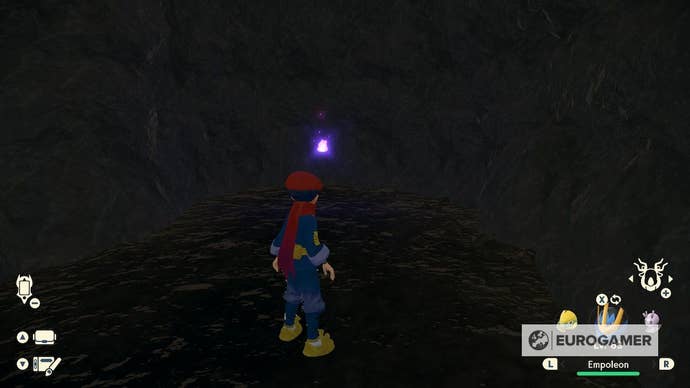
Turn around and head to the other end of the path.
Head out and over the cave to the next Wisp.

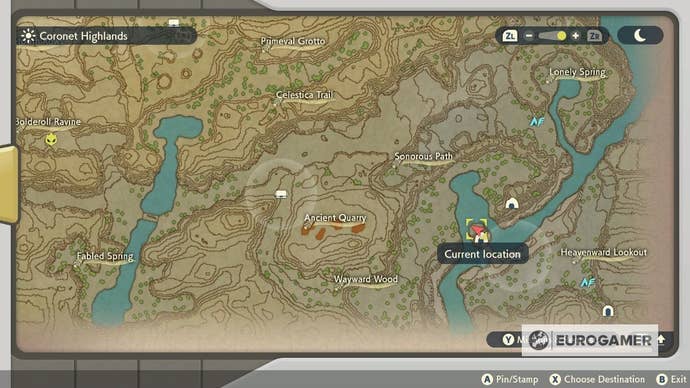
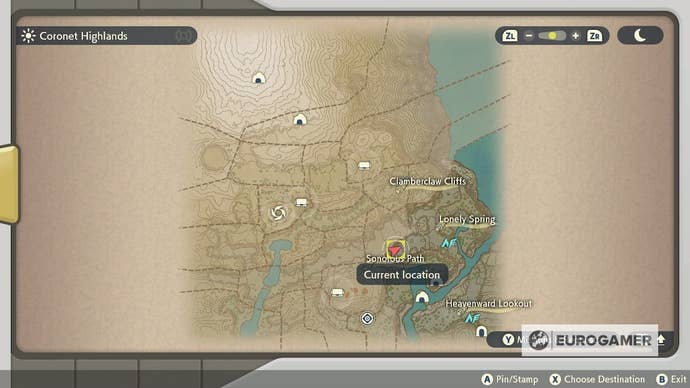
Head north to Sonorous Path.
This Wisp is also in a cave.
Again, out and over the cave to the next Wisp.

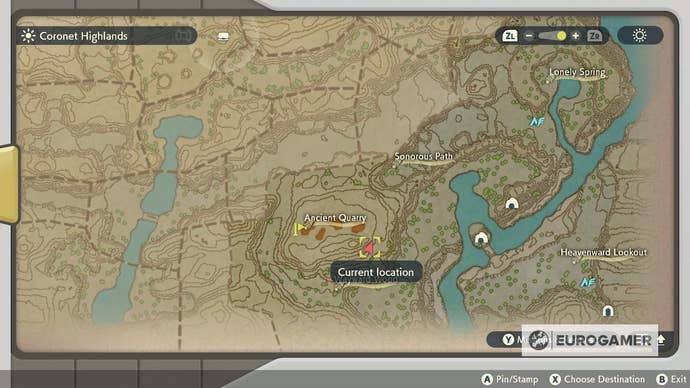
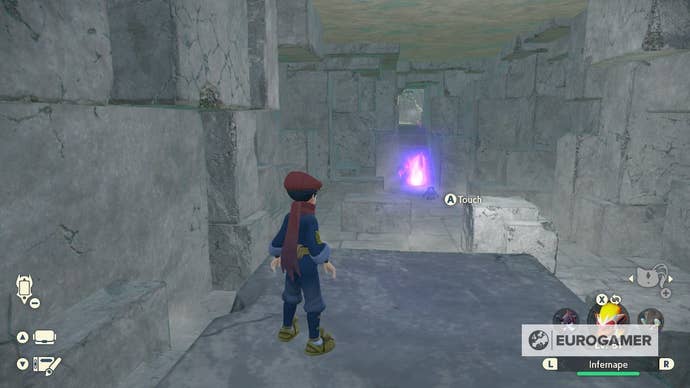
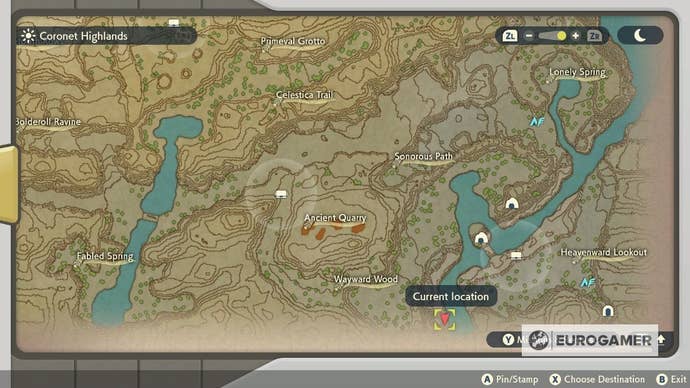
Turn south towards the Ancient Quarry, in the tunnel you walk through for story reasons.
You’ll need Sneasler to get this one.
Leave the quarry and head south to the river.
You’ll find this one on the riverbank to the south.
Quick-travel to the camp near Lonely Spring and head northwest to the map location.
Climb the cliff to this Wisp.
From this elevation you might fly northeast to the next Wisp.
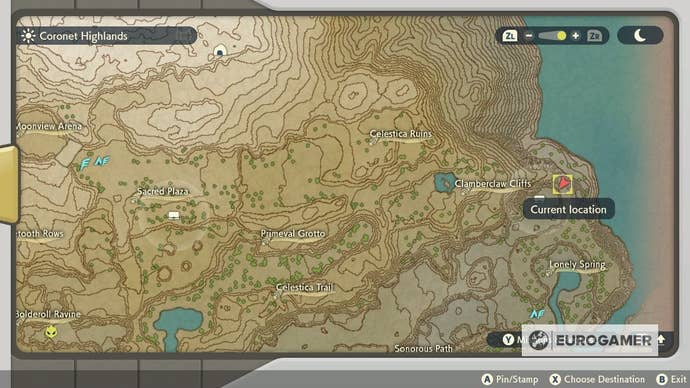
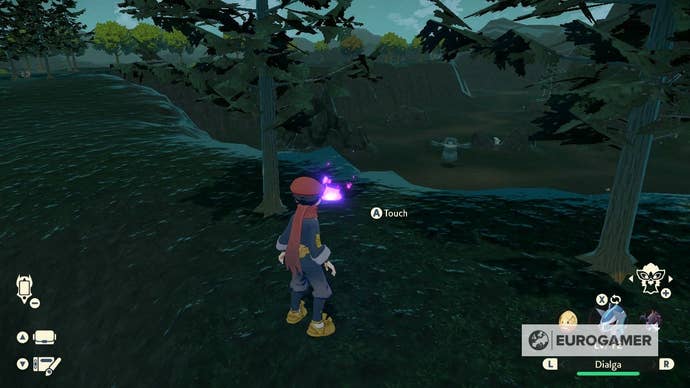
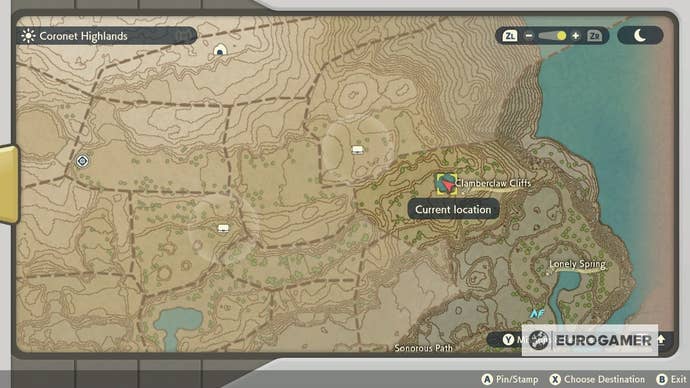
Head west again to the lake at Clamberclaw Cliffs.
There’s a Wisp in the middle of it.
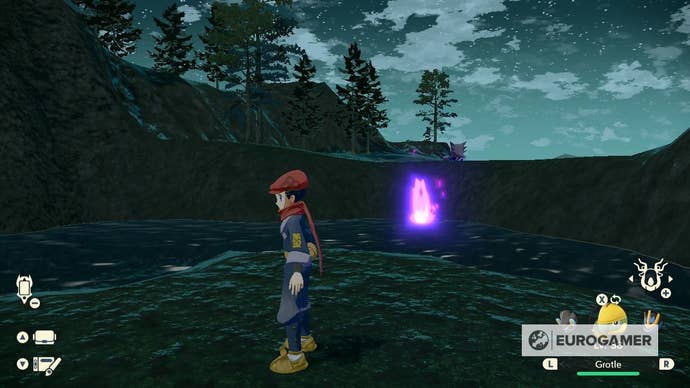
It’s a bit of a trek to the next Wisp, but fly west to the Primeval Grotto.
This one is on the mountain above the tree line.
Just north of the last Wisp there is a bunch of Greek-style ruins.
There’s a Wisp in the circle of columns.
Continue northwest towards the Moonview Arena and climb the mountain to the next Wisp at the location below.
From this height you’re free to fly west to the top of the arena.

The next Wisp is on the northeast lip of it.
Fly south to the valley of gravestones at Stonetooth Rows for your next Wisp.
Continue south towards the Bolderoll Ravine.

You’ll find the next Wisp here, among the Gravellers.
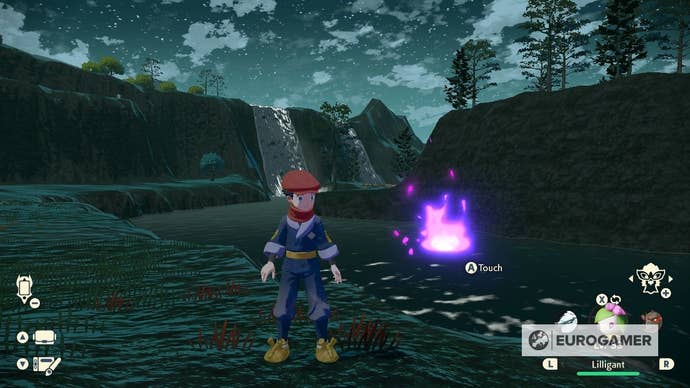
South again, head towards the Fabled Spring and then up the hill.
You’ll spot this Wisp with a beautiful view of the waterfall.

Head north towards Celestica Trail.
Continue north towards the Sacred Plaza, where you find a square of four hills.
This Wisp is on the southeastern one.

Fly south to the beach at the top of the waterfall for your last Wisp in this area.
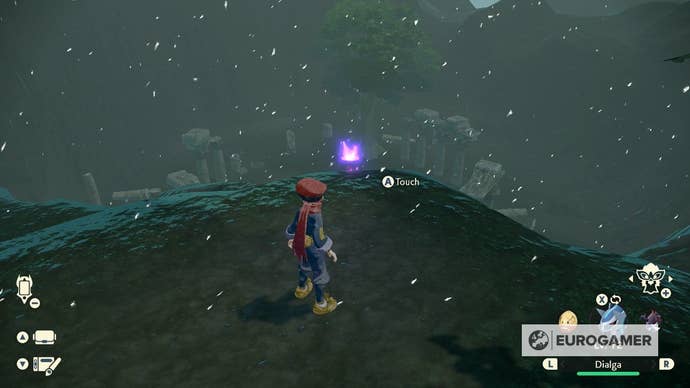
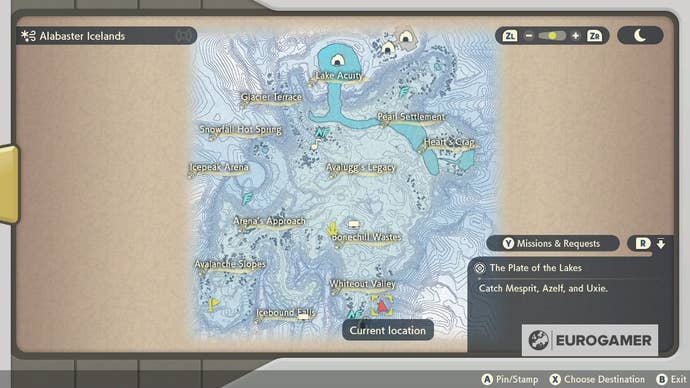
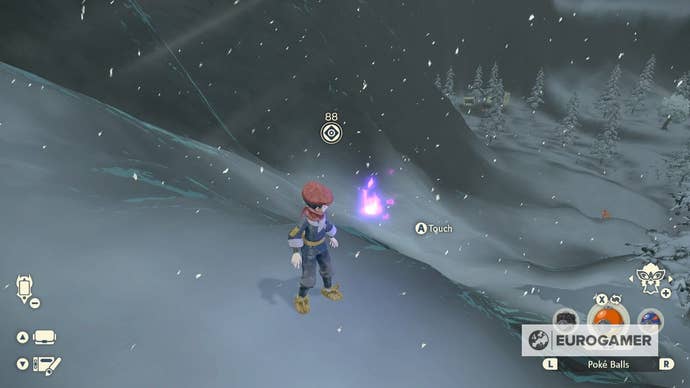
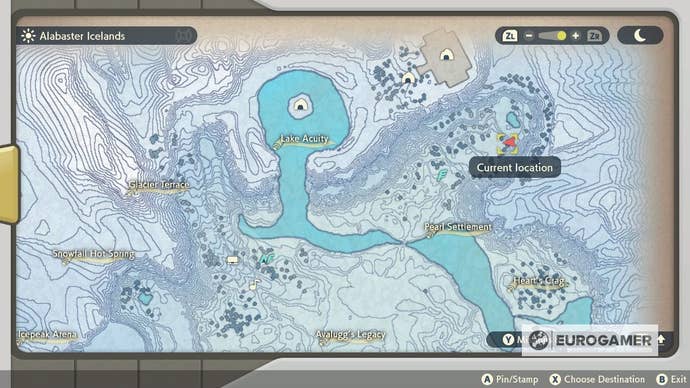
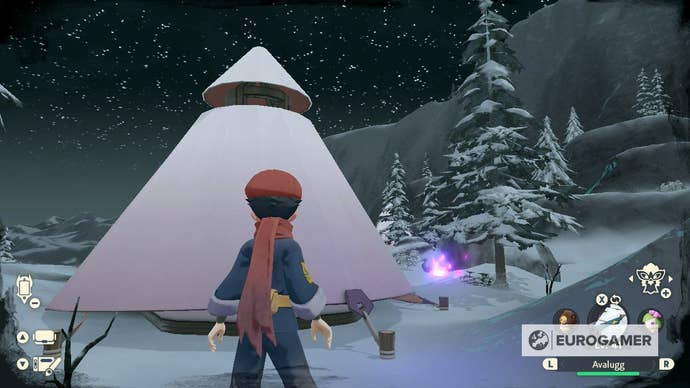
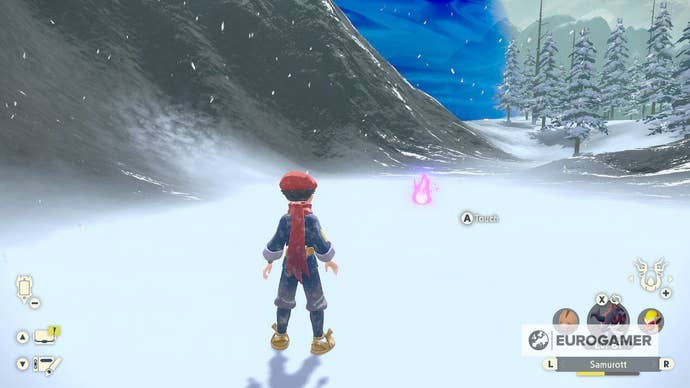
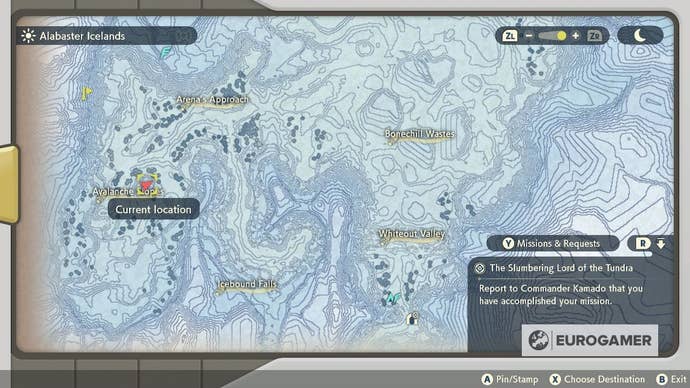
Alabaster Icelands wisp locations
There are20 Wispsin total to find throughout the Alabaster Icelands.
Because of the size and blandness of the Icelands, this is the most difficult area to finish.
If you’re struggling, just return to camp and wait for the next nightfall.
Your first Wisp is to the right (east) of your first basecamp.
You should be alble to see it standing at the exit of the camp.
Head north the mountain west of Whiteout Valley.
You should see it at this location below.
Turn southeast and fly towards the mountains - you should see it from the last Wisp.
This one is pretty high up, so ensure you have elevation so you don’t miss it.
Quick-travel to the Pearl Settlement and then head up towards the hot springs.
This one is nestled behid a hut, so you may miss it from the air!
Time to take on the north of the area.
Fly down to the east bank of the waterfall at Lake Acuity.
This one is virtually impossible to miss.
Continue west to Glacier Terrace and climb the mountain.
This Wisp is pretty easy to spot.
South slightly and up the mountain, you’ll find the next Wisp.
Immediately west of here, just next to the quick-travel point, you’ll find another Wisp.
Fly south-by-southwest to the the rocky outcropping.
You should spot this one by air fairly easily.

Look east into the Avalanche Slopes, and you’ll see this Wisp from the last one.
Glide on down and nab it.
Fly to the far southwest of the Slopes for the penultimate Wisp.

This one is the trickiest, as it’s in a cave system with two entrances.
Either way, jump in, explore the cave and nab the (almost) final Wisp!
OurPokemon Legends Arceus walkthroughwill help you pick astarter Pokemonand win theKleavor boss fight.
Theres a host of newevolution methods, including ones for theEevee evolutions.
Take the time to completeRequeststoo, such asThe Seas Legend,Wurmples Evolved!and finding theWisp locations.
Dont forget to track down everyUnown locationtoo.
Good luck, and may your Spiritomb reward be shiny!
With that complete, there are many other requests out there to find - includingStrange Happenings at Night.