How to solve the puzzles in Vilverin dungeon.
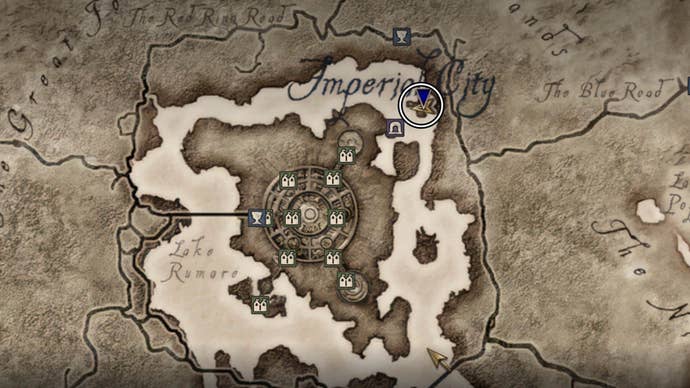
Vilverin dungeon in Oblivion Remasteredis one of the earliest dungeons you’re able to explore during your adventure.
Without further ado, here’s ourOblivion Remastered Vilverin puzzle solutions and walkthrough.

On this page:
Looking for more Oblivion Remastered help?
Check out ourtips and tricks walkthrough hubfor all our guides in one place.
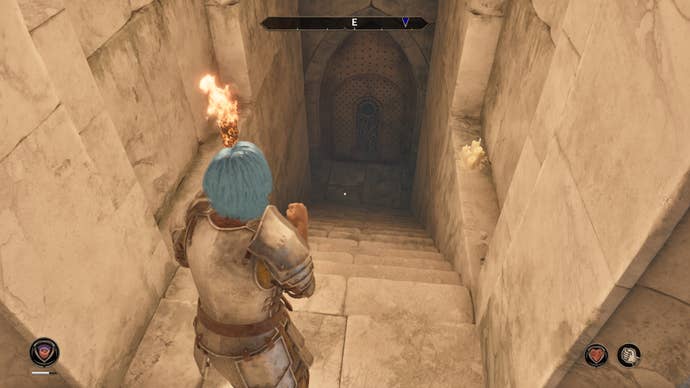
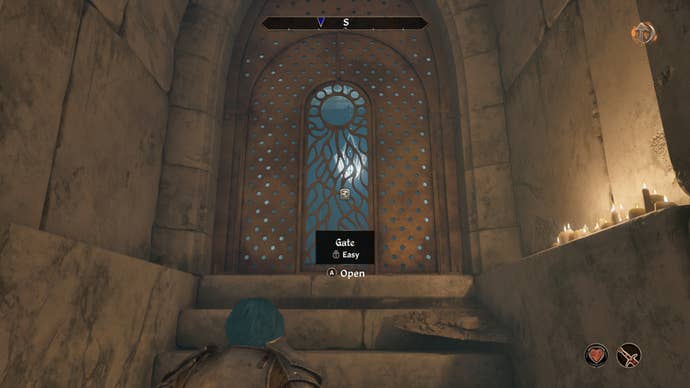
initiate the gate and keep heading forward down the stairs where another Bandit will be waiting for you.
At this point head to the left to continue through the dungeon.
Keep walking fowards until the path leads you into a large room where yet more Bandits await.
Deal with them quickly.
In this room there’s a ‘very easy’ locked chest that contains Gold.
You will need tolockpickit to open it.
Deal with them first to make exploring this room easier.
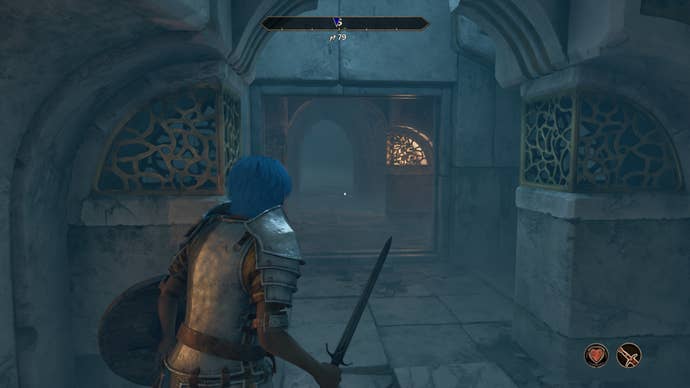
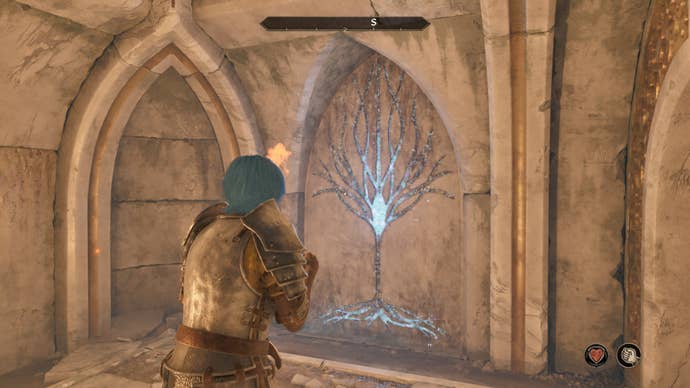
In this area, you’ll find a door with a glowing tree on it.
Interact with this door to enter the Vilverin Canosel which is the next part of the dungeon.
Directly ahead of you is an Ayelid Cask, lockpick this to collect Gold and Wormwood Leaves.

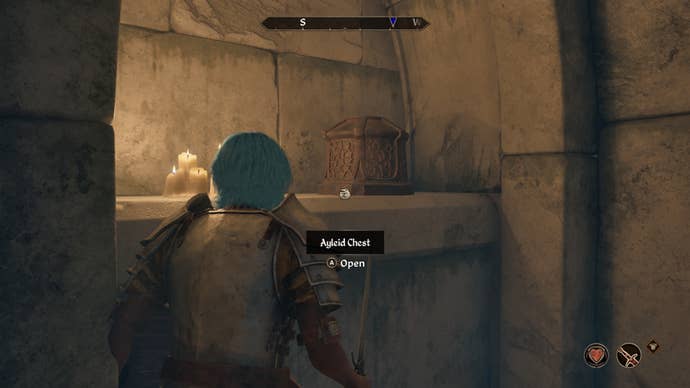
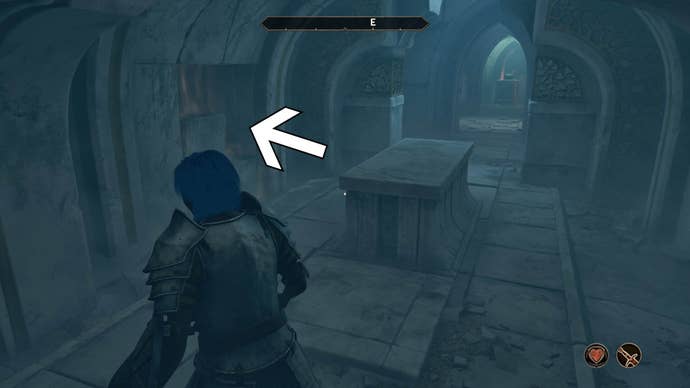
From the cask, head straight to see a stone altar.
Behind the altar is an Ayelid Chest.
Lockpick this to collect a Brass Ring, Gold and an Iron Battle-Axe.
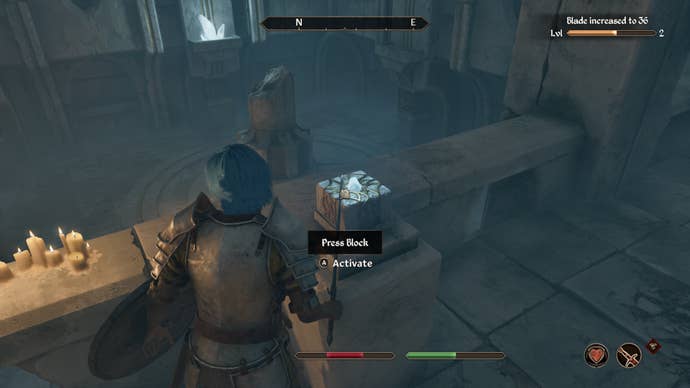
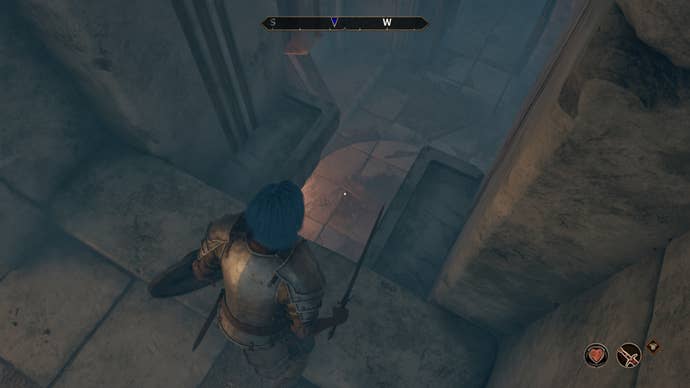
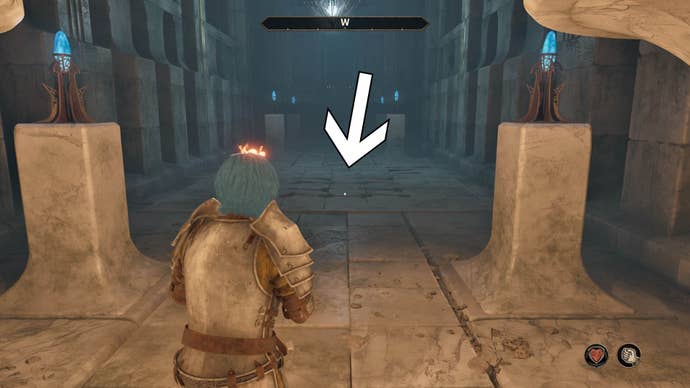
On the fast side of this altar is a square stone on the ground.
Stand on this to activate it and a small secret doorway should appear in the wall beside the altar.
From the dead bandit, look left and you should see another stone altar.
On the far side of this is a stone square on the floor.
Stand on the stone to activate it and this will open yet another secret wall behind you.
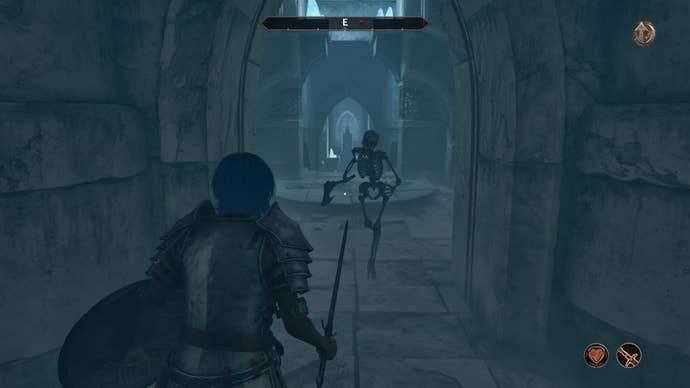
Head through here into a large area where some Skeletons are waiting for you.
Deal with them first.
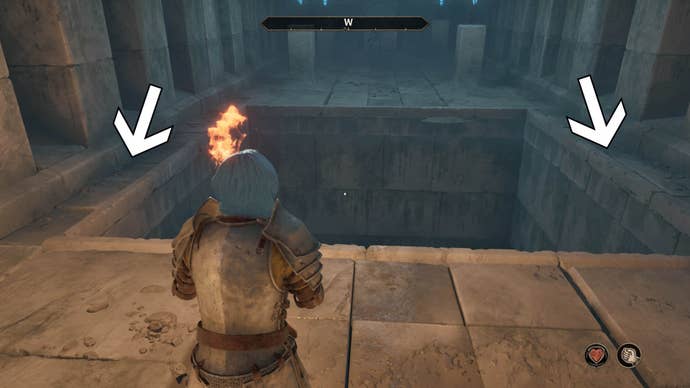
Enter the body of water from the stairs and swim directly opposite you.
When you surface head up the steps and fight yet another Skeleton that will pop out from your left.
This corridor is lined with locked gates, and skeletons behind these gates.
Lockpick this successfully to create a shortcut back to the room you found the dead Bandit in.
Now, however you’d like to, return to the room with the body of water in it.
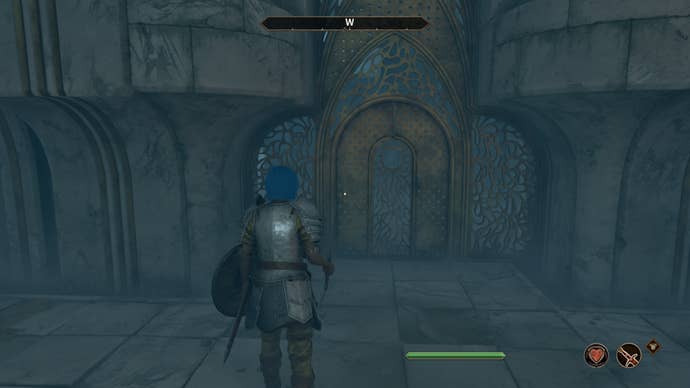
In this room, look for the door with the glowing blue tree on it.
Vilverin Wendesel
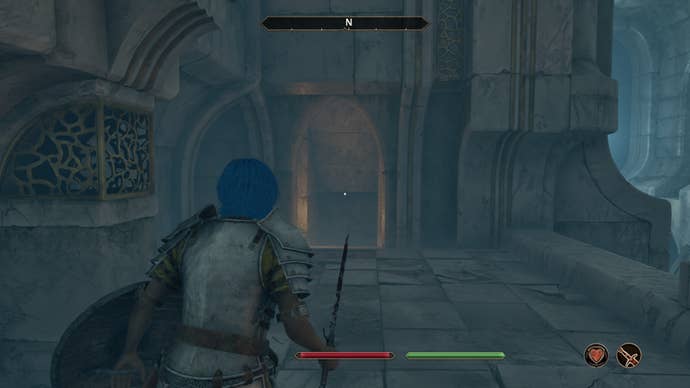
Now, follow the path forward and down the stairs into the next room.
You’ll be safe now.

First of all, head to the right and you’ll find a ‘very easy’ chest in here.
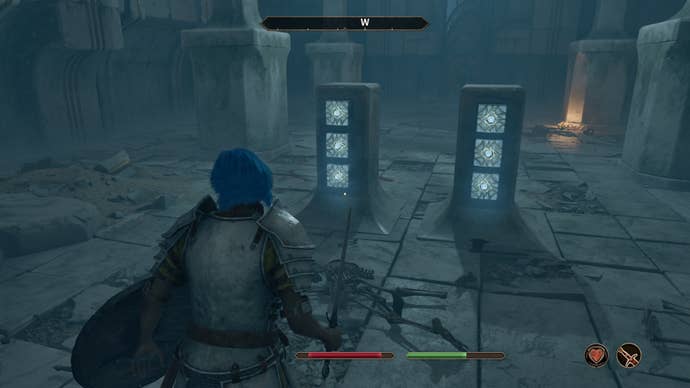
Keep following this path and eventually you’ll come to a large room where the gate shuts behind you.
However, if you’re not confident with your weaponry, we suggest opening them one by one.
Along here, there will be another glowing blue switch.
Press this and then head back down to the lower floor.
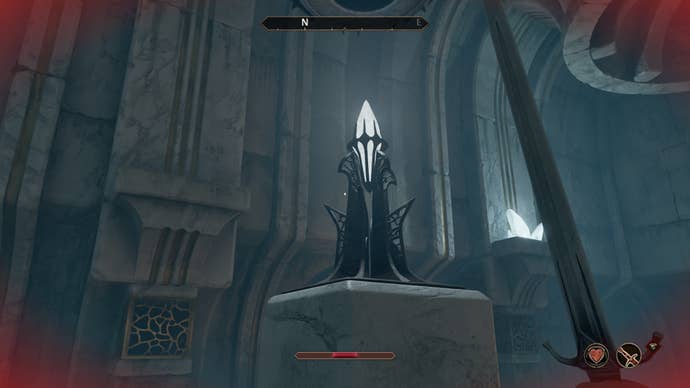
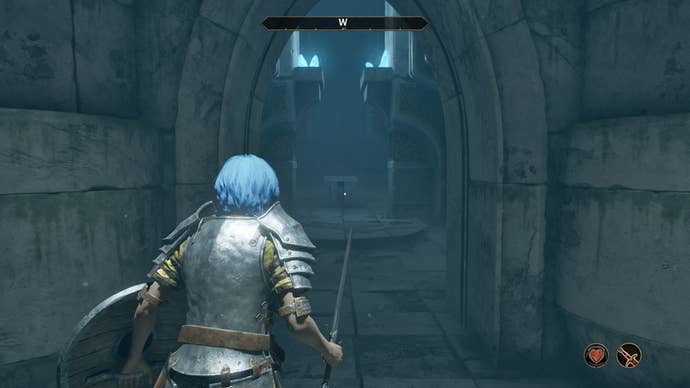
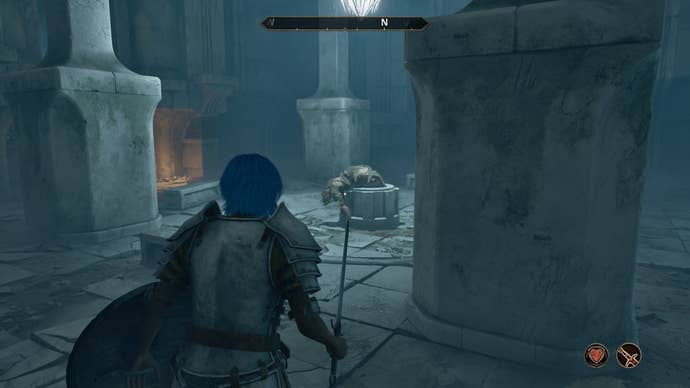
you’ve got the option to now collect the Varla Stone in the middle of the room.

We highly recommend doing this, as these are extremely valuable.
Interact with this door to enter the Vilverin Sel Sancremathi - the next part of the dungeon.
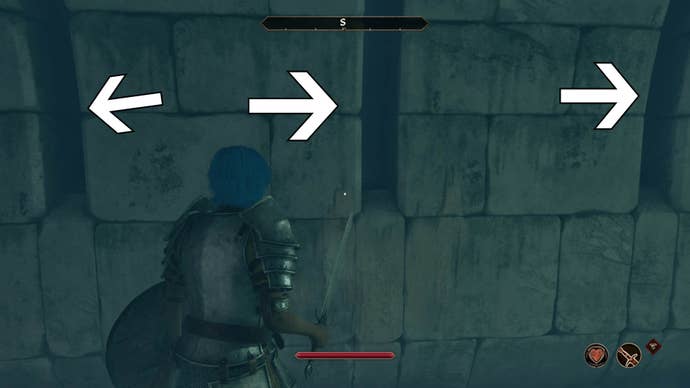
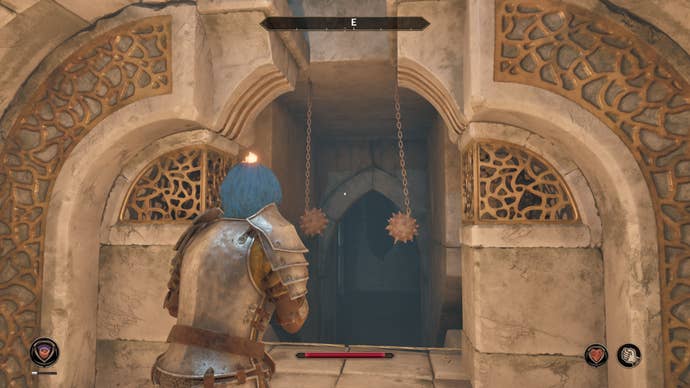
To get through them safely you’re gonna wanna time your steps forwards.

From the Ayelid statue (with your back facing the way you came) head to the right.
Be careful as more blades are swinging across the path here.
Safely cross the blades and you’ll come to an ‘easy’ locked gate.

Lockpick this and head inside to find another Skeleton.
Once more, blades will cut across your path.
Cross these safely and follow the path to encounter yet another Skeleton.
Deal with them and bring up the Ayelid Chest behind them to get a weak potion of healing.
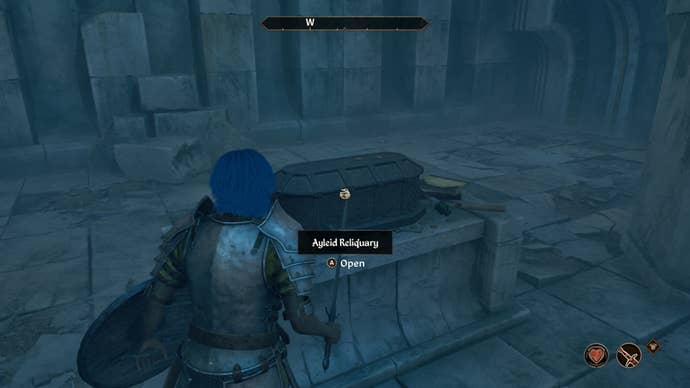
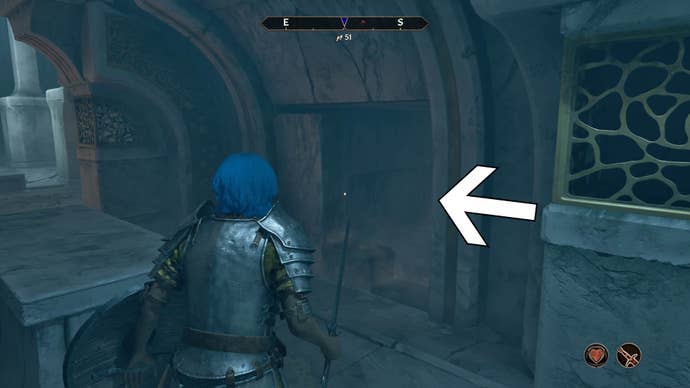
Here, you’ll find an Ayelid Reliquary.
Open this to get Gold and a Starlight Spell Scroll.
Once you’re done in this room, keep pressing forwards until you come to a ‘hard’ gate.
Interact with this to enter Vilverin (again) and start making your way to the exit.
While facing the chest, head to the right to drop down to the lower floor.
You’re now back near the beginning of the dungeon.
Well done for completing the dungeon.