Including how to join a dedicated Palworld server.
If you already know this, then feel free to jump ahead to the next step.
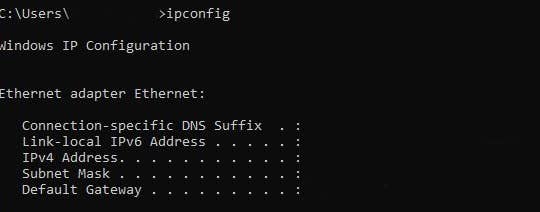
If you don’t then you might easily find it by opening Command Prompt and entering ‘ipconfig’.

verify you note down the number next to IPv4 Address and keep this handy for later.
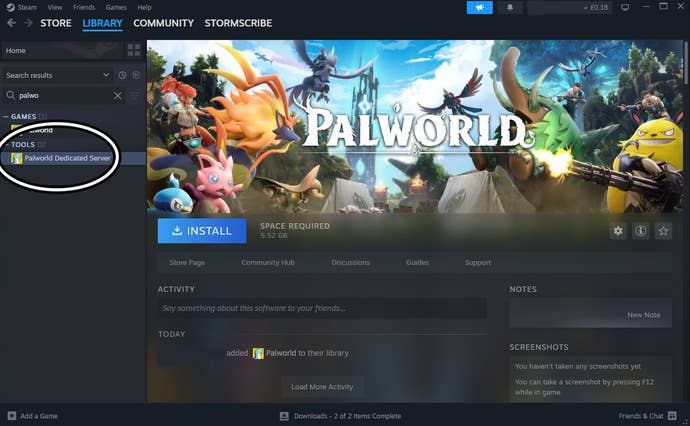
Now you need toclose Palworldandsearch for ‘Palworld Dedicated Server’ in your Steam library.
You may receive a notification from your Firewall while doing this.
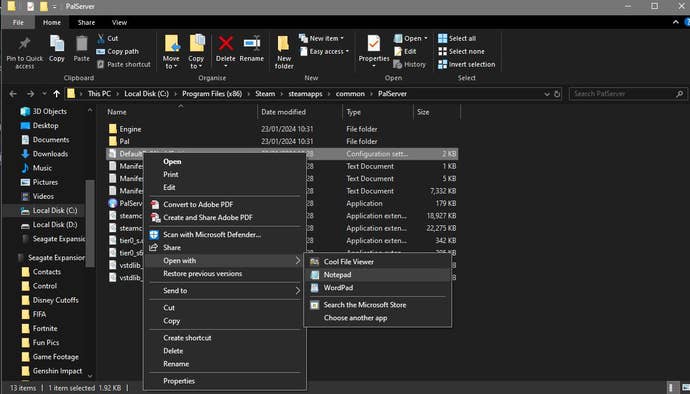
Now you need toopen ‘DefaultPalWorldSettings’ with Notepador another text editor program.
Next, you need tocopy all of the text starting from [/Script/Pal.PalGameWorldSettings].
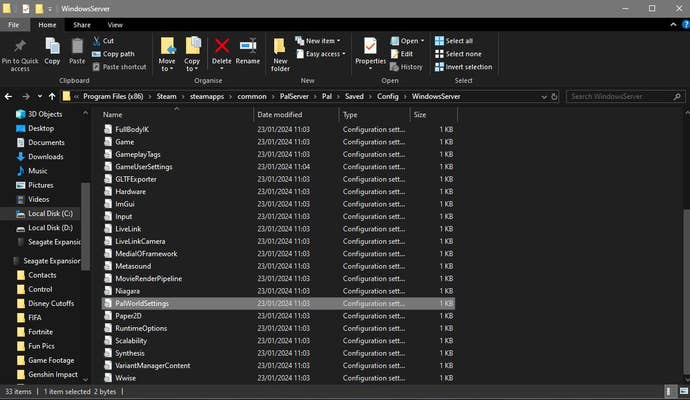
Close this window andreturn to the ‘PalServer’ folder.
Before closing this file, there are a number of things you’ll want to change.
Once found,input the information for each one between the quote marks (").
Once you’re happy with the file,save and close it.

Firstly, you oughta ensure that Palworld can play through your firewall.
If you’re using the Windows firewall, then you first need to open Windows PowerShell as an administrator.
Now all you oughta do is copy and paste the below code into Windows PowerShell.

After this, you’re gonna wanna port forward (also called app forward).
I can, however, give you an idea of what you should probably do.
Though, I dorecommend looking up a guide for your specific router.
Essentially, you should probably find the port (or program) forward section for your router.
Here you better port forward the following numbers for Palworld: 8211, 27015, 27016, 25575.
With the protocol ideally being TCP/UDP.
![Notepad file for “DefaultPalWorldSettings” with text highlighted. The text reads “[/Script/Pal.PalGameWorldSettings] OPtionSettings=(Difficulty==None,DayTimeSpeedRate=1.000000,NightTimeSpeedRate=1.000000,ExpRate=1.000000,PalCaptureRate=1,PalSpawnNumRate=1.000000,PalDamageRateAttack=1.000000,PalDamageRate veMaxHours=1.000000,bAutoResetGuildNoOnlinePlayers=False,AutoResetGuildTimeNoOnlinePlayers=72.000000,GuildPlayerMaxNum=20,PalEggDefaultHatchingTime=72.000000,WorkSpeedRate=1.000000,BiMultiplay="](https://assetsio.gnwcdn.com/Palworld_Dedicated_Server_25.jpg?width=690&quality=70&format=jpg&auto=webp)
Sometimes it’s crucial that you enter the port numbers separately, sometimes as a range.
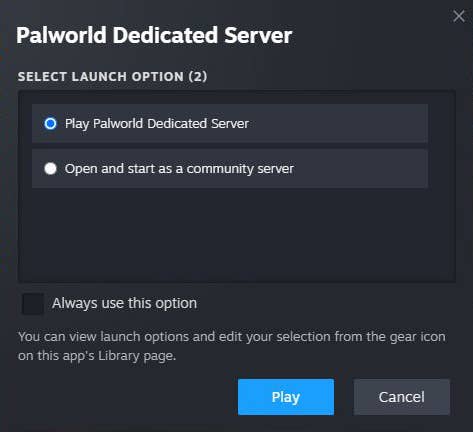
Now,return to Steam and select ‘Launch’for the Palworld Dedicated Server.
You may receive a notification from Windows concerning your firewall when this Command Prompt opens.
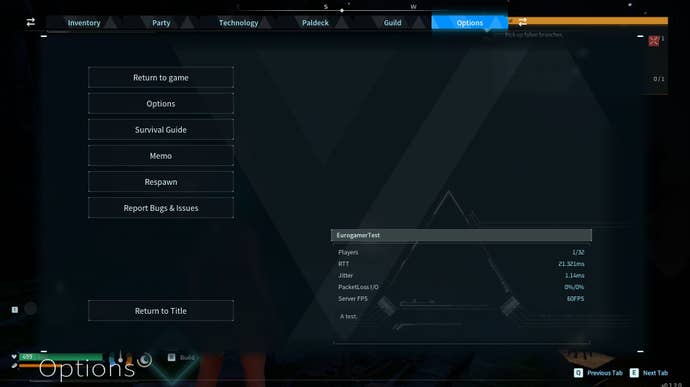
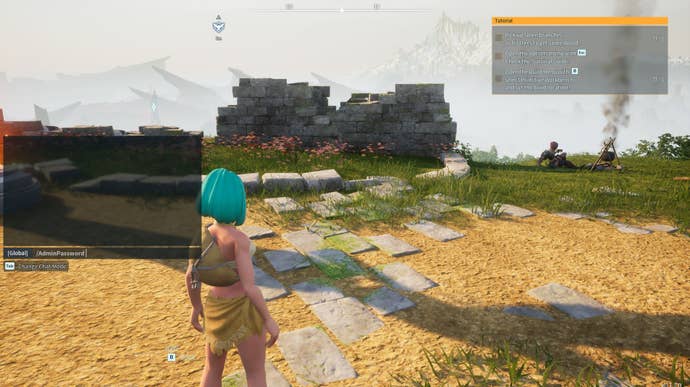
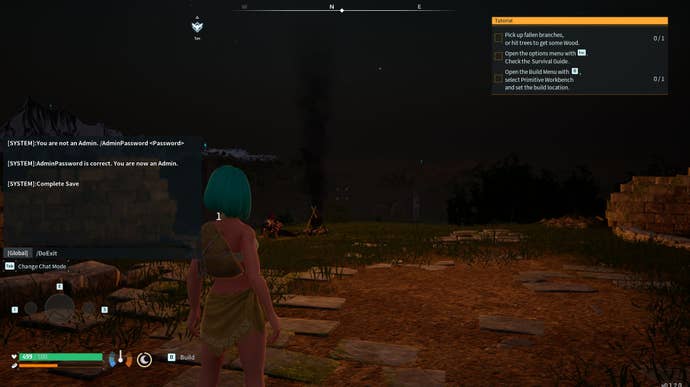
Once you’re playing your dedicated server, press ‘Enter’ to launch the chat box.
Now all you have to do is jot down ‘/Admin Password YOURADMINPASSWORD’ before pressing enter again.
(kindly remember to replace that mess of capital letters with your admin password.)

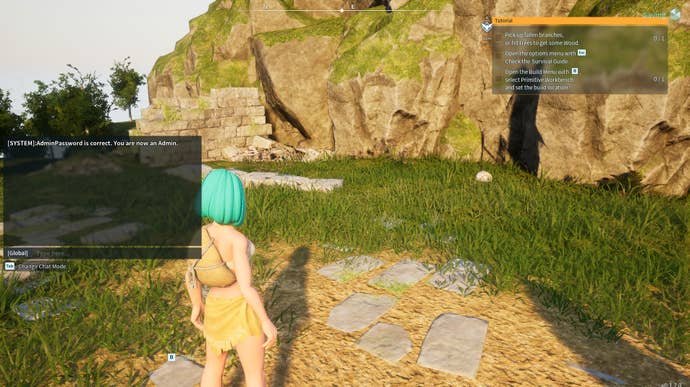
If done correctly, you should receive a notification stating that you’re now the admin for this server.
After doing so, press ‘Enter’ and jot down in ‘/Save’.
Doing so should cause a system prompt stating that the save has been completed to appear.
To terminate the server, you now need to bang out ‘/DoExit’.
This should automatically exit the server, causing you to exit the game.
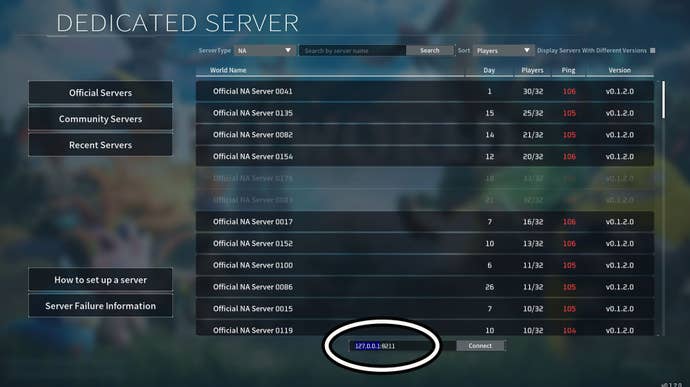
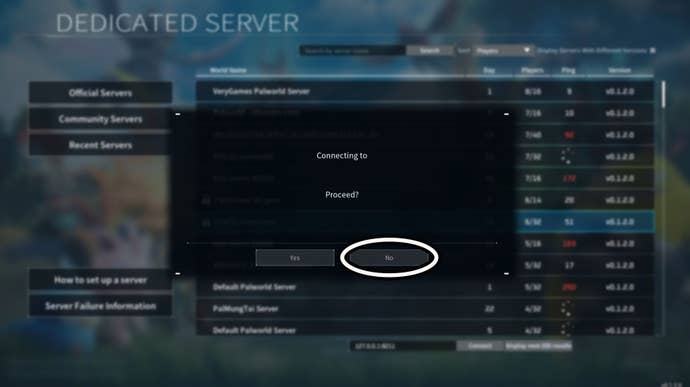
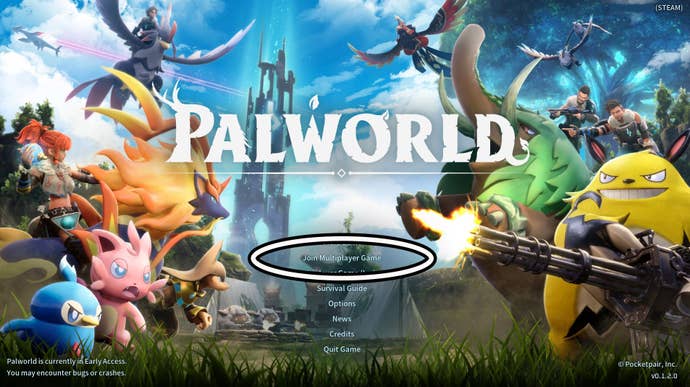
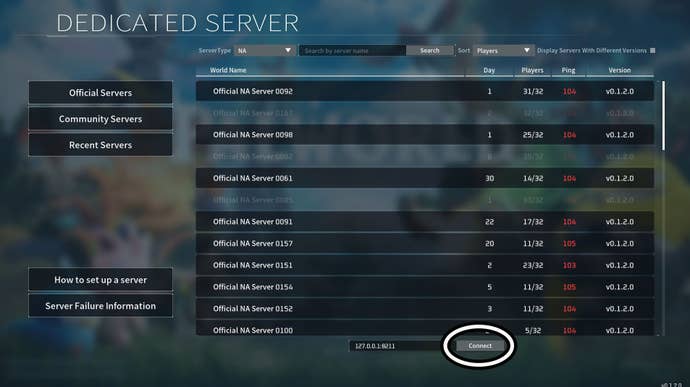
First, it’s crucial that you return to the server list by selecting, ‘Join Multiplayer Game.’
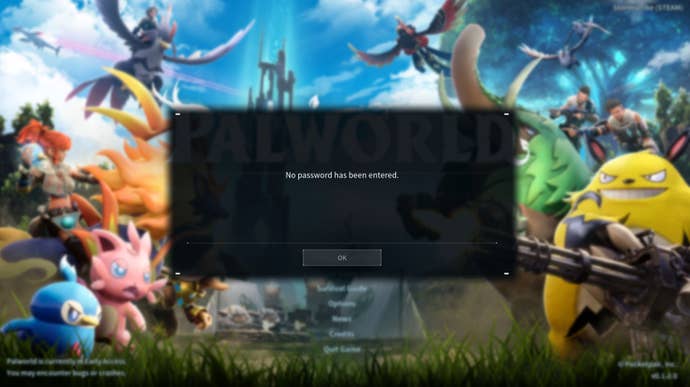
This will cause a password entry box to appear and here you need toenter your server’s password.
(Yes, I’m being serious.)
When the option to join this server appears afterwards, select ‘No’.
Hope you’re enjoying Palworld!
Looking for help with your journey through the Palpagos Islands?
Check-out our guide forPalworld multiplayer, ourPal key in chart, and our list of thebest Base Pals.