Plus, how to upgrade your scanner.
Scanning in Starfieldis also known as collecting Survey Data.
Without further ado, we’re here to show youhow to scan in Starfieldandhow to upgrade the scanner.

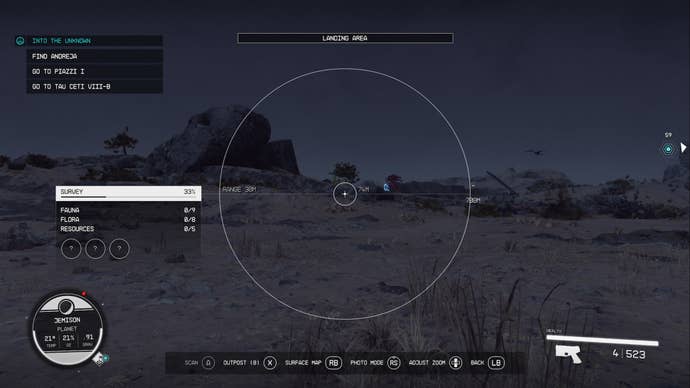
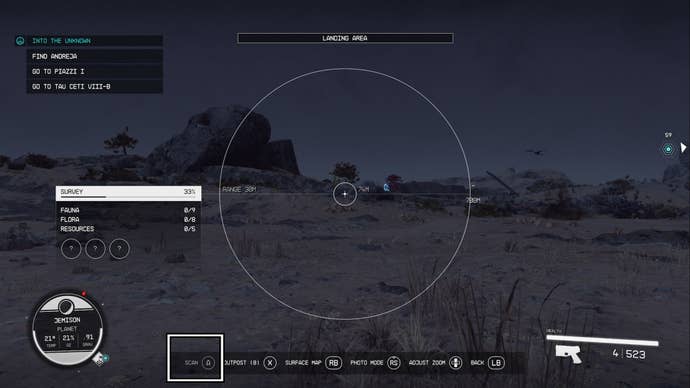
First, you gotta know how to bring up your scanner.
Anything that can be scanned will be highlighted by the scanner in a different colour.
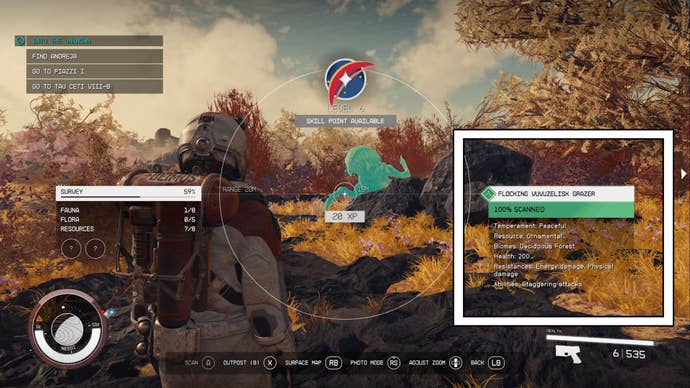
Once you’ve scanned something, information about it will appear on your screen.

Where this information appears will depend on the item you’ve scanned.
The more you scan a plant species, the more information you’ll get on it.
On the right side of your screen you’ll see a percentage appear in a small box.
Also, the more you scan and study a plant species, the more you’ll learn about it.
Also, pay attention to the symbol next to the wildlife name when you’re targeting it.
This will tell you whether the target is friendly or hostile.
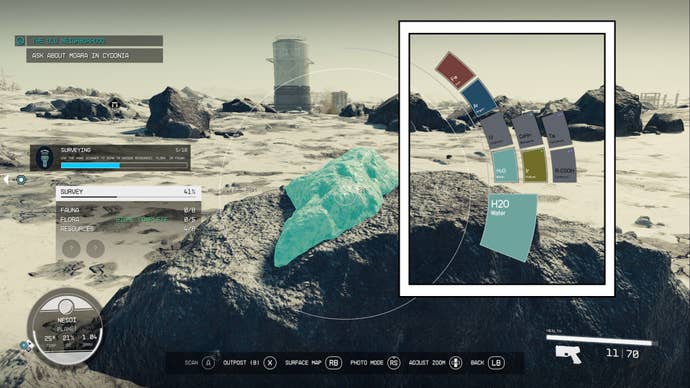
Resources
Resources only need to be scanned once.
Once scanned, the information on the resource will appear on the right side of your scanner.
If you’re yet to find a specific resource, it will remain greyed out.

How close you have to be will depend on the range of your scanner.
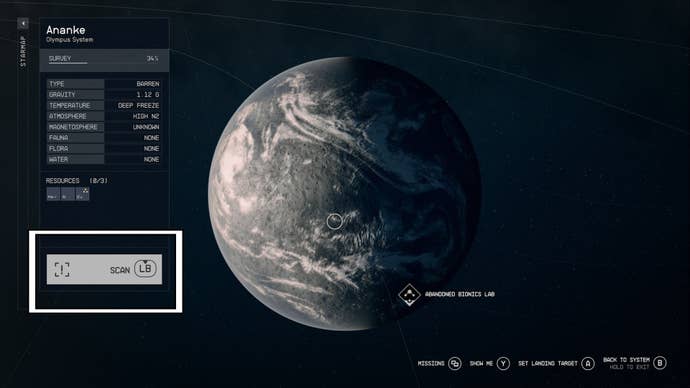
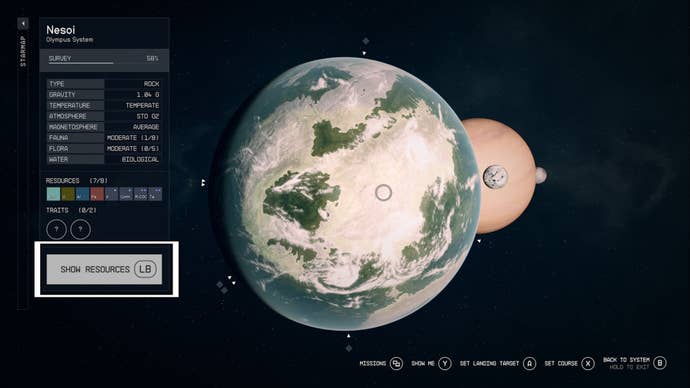
When you’re in range of your planet, head into your star map.
Then, hover over the planet you’re near and want to scan.
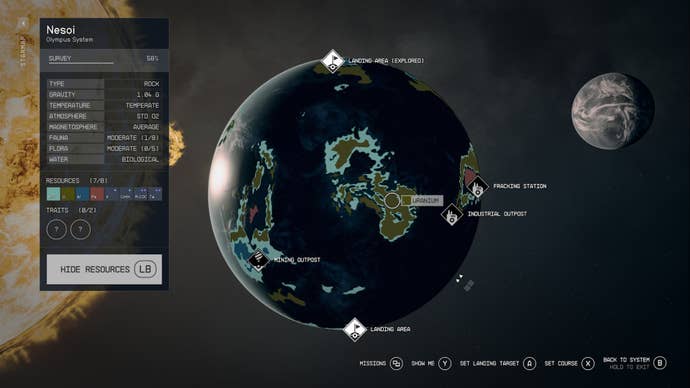
You will also then be able to go for the ‘Show Resources’ map option.
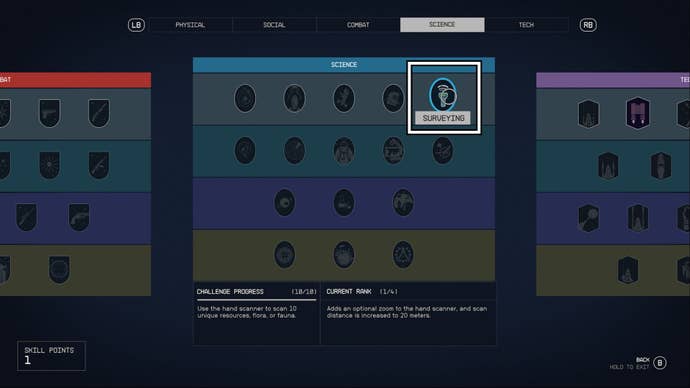
Each time you move up a rank, you upgrade your scanner.
Here’s a quick list of the ranks and their benefits.
Also, being able to zoom in on a target is a safer option when dealing with less-than-friendly wildlife.