Greatsword and archistaff locations for Vocation Frustration.
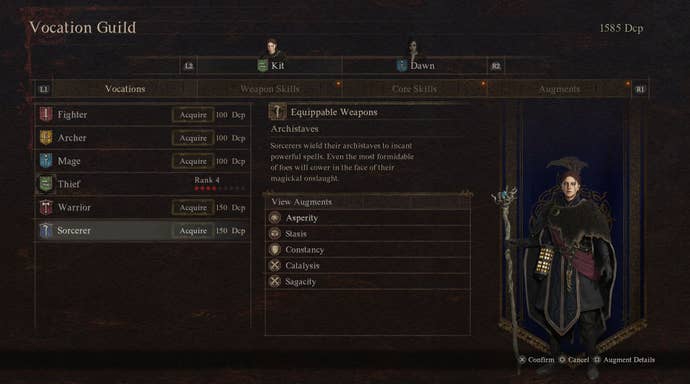
If you want to use theSorcererorWarrior VocationsinDragon’s Dogma 2, you have to complete theVocation Frustration quest.
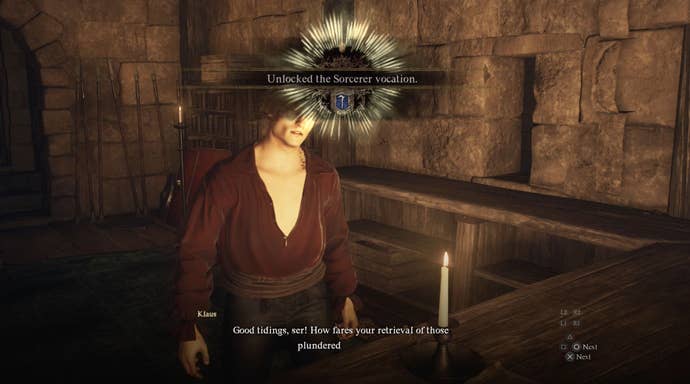
Once you’ve found these, return to the Vernworth Vocation Guild and unlock two newVocations.
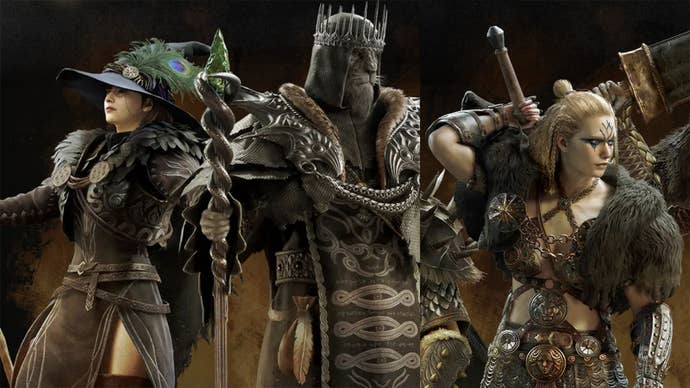
So read on to learnhow to get the Sorcerer and Warrior VocationsinDragon’s Dogma 2in ourVocation Frustration walkthrough.
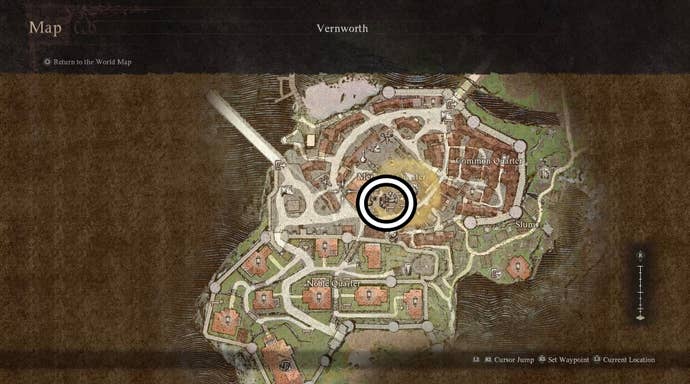
The Vernworth armoury is easy to find as it simply sits on the opposite side of the fountain square.
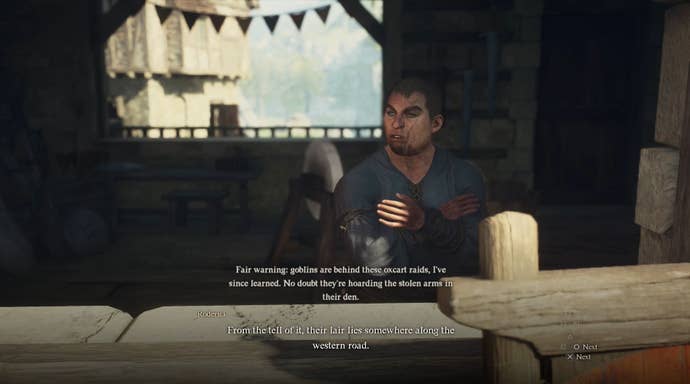
To find the goblin’s lair, you’ll need to venture west of Vernworth.
Yet, we also have a guide coveringhow to survive at nightif you’re able to’t wait.
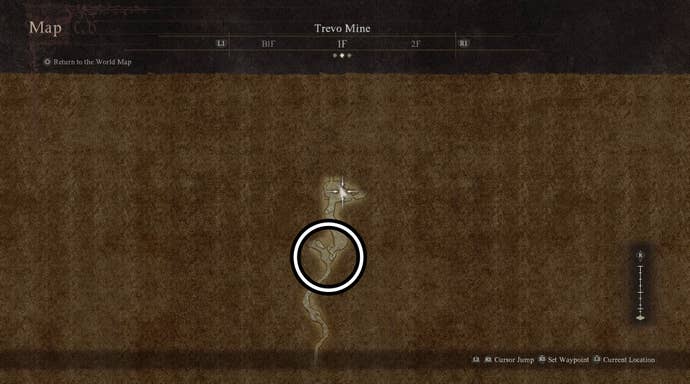
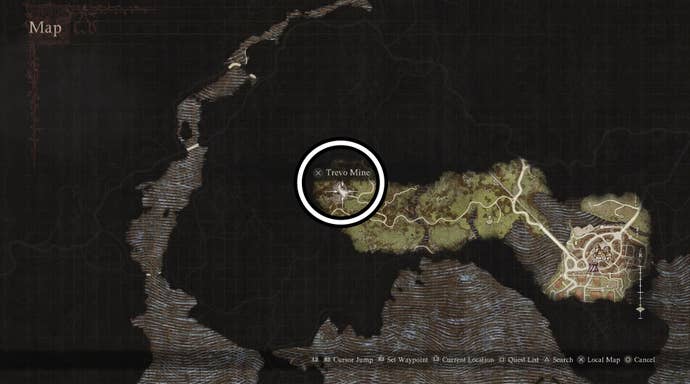
It’s also important to note that there are multiple entrances to the Trevo Mine.
It shouldn’t take you very long to reach Trevo Mine.

Well if you don’t run into any monsters or other quests on the way that is… After this, you simply need to take the first left-hand path to reach the mine.
This can come in handy if you haven’t ventured west of Vernworth yet.
Finally, Trevo Mine is also one of the locations you gotta visit for the Monster Culling quest.
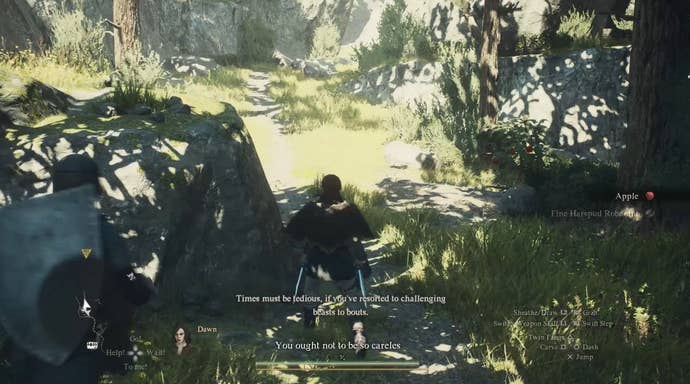
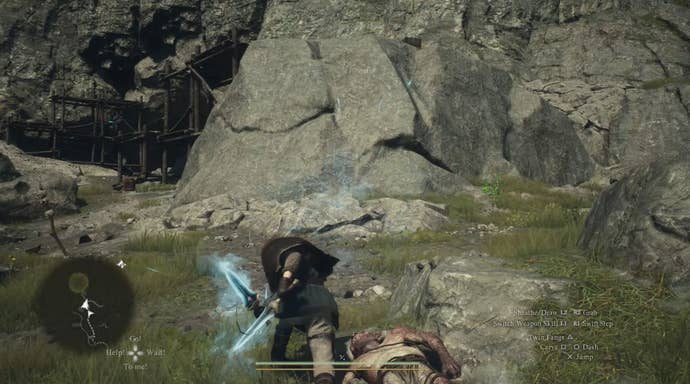
You’ll also want to be prepared for any goblins who might decide to attack you.
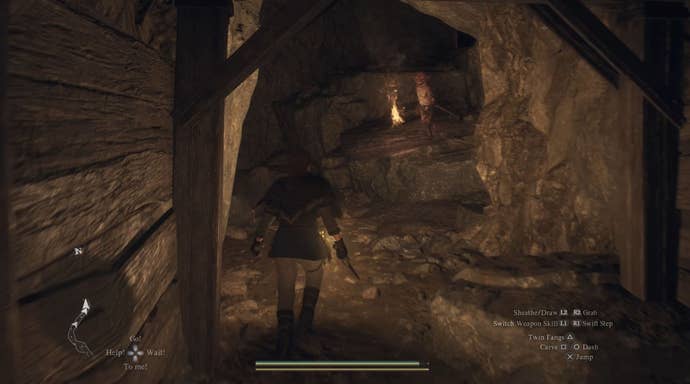
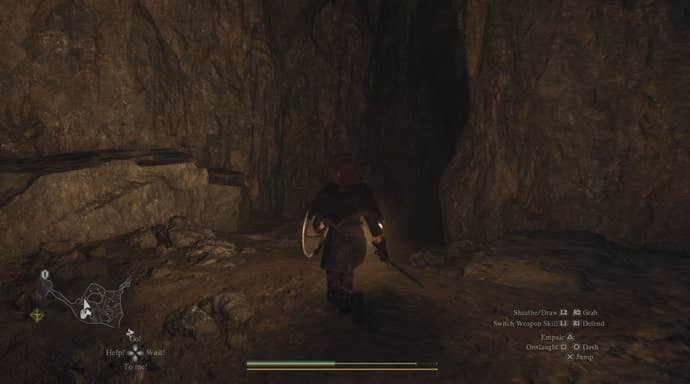
Next, you’ll want to continue down the tunnel until you reach the first fork in the road.
Here you’ll want to take the right-hand path.
Continue down this path until you reach an open area containing a number of goblins.
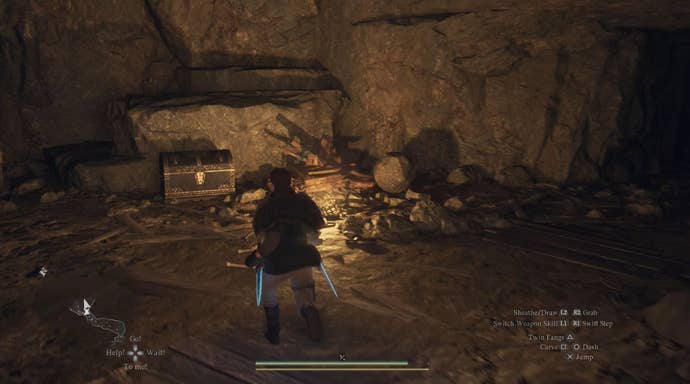
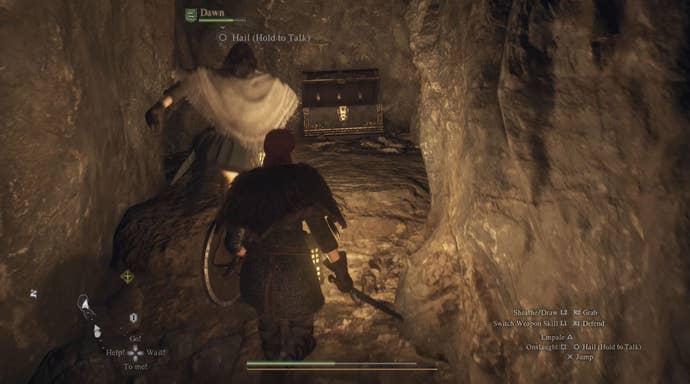
You’ve found the greatsword!
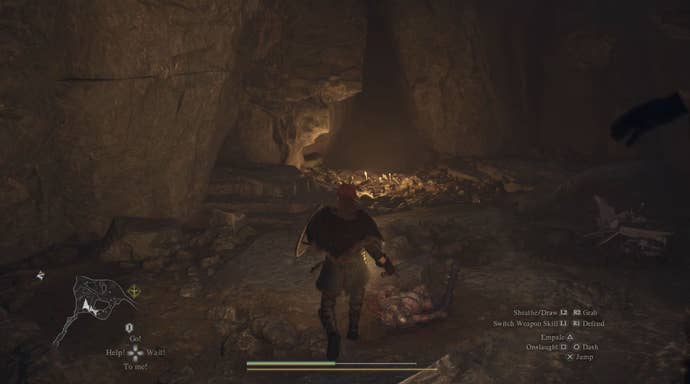
This path slopes downwards and, along the way, you’ll find yourself facing a horde of goblins.
Once every monster is dead in this lower section, find the torch surrounded by a pile of bones.
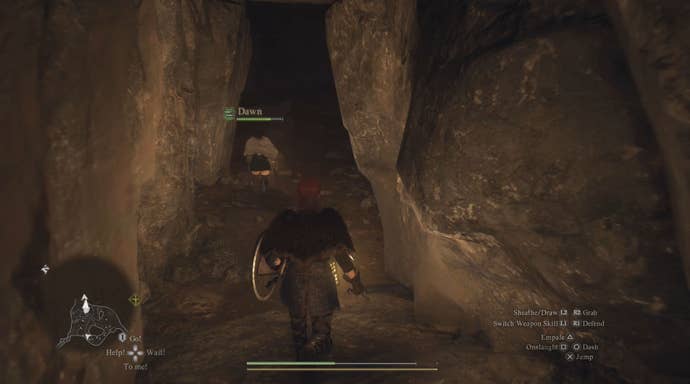
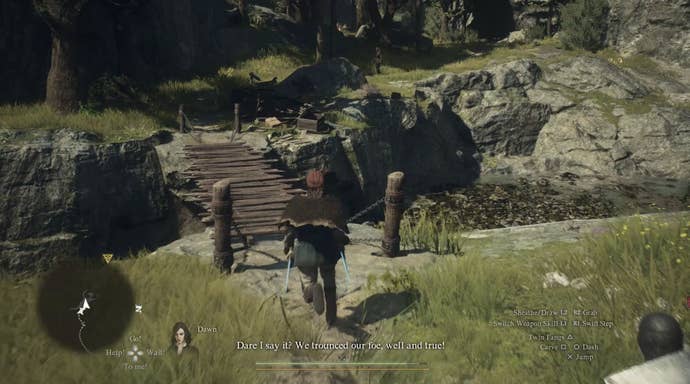
Just beyond this point, you’ll find a small gap in the wall which you could walk through.
You will have to talk to Klaus twice to unlock bothVocationsthough.
With that Vocation Frustration will be completed!
Hope you enjoyed delving into the Trevo Mine!