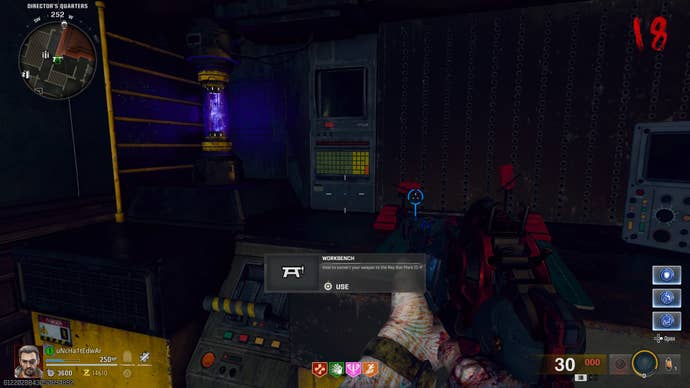
How to upgrade the Ray Gun Mark 2, access Liminal Spaces, and defeat the final boss.
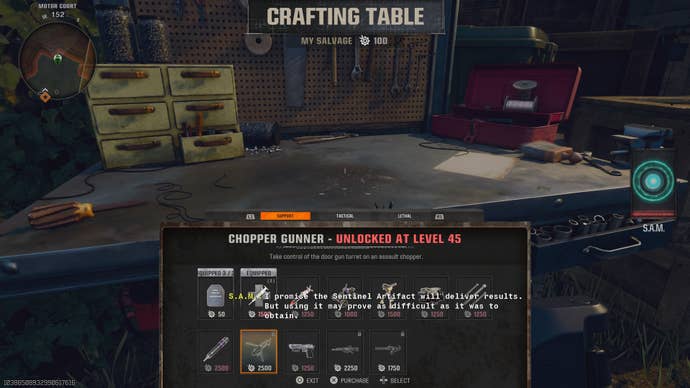
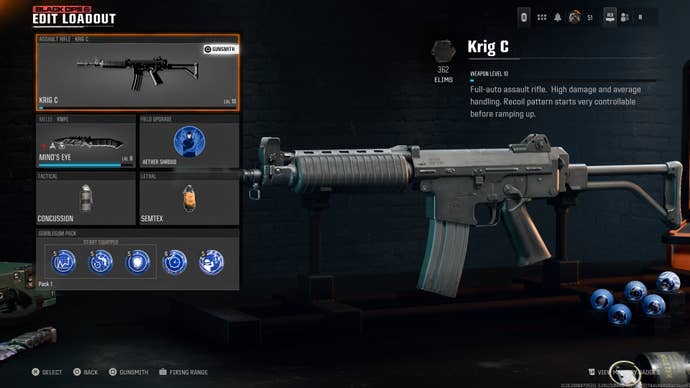
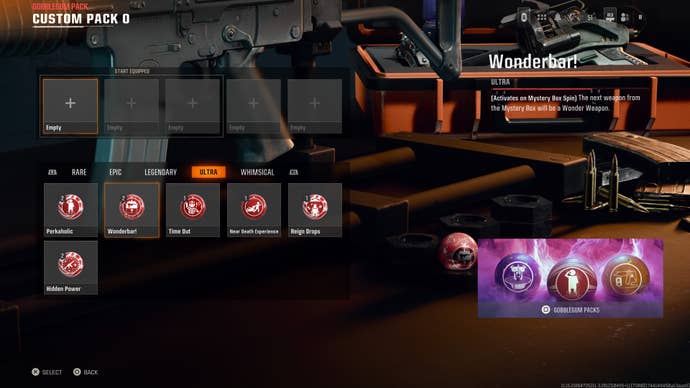
Once youre all set with your loadout, youre ready to jump into Shattered Veil.
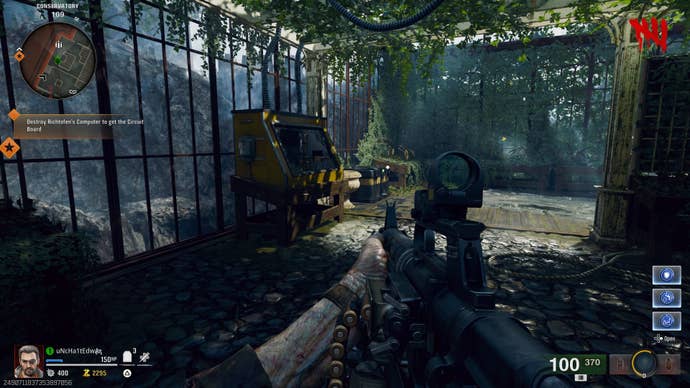
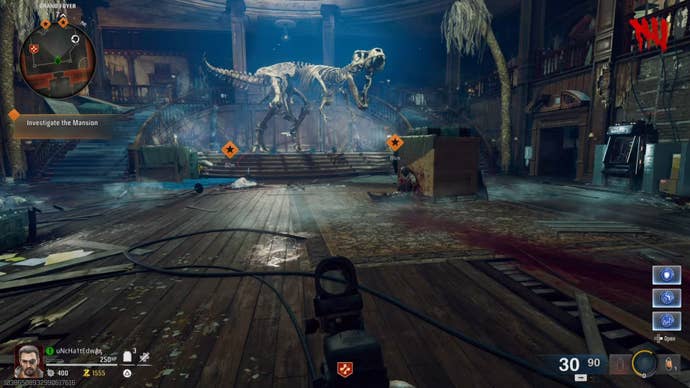
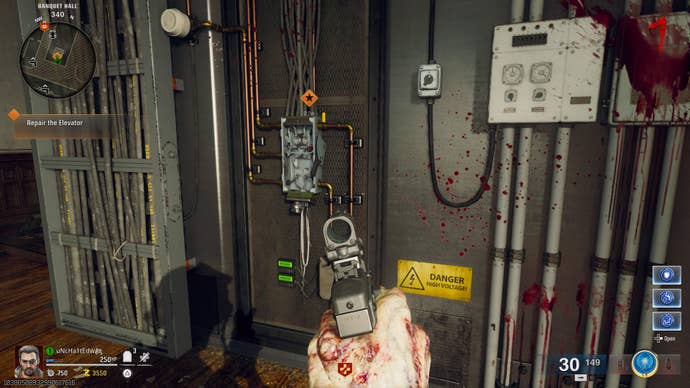
Up until reaching Pack-A-Punch, the game will actually guide you via waypoints.
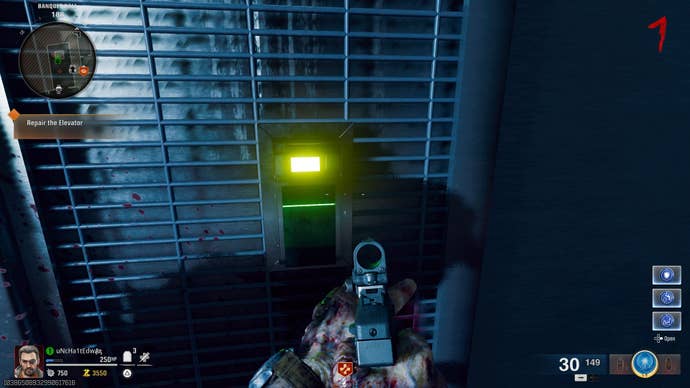
Once theyre acquired, they can be used to fix the elevator by interacting with it from behind.
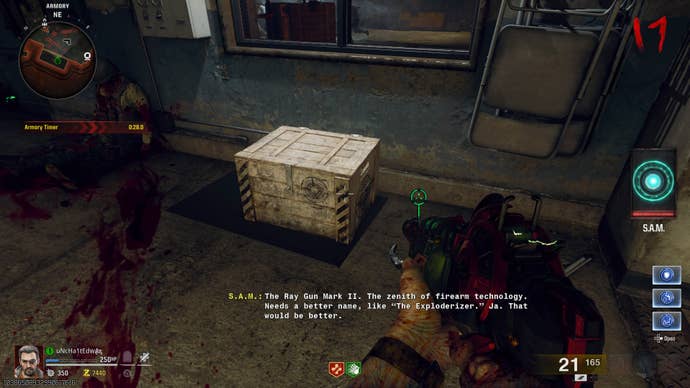
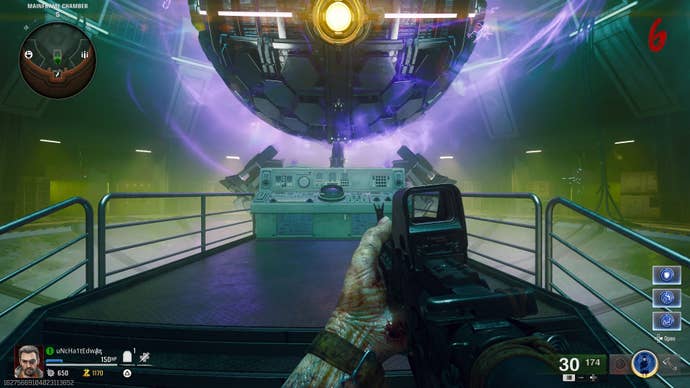
After you exit, youll be greeted by the giant spherical AI, S.A.M.
that watches your every move.
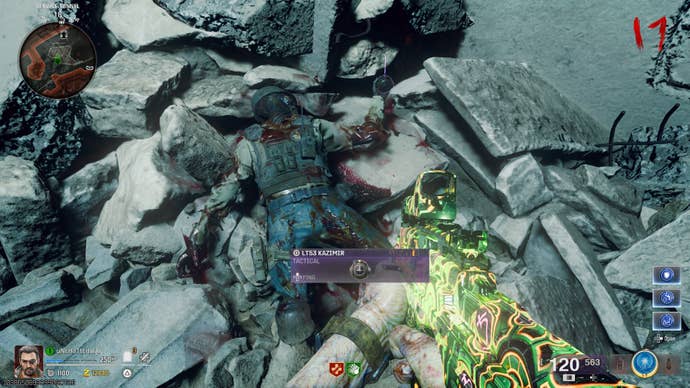
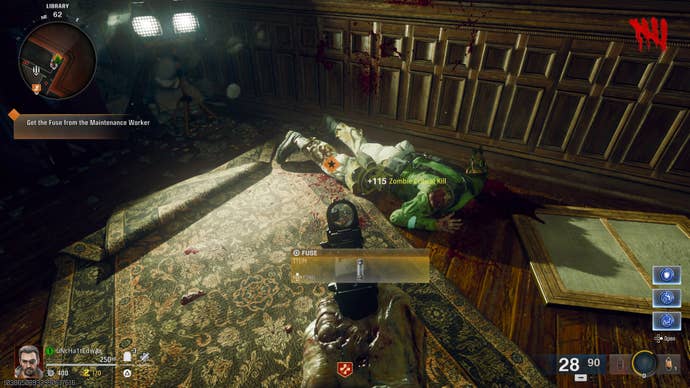
Once theyre eliminated, they will drop the Floppy Disk which youll need to use to obtain a code.
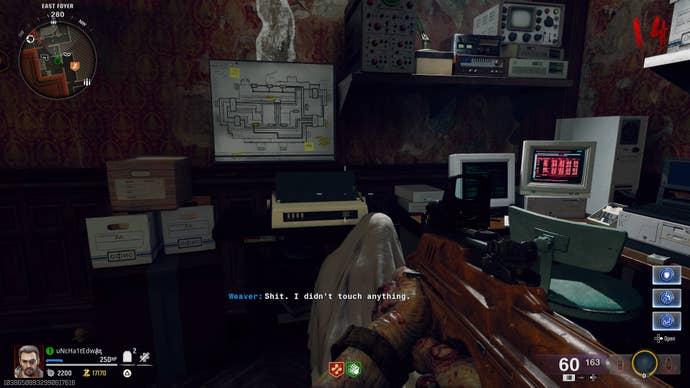
After youve got it, its off to the East Foyer!
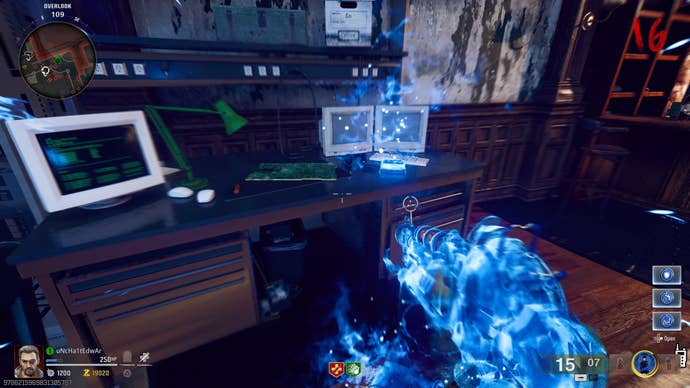
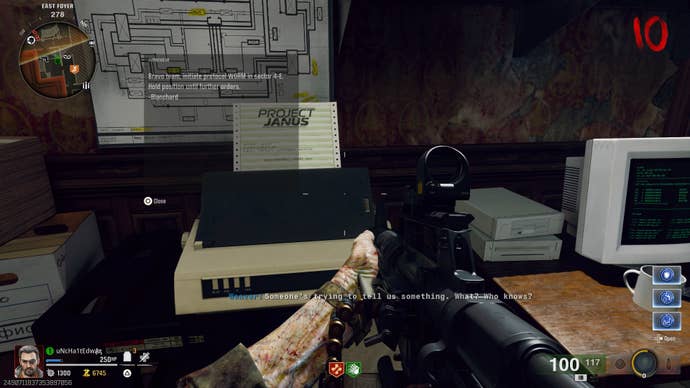
Once there, insert the Floppy Diskinto the computer.
In this message, make a note of thecapitalised four letter word.
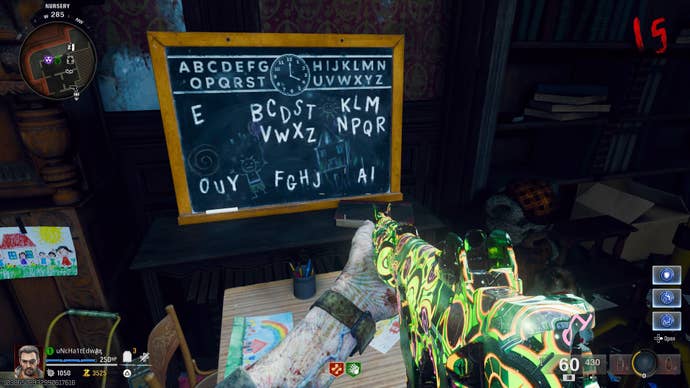
After getting your word, youll want to head over to the Nursery for a puzzle to solve.
As with the word youve made a note of, the ordering of these letters randomise across your runs.

To provide an example of how this puzzle works, in one run, our word was CRAB.
This means, the first number in our four digit code will be 9.
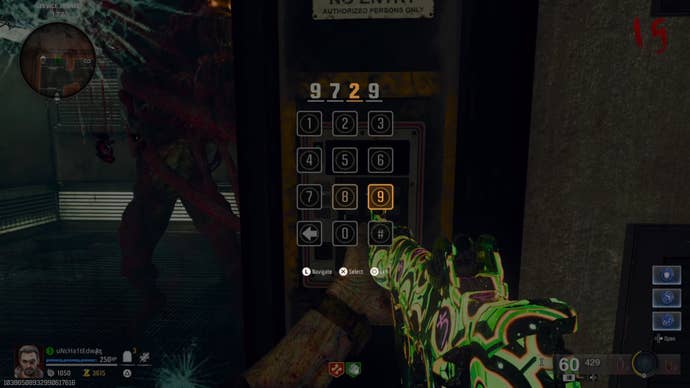
All together, our word CRAB converts to the code of 9729.
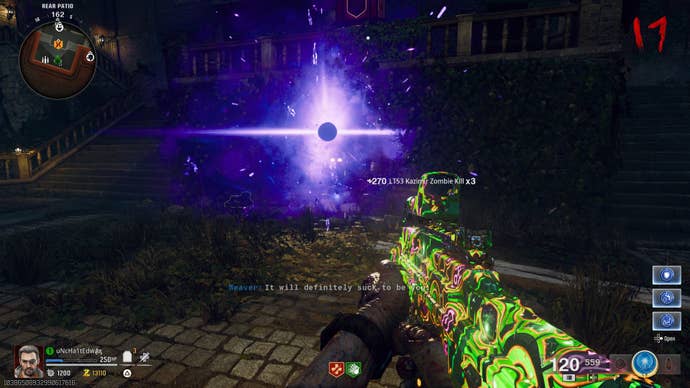
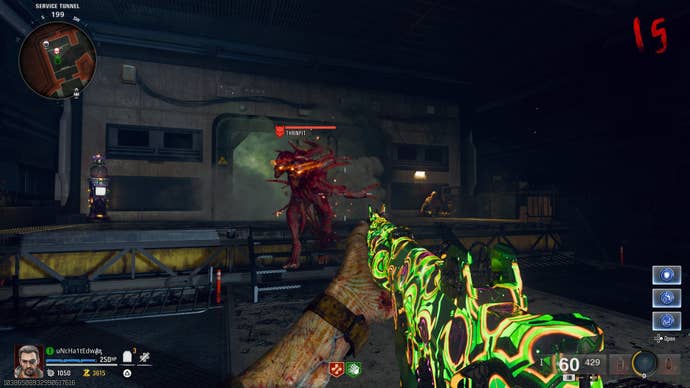
As soon as you enter, you should see a glass door across the way with aDoppleghast minibosstrapped inside.
The boss moves fast, so you’ll want to double-check you keep moving.
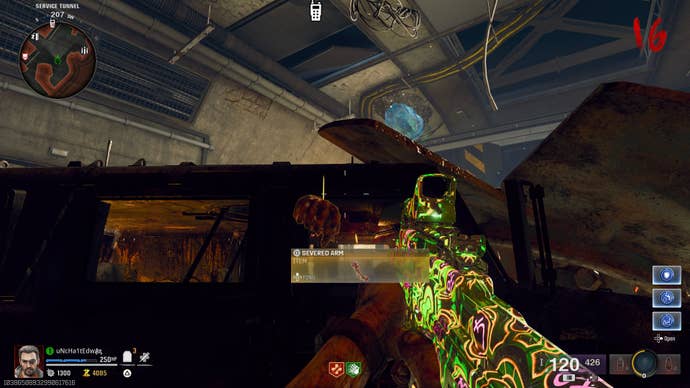
Once theyre down, theyll drop theSevered Arm.
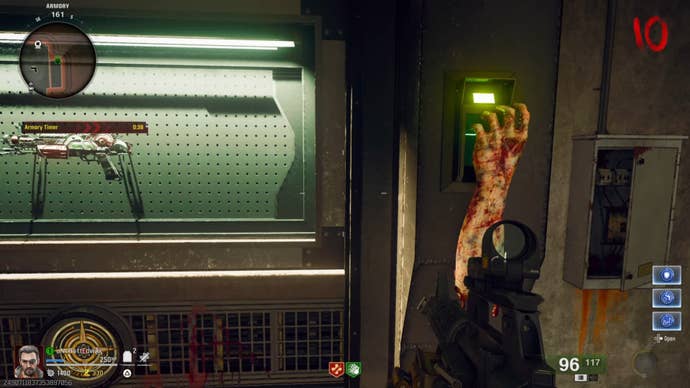
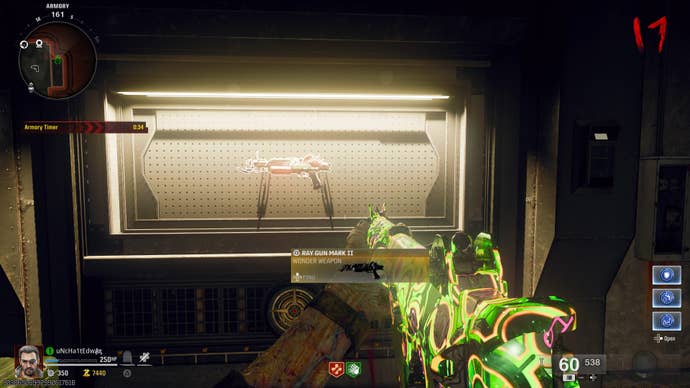
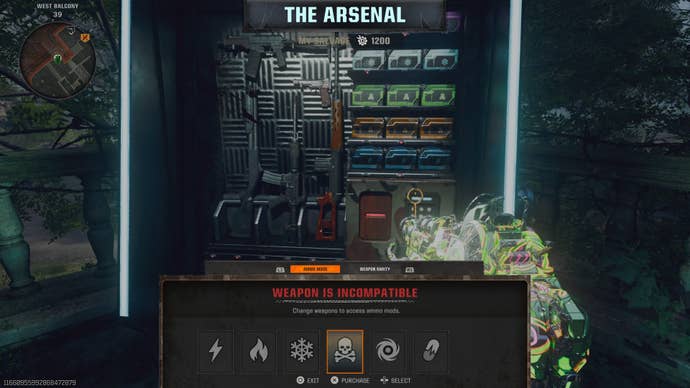
After picking the arm up, it’s off to the Armory.
Keep in mind that this will swap out your currently-held weapon.
Speaking of, those upgrades alsopersist across all variants of the weapon.
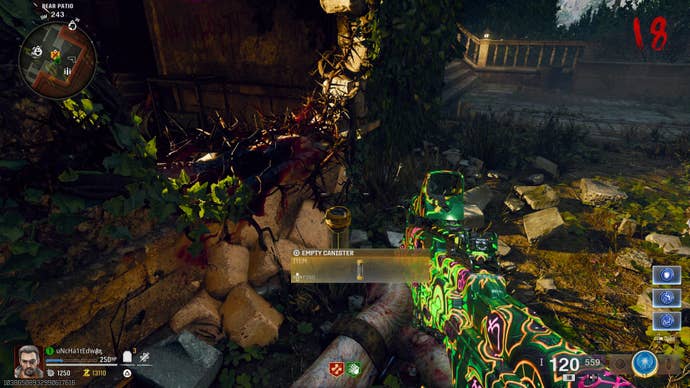
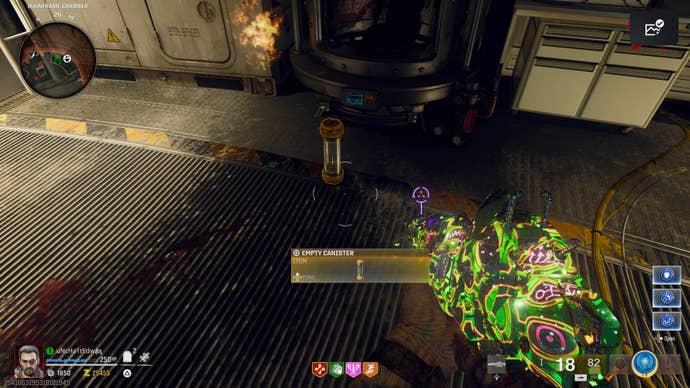
Done correctly, the Canister will drop out for you to collect.
The images below show this process.
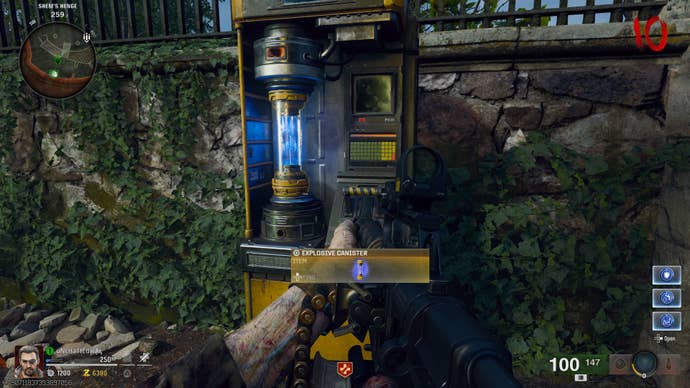
Like the W variant, this one offers a set of unique effects.
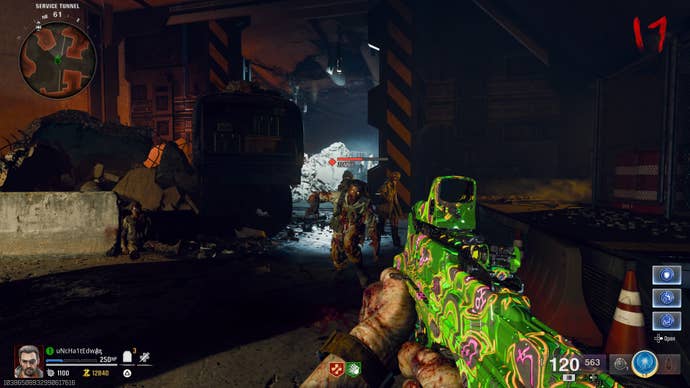
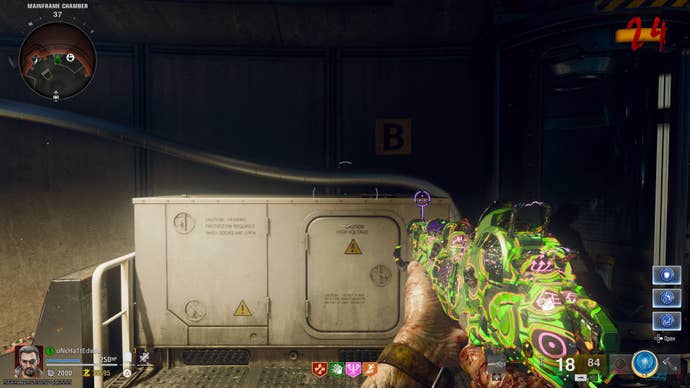
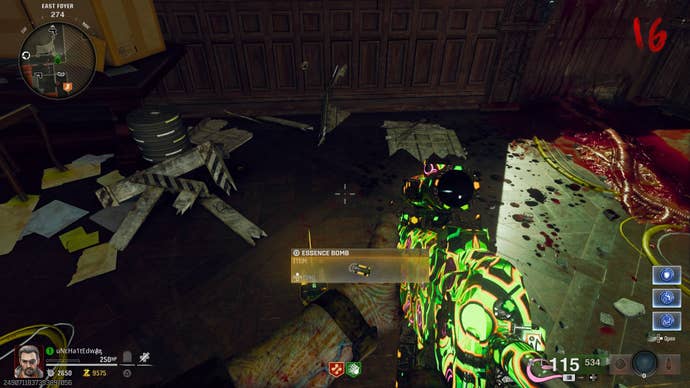
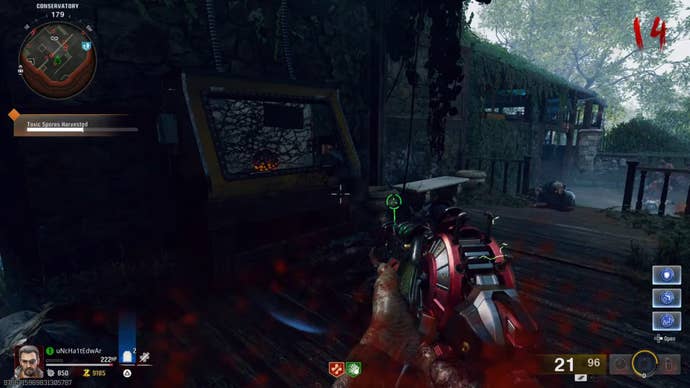
Each one has the chance to drop theEssence Bombwhen destroyed which youll need to charge up the Canister.
Go up to it and hold interact to place the bomb.
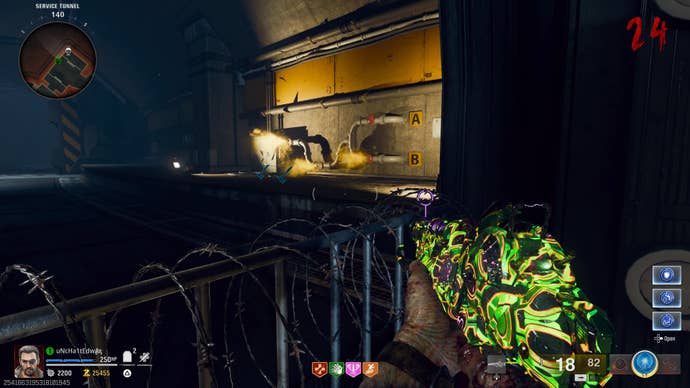
After it detonates, enter the tunnel youve now uncovered.

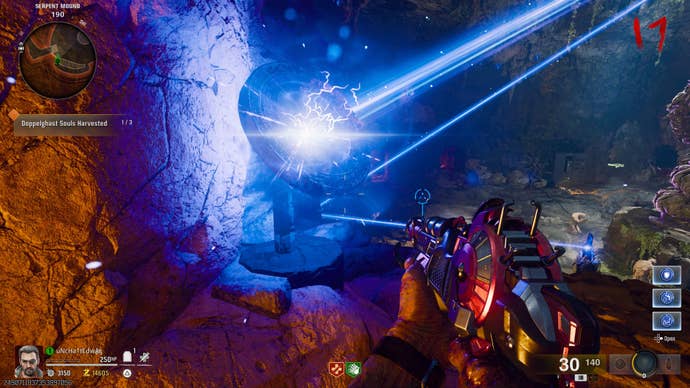
After entering, you want to place your Canister in the machine on the opposite side of the tomb.
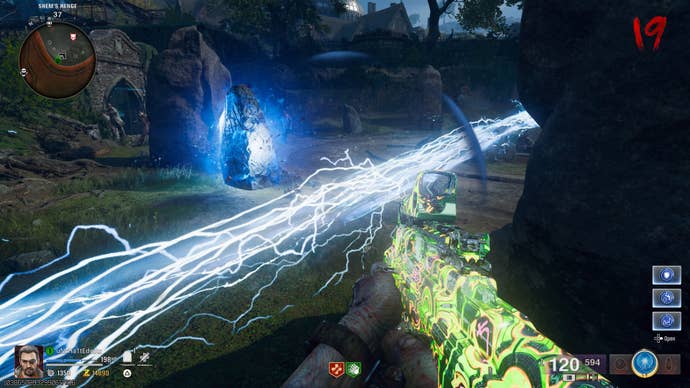
This will cause a blue laser to appear, reflecting between different points in the room.
This will beReflector A.
This will beReflector B.
Once its dealt with, youll need to adjust the Reflectors and fight another miniboss two more times.
Then, go over to Reflector B and interact with it to pick it back up.
From here, enter the room’s side passage with a slope upwards.
At the top, you’ll be overlooking the room below.
The blue laser should be firing inside the opening, and this is where youll place Reflector B.
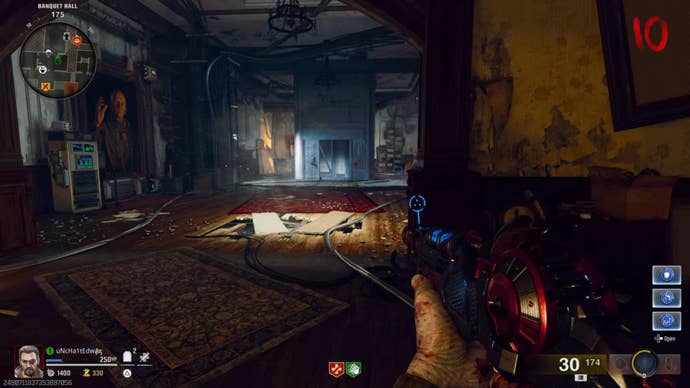
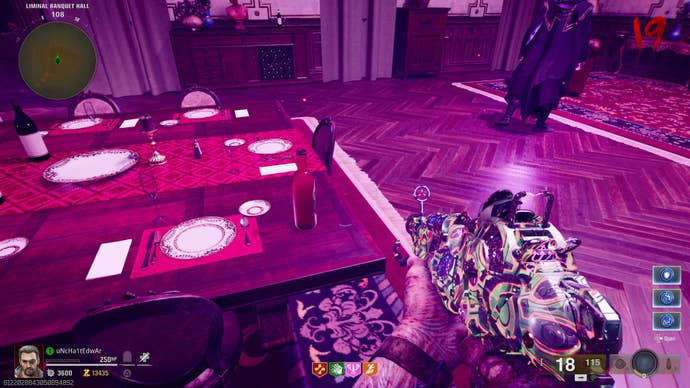
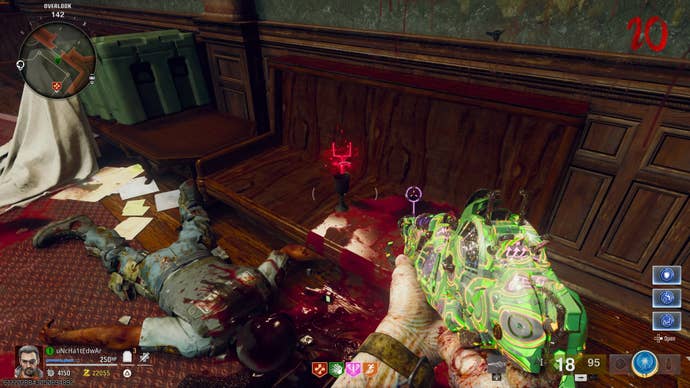
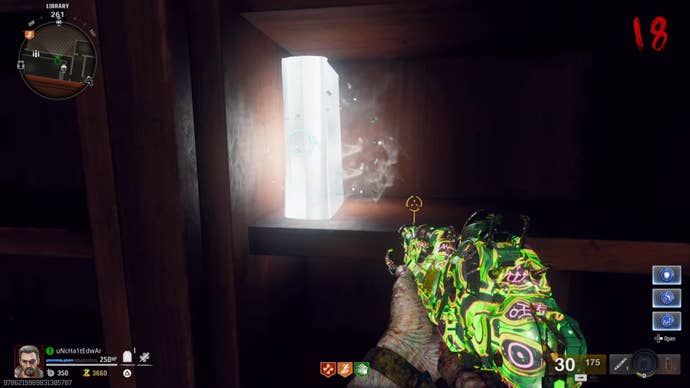
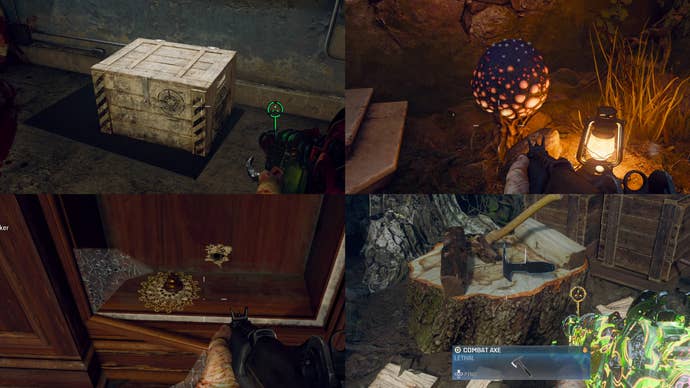
First, youll want to visit theBanquet Halland find aSconcein a cardboard box.
The order is randomised, but is fairly simple to follow.
Youll then input that sequence back, and the same with the third sequence.
If done correctly, the wall nearby will drop down and you might head underground.
This way, theres a chance youll pick it up without realising its even there!
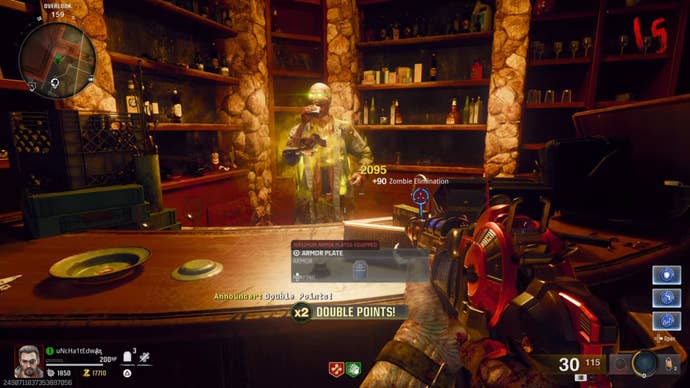
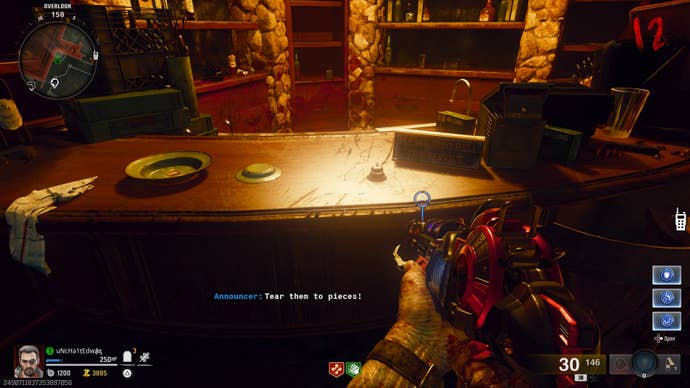
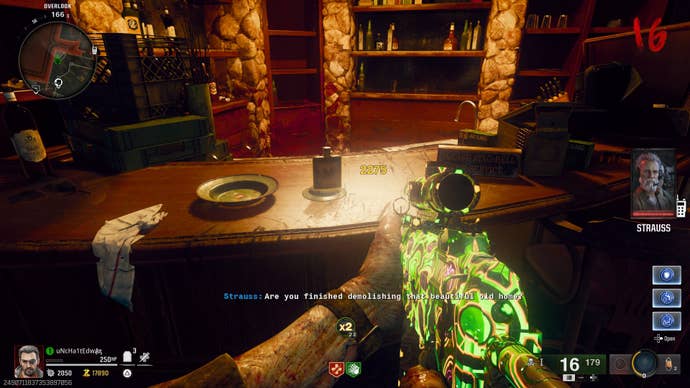
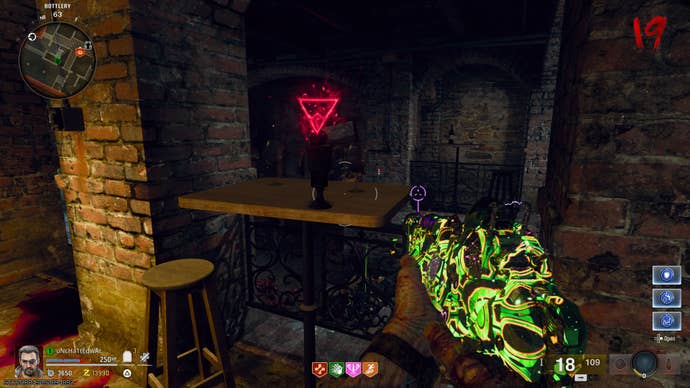
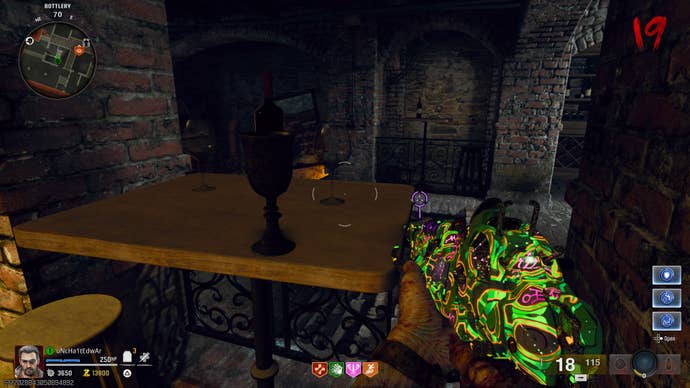
Once the way is open, jump inside andpick up a bottle on the corner of the table.
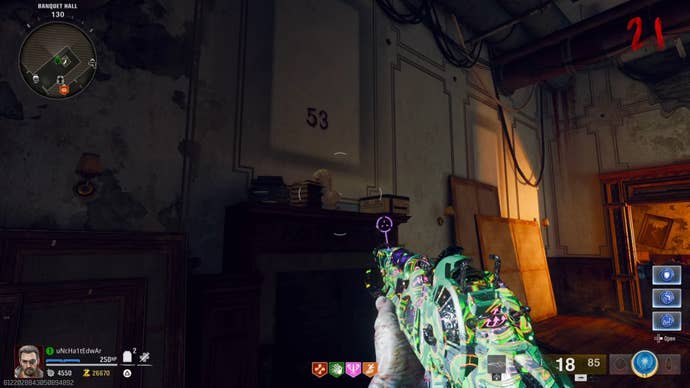
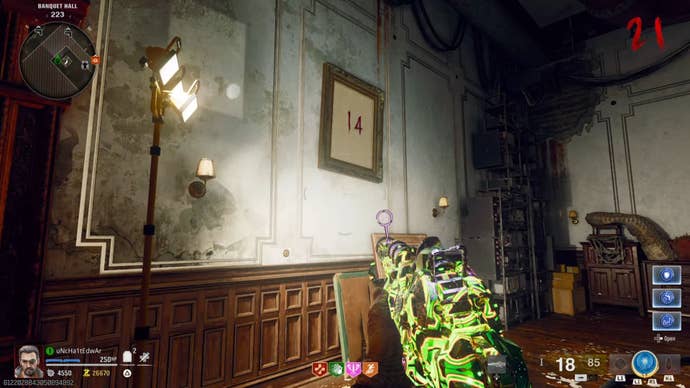
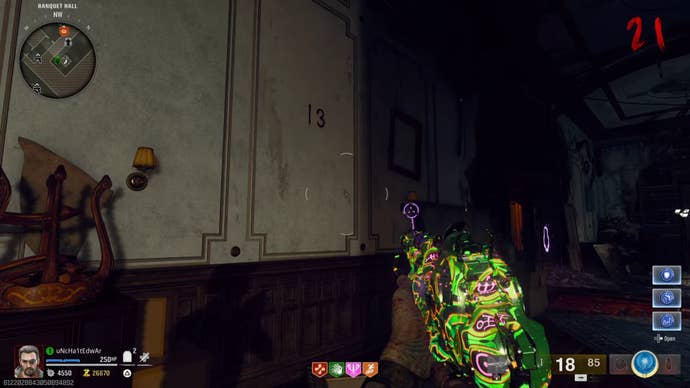
These numbers make a combination required to access a Safe.
Once equipped,interact with the terminal in the Library.
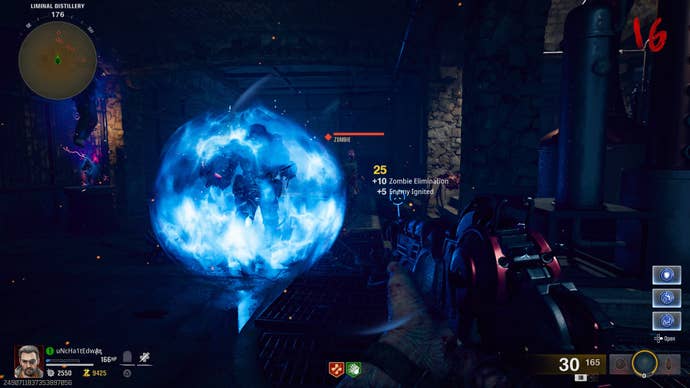
Like before, defeat enemies with the yellow Mark 2 to open up the Liminal Portal.
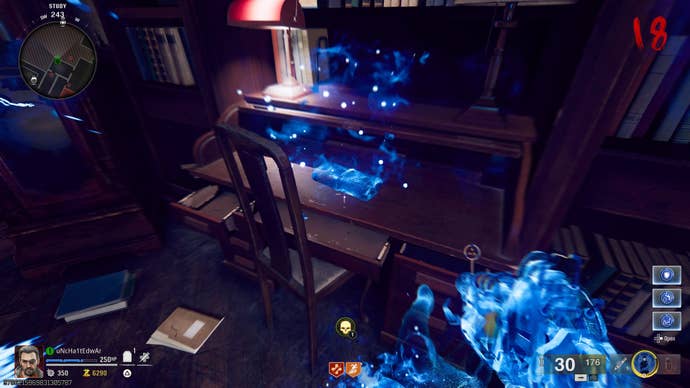
When interacted with, these books will react visually.
If you get the order correct, a door near the books will open.
With that in-hand,enter the yellow Liminal Portaland interact with the pedestal tosummon the boss, YavaxTul.
Primarily, you want to be aiming for the Z-Rexs eyes which are where youll deal the most damage.
Not just that, but the boss can eat toxic zombies and occasionally emit toxic gas from its body.
Congratulations and enjoy the cutscene!