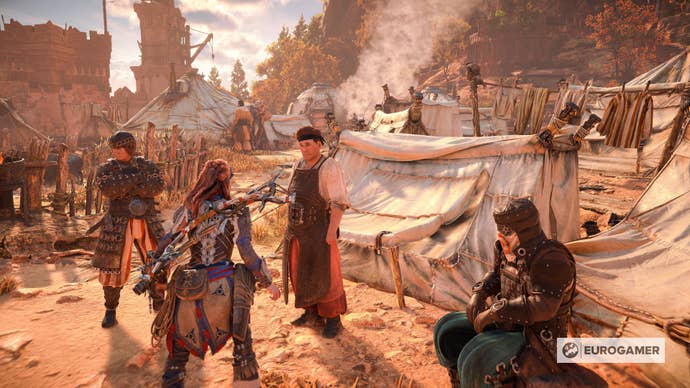
Salvage ContractsinHorizon: Forbidden Westare side quests given to you by the various salvagers Aloy meets during her adventure.
He will ask you to come and visit the camp once you’re in No Man’s Land.
for start these Salvage Contracts, you will need to complete the Main Quest, The Embassy.
He is one of Keruf’s salvagers and is participating in the major armor competition held by Keruf.
But he needs your help with four contracts.
Once you complete them, he will have all the parts he needs to construct his armor.

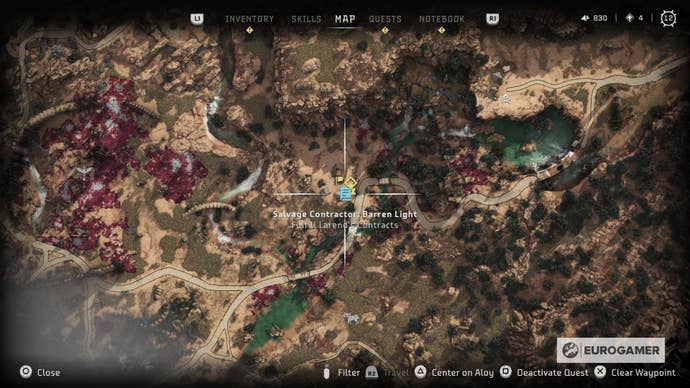
Larend will have traps and a shelter prepared for you.
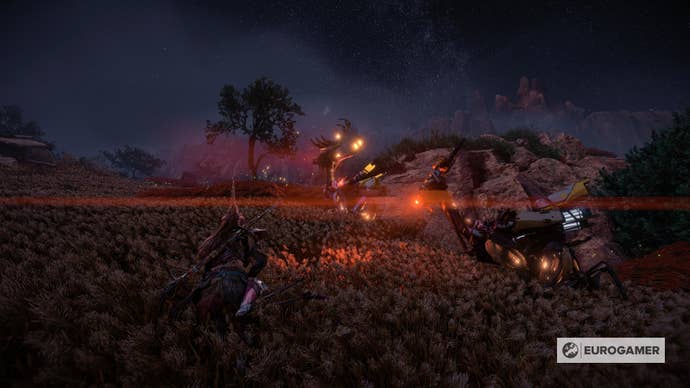
Once you are there, set up some additional traps and let time pass.
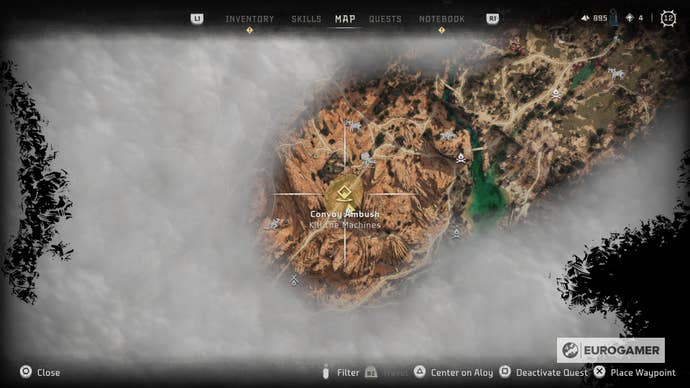
In the evening, the convoy will appear.
Defeat the machines and loot the Shell-Walker.
Return to Larend with the plating he needs.
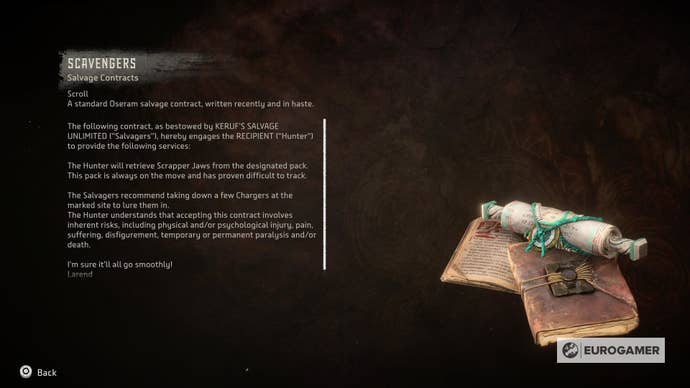
Scavengers
In Scavengers, Larend believes that Scrapper Jaws will be an excellent addition to his armor.
This will lure in the Scrappers you need.
Kill the Scrappers and loot 3 Scrapper Jaws.
Return to Larend with the jaws.

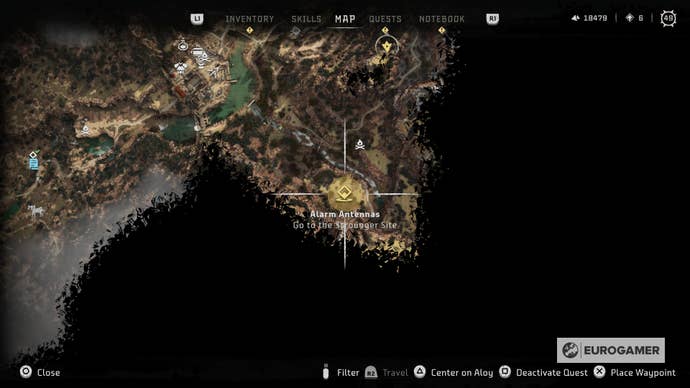
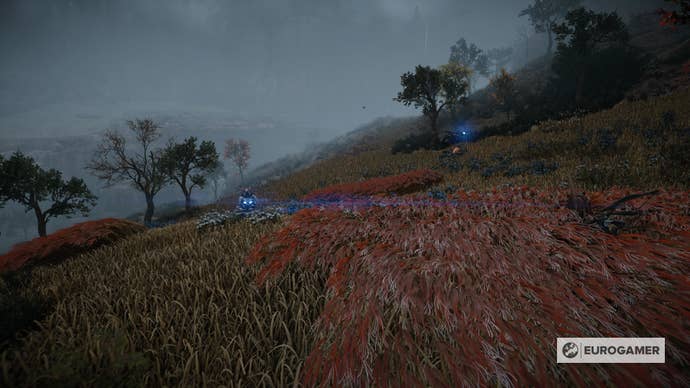
Once you are there, kill the Scroungers and loot 3 Scrounger Alarm Antennas.
Return to Larend with the parts he needs.
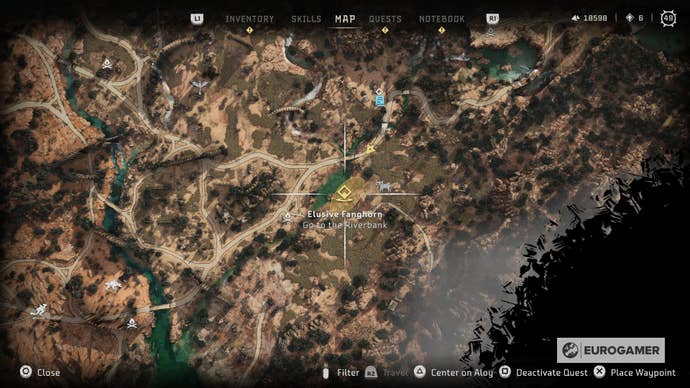
Search for the Fanghorn tracks, and when you find them, highlight and follow them.
Kill the Fanghorn and take the salvage back to Larend.
Now that Larend has all the parts he needs, he can now craft his armor.
She will also need your help in getting materials for her armor.

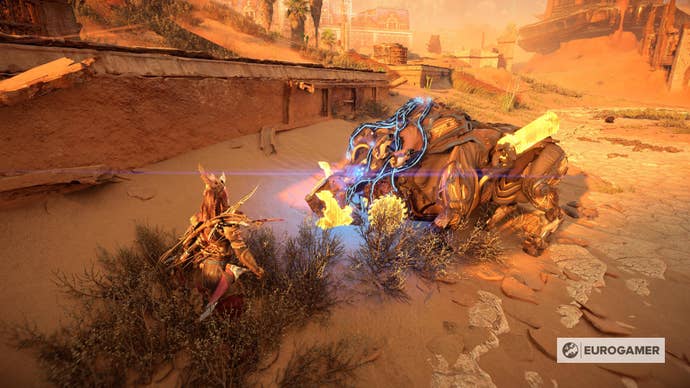
To find the supplies, you will need to override a Bristleback.
Bring the Sac back to Runda.
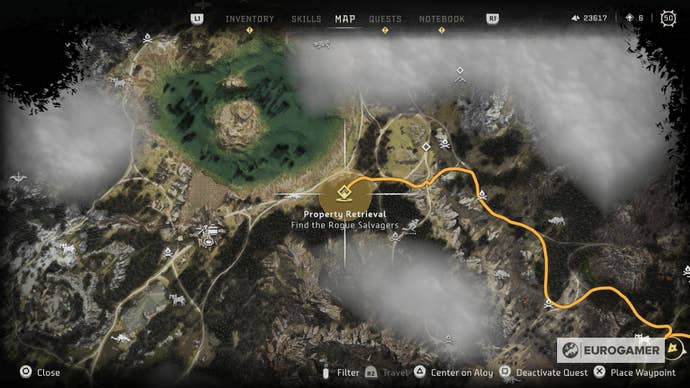
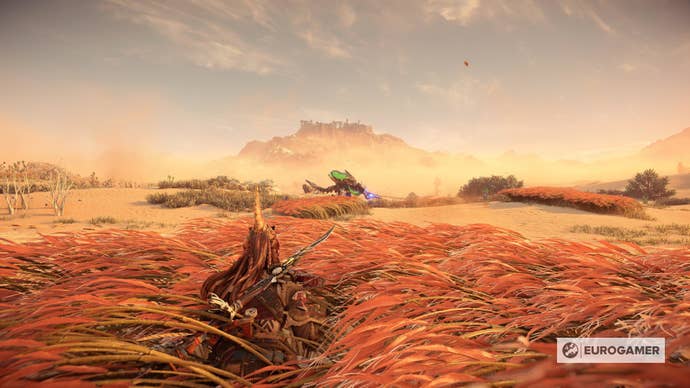
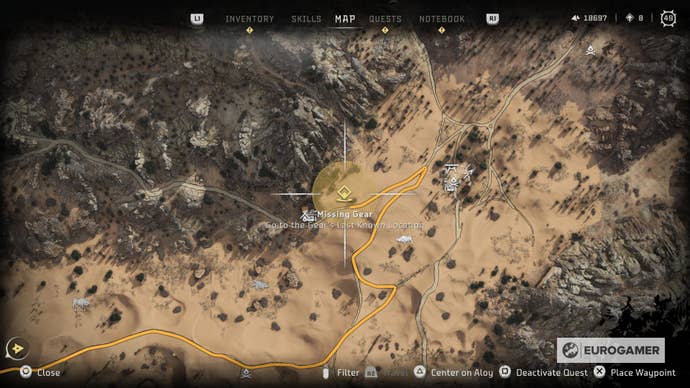
Missing Gear
Runda asks Aloy for help in retrieving their missing gear.
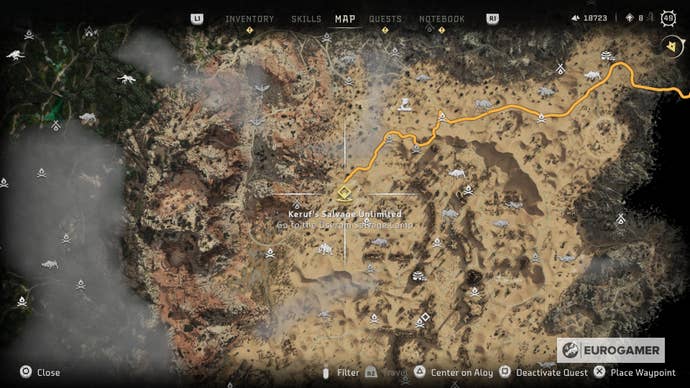
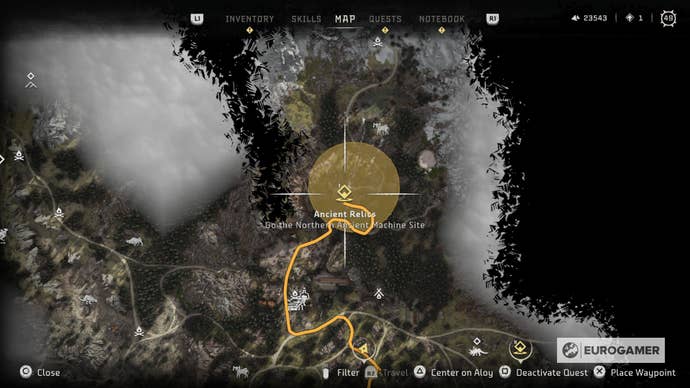
The gear location will be west of Camp Nowhere.
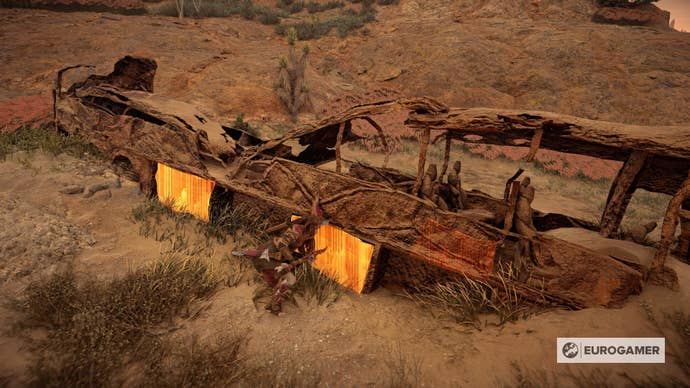
Get there and look for a broken-down cart in the sand.
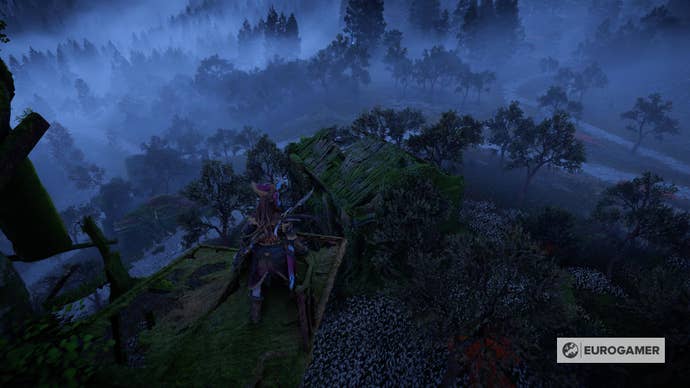
Investigate the cart and the nearby debris, then highlight and follow the machine tracks to a Sunwing nest.
The missing gear will be a scrap pile.
you’ve got the option to either quietly loot the pile or fight the Sunwing.
Return the missing gear to Runda.
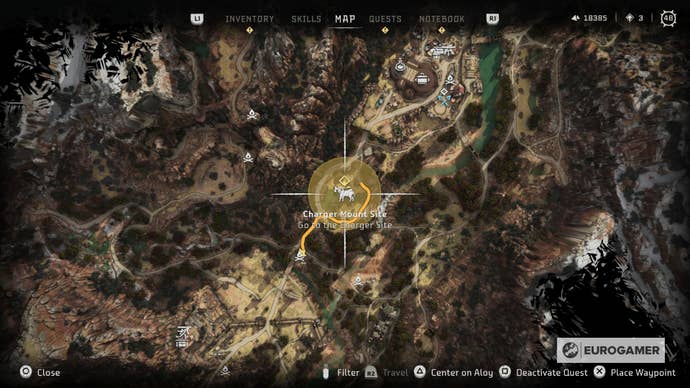
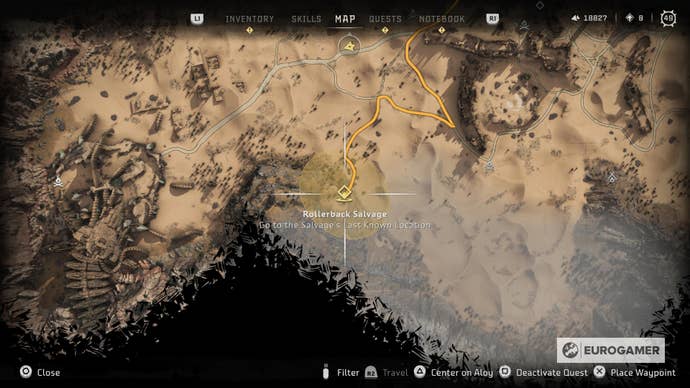
The Rollerback location will be southwest of Hidden Ember near the mountains.
When you arrive at the salvage site, a Shellsnapper will come out from the sand.
Defeat it and then loot the 5 pieces of salvage you need.
Return to Runda with what you find.
Now that he has everything she needs to make the armor, Runda gets to work.
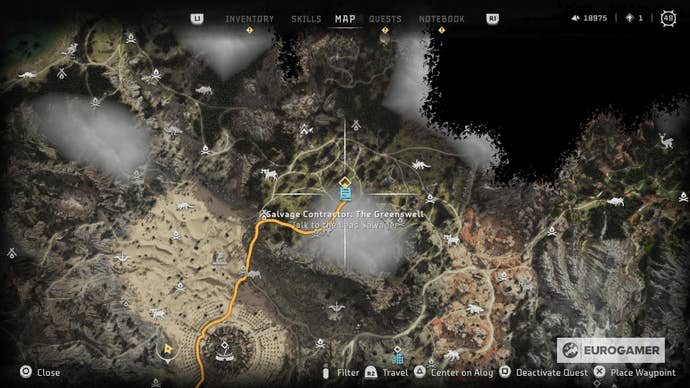
She has a well-established camp where she is forging her armor for Keruf’s competition.
She will need your help in collecting some materials.
One location will be north of Handa’s camp and the other will be south.
The location of their camp will be northwest of Bleeding Mark.
When you arrive you will find an empty camp.
Search and highlight the tracks and follow them.
Search the bodies to retrieve the map, then follow the map to the Ancient Ruins.
Take the salvage back to Handa.
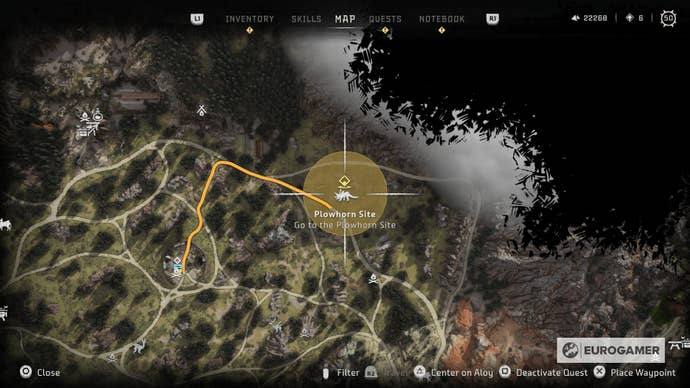
Plowhorns and Plants
Handa needs help collecting Plowhorn salvage for her armor.
She points you to a Plowhorn site just northeast of her camp.

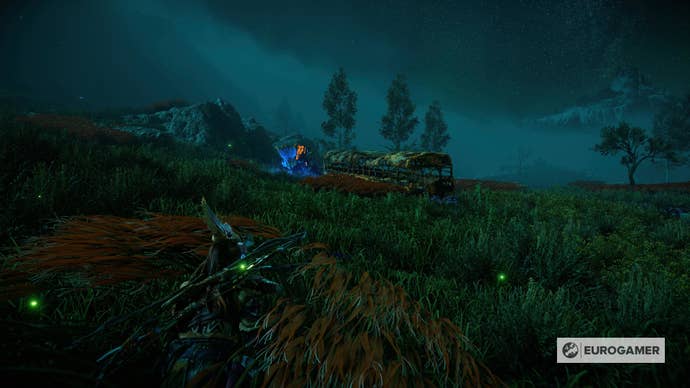
Along the way, she wants you to collect medicinal berries so she can concoct a special Utaru drink.
Collecting the berries is optional At the Plowhorn site, kill two Plowhorns and loot them.
Take the salvage back to Handa.
Ravager Cannon
Handa needs an intact Ravager Cannon for her armor and asks Aloy to secure one for her.
Detach the cannon from the Ravager and then kill the Ravagers.
Take the cannon to the drop-off point and Handa’s people will pick it up.
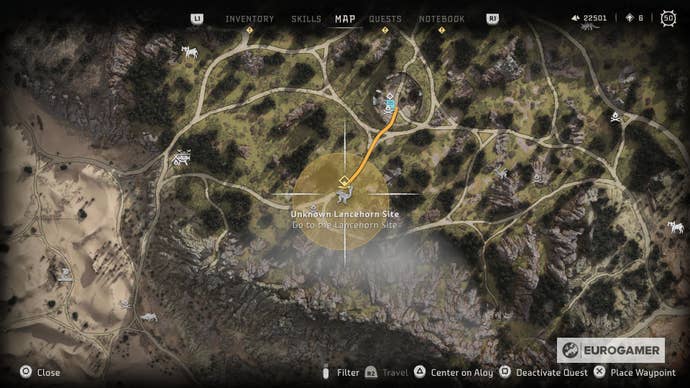
Speedy Lancehorns
To finish her armor, Handa needs Lancehorn salvage.
She points you to an area southwest of her camp to find the Lancehorns.
Once the last Lancehorn is defeated, loot them and take the salvage back to Handa.

When you return back to her camp, they will be under attack by machines.
Defeat the machines and talk to Handa.
She will thank you for your help and will get started on making her armor.
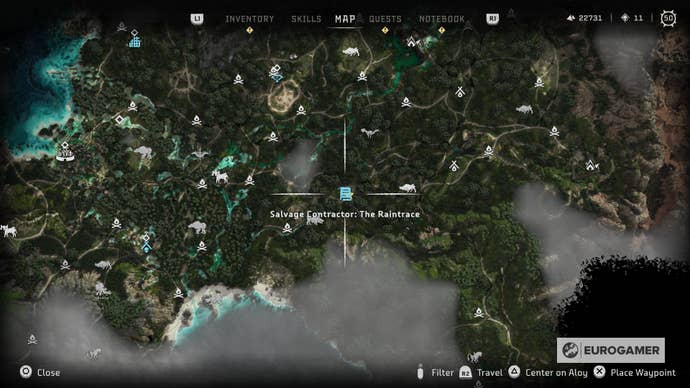
His camp will be located southwest of Fall’s Edge and east of Thornmarsh.
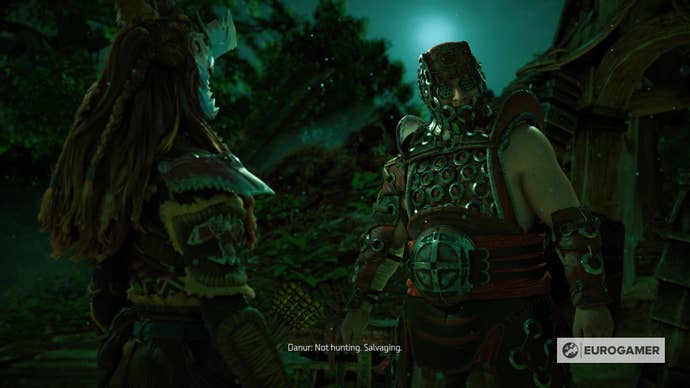
Help them out and then talk to Danur.
He will need help securing his camp and looking for salvage to help him build his armor.
If not, head back to the downed Stalkers and loot them.
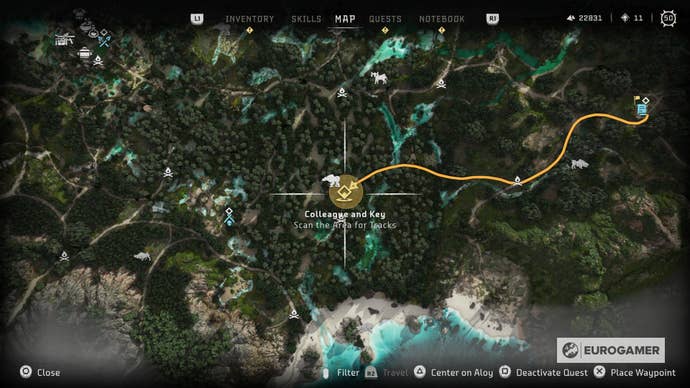
Danur asks you to look for Warend and recover his key.
Investigate the area with the Focus and defeat the Clamberjaws that come down from the mountain.

Climb the cliff near the waterfall to find the scrap pile that contains the key.
Bring it back to Danur.
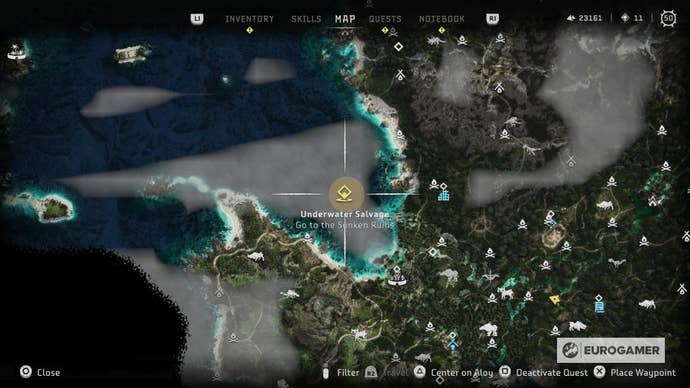
Underwater Salvage
Danur can’t complete the armor without Warend’s sunken salvage.
He asks you to travel to the ancient ruins north of Thornmarsh to retrieve underwater salvage.
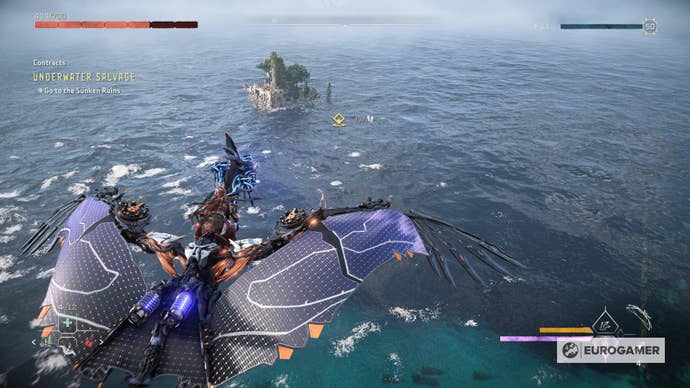
Go into the ocean north of Thiornmarsh and dive next to the ruins there.
The salvage will be located in sunken vehicles.

You will need to pry open doors and trunks to get the pieces.
Use the Focus to pinpoint the salvage locations.
There will be Snapmaws swimming around the salvage, but they can be avoided.
One piece of salvage will be located in a smaller ruin.
You will need to squeeze through the crack in the ruin to get to it.
When you return to Danur’s camp, they will be under attack by Tenakth rebels.

Defeat the rebels and then talk to Danur.
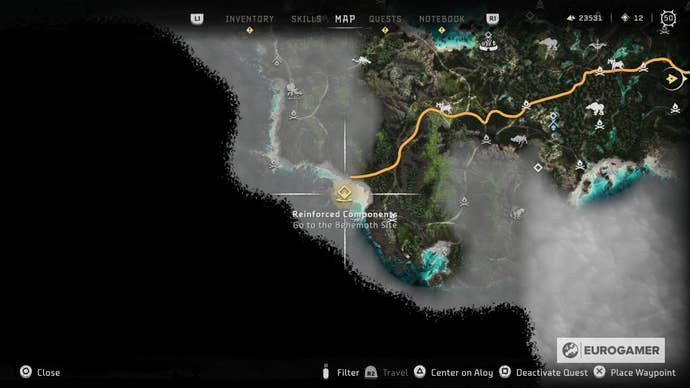
Reinforced Components
Danur needs Behemoth parts reinforced by Spikesnouts to complete his armor.
He needs you to go to a Behemoth site located along the ocean southwest of Thornmarsh beyond the mountains.
Once you are there, you’re able to damage the Behemoth a little.
This will trigger the Spikesnouts to reinforce it.
As soon as the Behemoth is reinforced, defeat it along with the Spikesnouts.
Loot the Behemoth and return to Danur.
Now that Danur has all the parts he needs, he can begin constructing his armor.