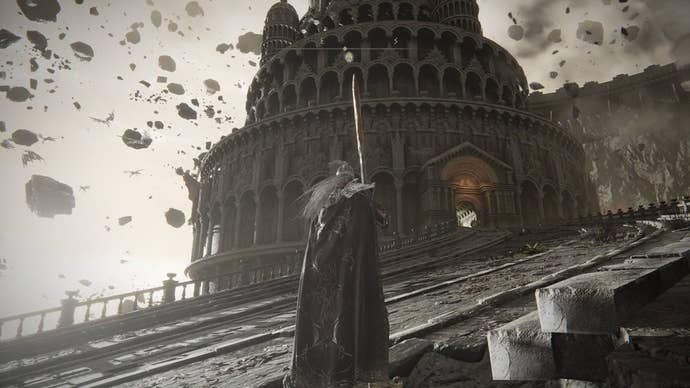
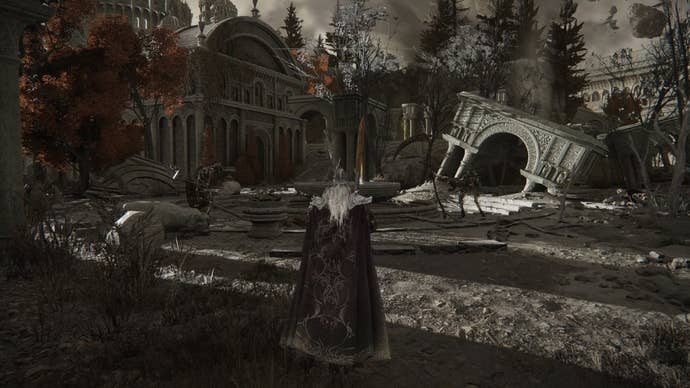
How to beat the game’s final Legacy Dungeon.
In any case, it is a late-game location that is not suitable for low-level characters.
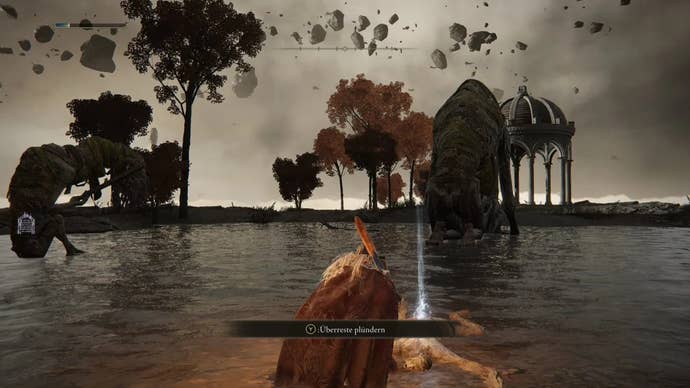
We find1x Smithing Stone (8)on the first corpse.
The corridor on the left leads you to the first Site of Grace ‘Crumbling Beast Grave’.
Just run on behind him and grab1x Smithing Stone (8)and1x Dragonwound Greaseon the way.
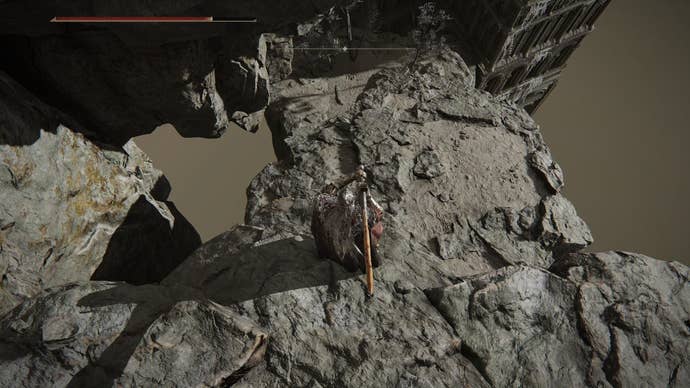
Just opposite is a corpse with1x Smithing Stone (8).

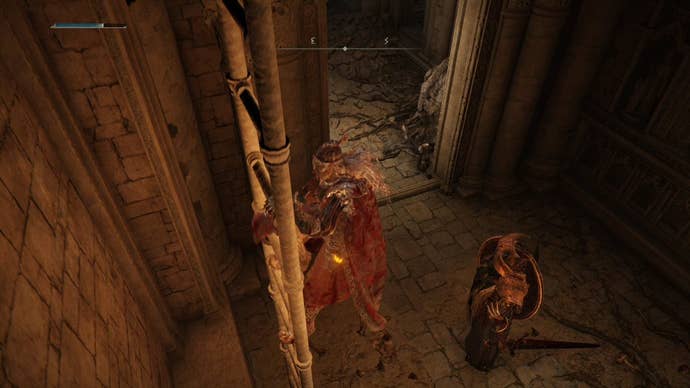
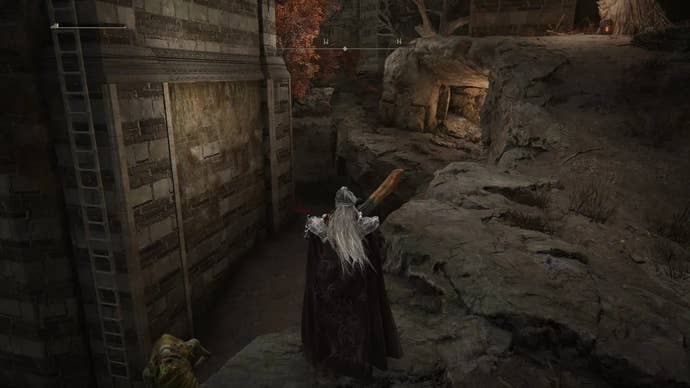
Cross the north-west room where two beastmen are active.
They are guarding some stretchers with skeletons on them.
Grab1x Smithing Stone (7).

The path forks here:
First jump onto the roof and loot the room on the right.
Then go outside to the left and jump onto the roof.
Once things are quiet, you could loot the surrounding area.
Now run back the way you came.
Take the way you came.
Decide whether the fight is worthwhile.
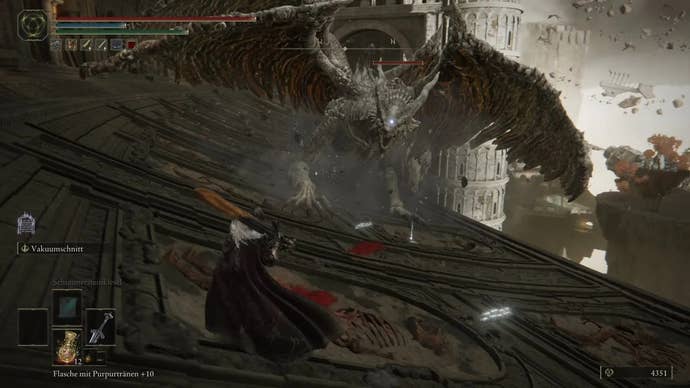
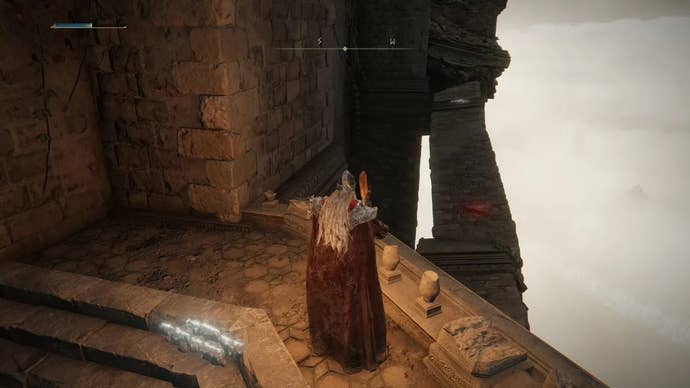
From the Site of Grace, you will see a dragon if you look to the north-west.
you’re able to’t reach it yet, but it will soon get on your nerves.
Run towards the north-west and drop down.

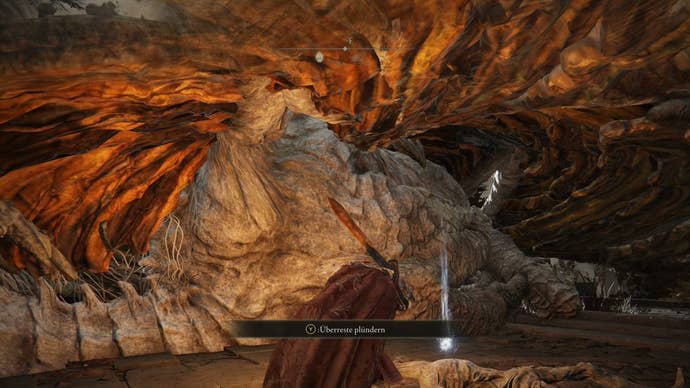
This also means you have to destroy their remains, otherwise they will keep getting up.
We find1x Somber Smithing Stone (7)and1x Golden Rune (9)in the area.
Drop further north-west, collect14x Golden Arrowand you will land on another ruined area.
Destroy the remains and loot the area.
There is aSomber Smithing Stone (9)and3x Gravel Stone.
We’ll get to the Site of Grace in the east in a moment.
We’ll go straight to the next checkpoint, but first go down and collect some loot.
It will take you to a ladder and ultimately to the annoying archer.
Then drop down into the familiar area of the ruins.
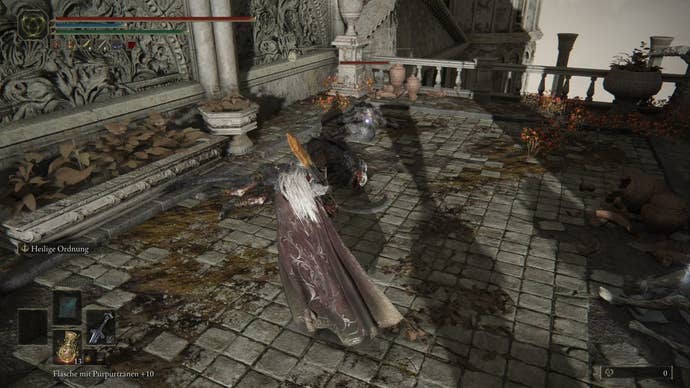
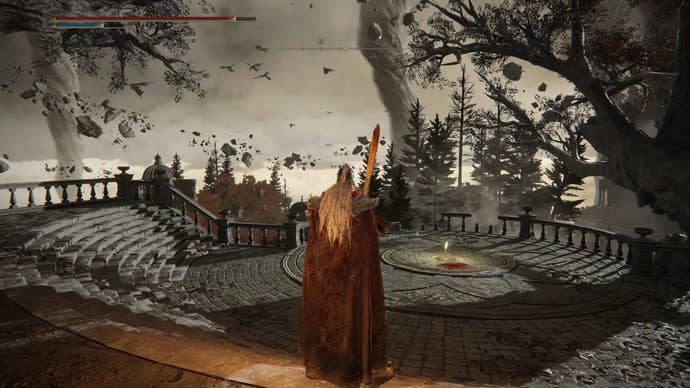
Exploring the Dragon Temple
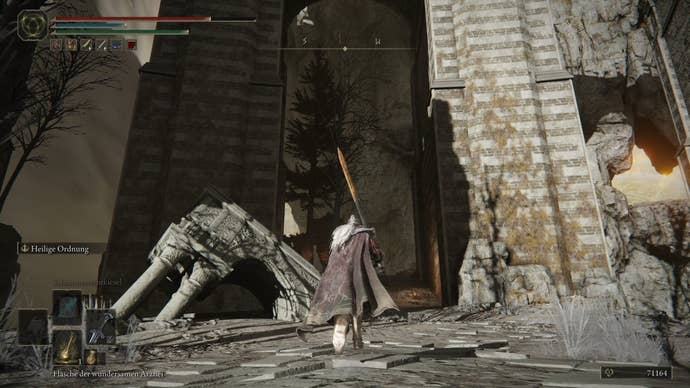
Heading north-east, we reach the next Site of Grace ‘Dragon Temple’.
We have fought hard for this little respite.
The path on the right leads to a corpse by the chasm with1x Smithing Stone (6).
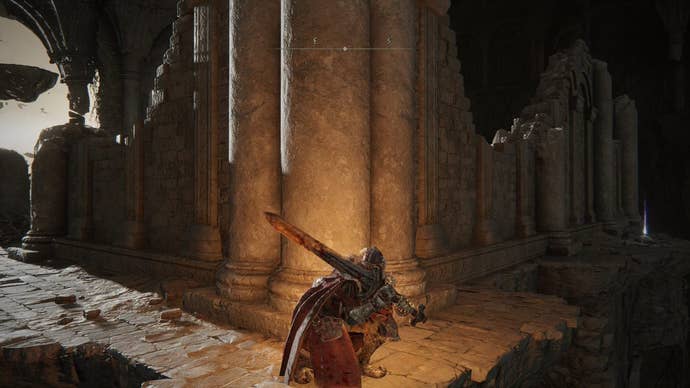
Kill the exiled knight on the stairs and follow them deeper into the temple.
Another knight attacks from the left, this time with sword and shield.
Kill the guy, run to the right and turn left into the corridor before the stairs.
you’re able to enter the main hall of the Dragon Temple next door.
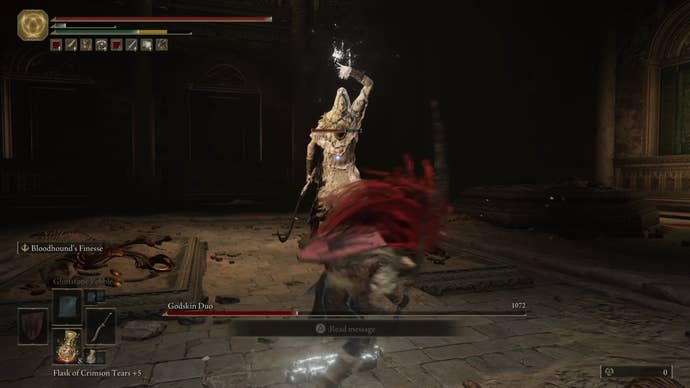
And this one, it’s safe to say, won’t be easy.
They’re exceedingly tough, but luckily it’s possible for you to summon Spirit Ashes for help here.
This will take us back outside.
Kill the two beastmen and follow the steps down to the west.
you’ve got the option to then pick up5x Old Fang.
Then continue northwards behind the dogs.
Defeat yet another beastman behind the dragon altar and ignore the passage on the right for now.
Go straight ahead and take1x Smithing Stone (7)behind the fallen pillar.

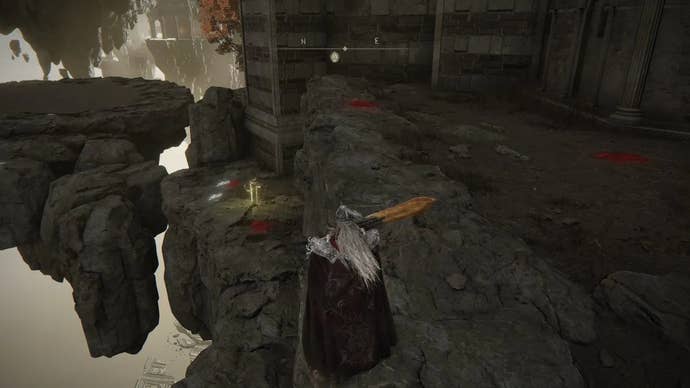
Now go back and head south-east up the stairs to get to this spot:
The path forks here.
Eliminate the beastman and return to the fork in the road, then turn right towards the west.
it’s possible for you to push a beastman off the ledge on the right.
Soon enough, you’ll come to a sealed door on the left that requires2Stonesword Keysto open.
These four enemies stand close together and are extremely dangerous in a group.
Inside the well, you will find1x Lord’s Rune.
To the left of the well, a few weathered steps lead to a tree with2x Nascent Butterfly.
Further east, hop up the rocks shaped like steps.
The skeletons hanging from the tree will drop down if you are close enough.
There are also marching skeletons, which makes the spot a little trickier than it might seem at first.
Use ranged attacks to shoot the hanging skeletons.
Continue south-west and up the stairs on the left.
At the eastern end, a skeleton guards a corpse with1x Smithing Stone (8).
Head west and you will find1x Rune Arcand1x Golden Seed.
Drop down and collect another1x Smithing Stone (8).
Underneath is the familiar area at the Site of Grace ‘Dragon Temple’.
Turn left and go through the archway on the left, which we have skipped so far.
The floating debris behind it will take you back to the familiar area.
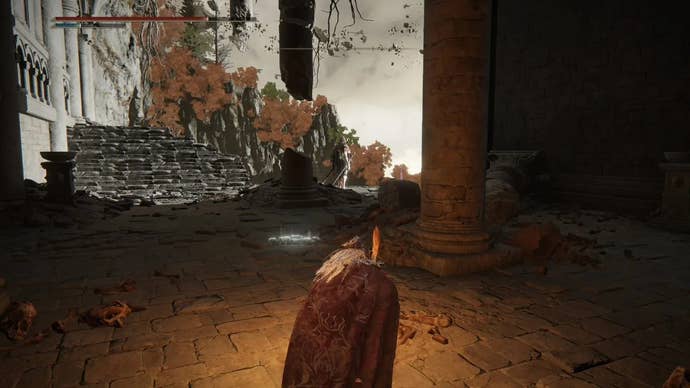
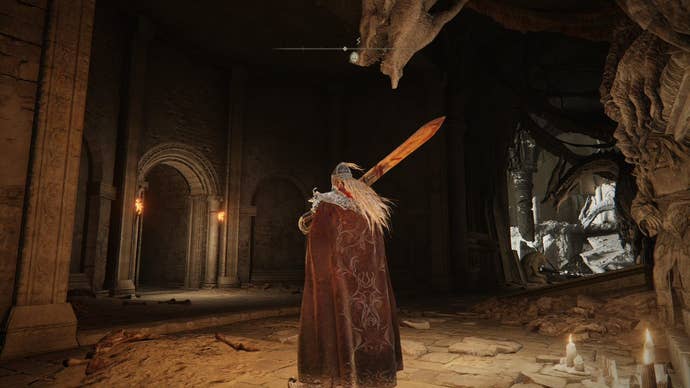
Drop down at the ledge and now continuestraight, following the path to theCrucible Knight.
From the Site of Grace, head east.
In the area with the red flowers, you will encounter a harmless-looking eagle.
Take1x Smithing Stone (6)with you and continue southwards.
This changes as soon as you climb down the ladder, though, so be careful.
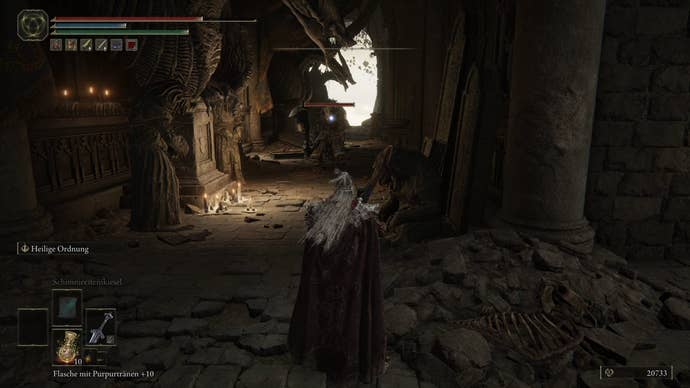
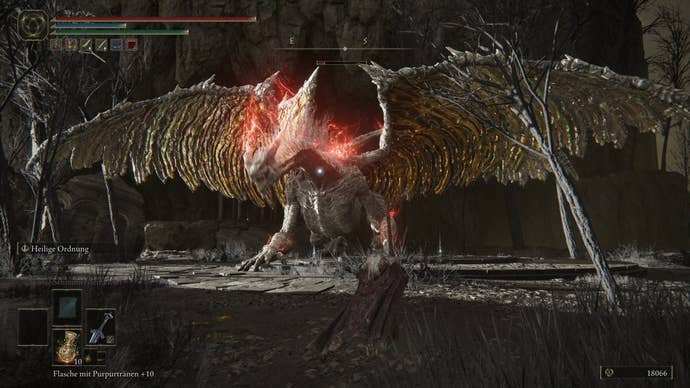
Rest up, as it’s now time to face that raging dragon you saw earlier.
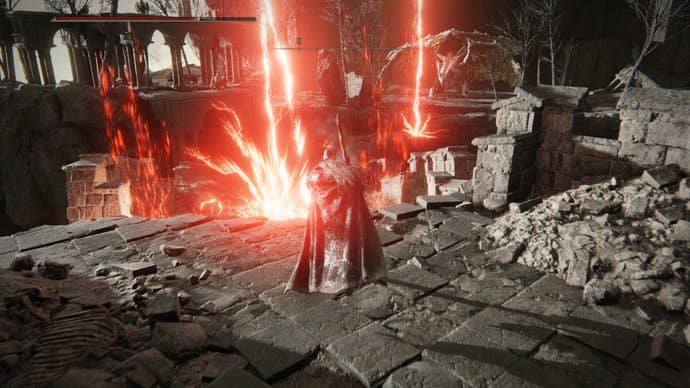
To dodge the dragon’s lightning bolts, watch the floor to see where they’ll appear.
The path to the dragon is made more difficult by other birds, but you could simply skip them.
The dragon itself is badly weakened and has only a fraction of its life bar left.
Stay between its legs and hack at its feet to finish it off.
It’s worth it, as you’ll be rewarded with32,400 runesand anAncient Dragon Smithing Stonefor your trouble.
Return to the pavilion behind the dragon.
Behind it we reach an eagle next to a corpse with1x Golden Rune (12).
The ladder next to it takes us to more knights.
On the left-hand side, we find a treasure chest with theDragon Towershield.

We can use a lift in the building next to it.
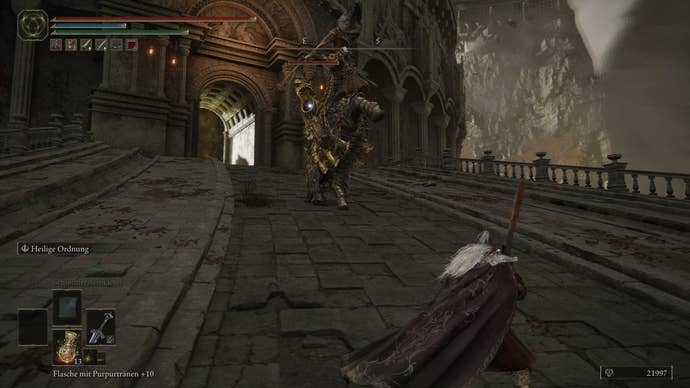
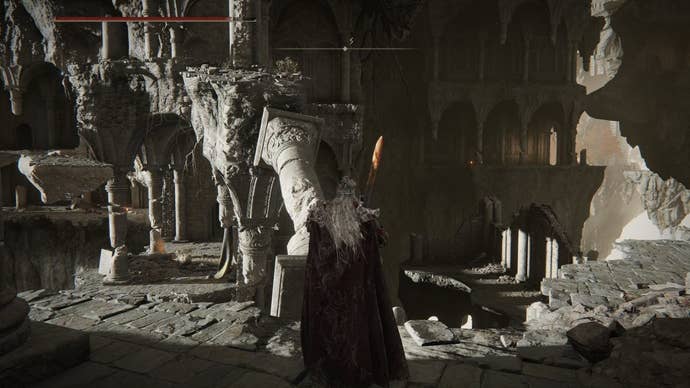
At the top, follow the path north-westwards into a room where a Crucible Knight is fighting a beastman.
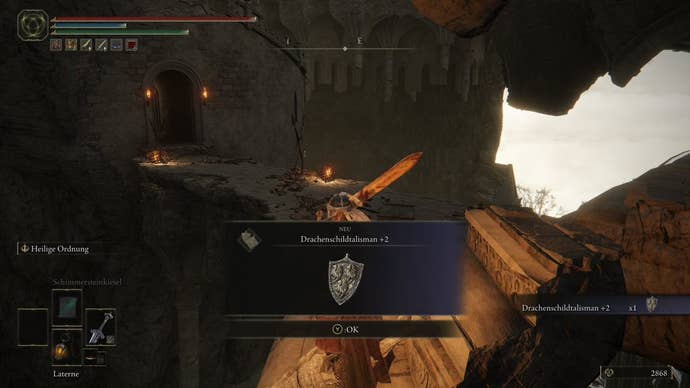
At the upper end, you will find theBoltdrake Talisman +2, guarded by an eagle.
Collect it and drop into the familiar area.
Now take the path behind the deceased lightning dragon, which continues through the level towards the south-west.
Take your time and plan accordingly.
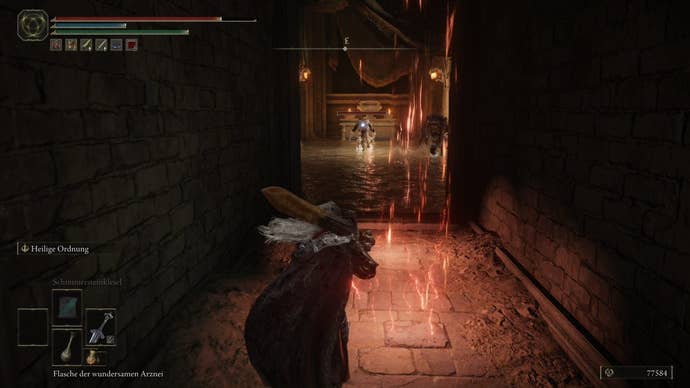
There are three beastmen in the flooded building on the right.
Two of them use lightning attacks and can really get on your nerves.
In front of the building entrance, you will find a path to an optional hiddenElden Ring boss.
Not much further to go now!
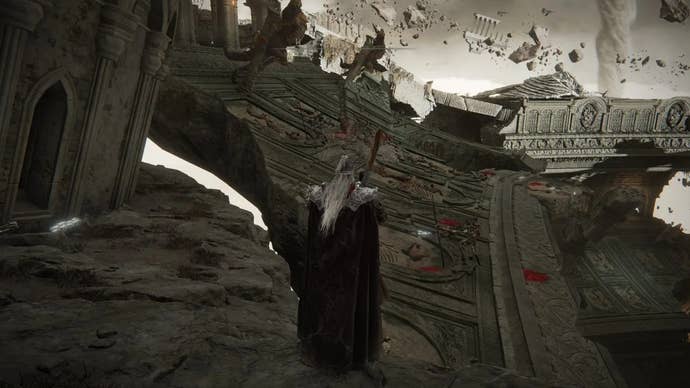
You will reach the Great Bridge of Farum Azula.
Go through the building and keep to the right until you come out into the open again.

The corpse has1x Somber Smithing Stone (8)to loot from it.
On the right is a ladder, which we follow down to reach a bridge.
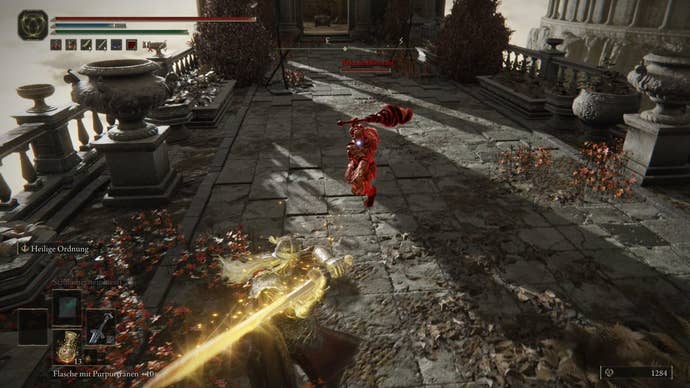
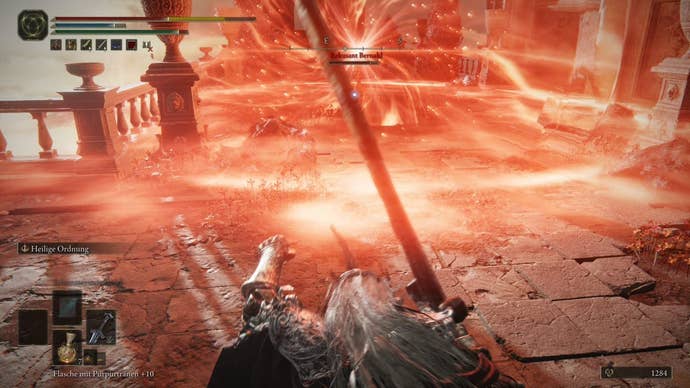
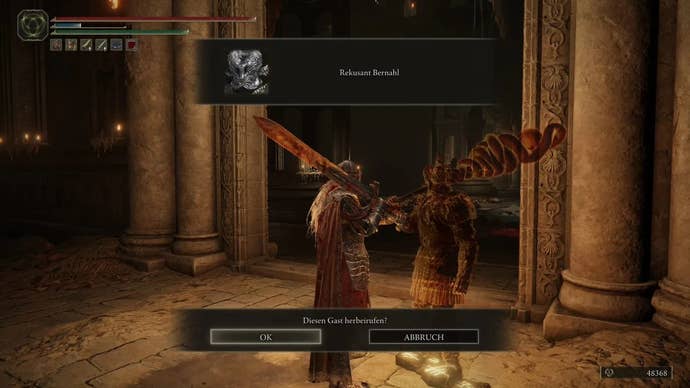
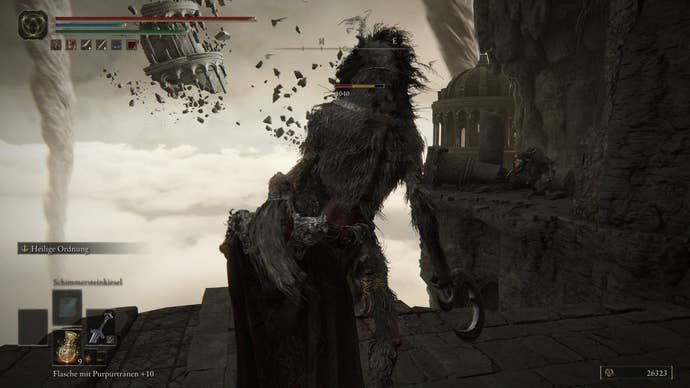
Run towards the tower, in front of whichRecusant Bernahlappears as an intruder.
Previously, we knew him as Knight Bernahl.
The fight is pretty tough, and we’d recommend luring him back towards where you came from.
Bernahl alone is fierce enough.
He wields a massive warhammer - a Devourer’s Sceptre - and strikes like he’s possessed.
The damage is astronomical.
What’s more, Bernahl has a large HP bar and will heal himself during the fight.
Definitely not an easy fight, so be well prepared.
On defeat, you’ll be rewarded with:
you could now enter the tower.
It will give you theOld Lord’s Talismanwhich extends the effects of sorceries and incantations.

Back at the Site of Grace ‘Beside the Great Bridge’, we can recharge and take a rest.
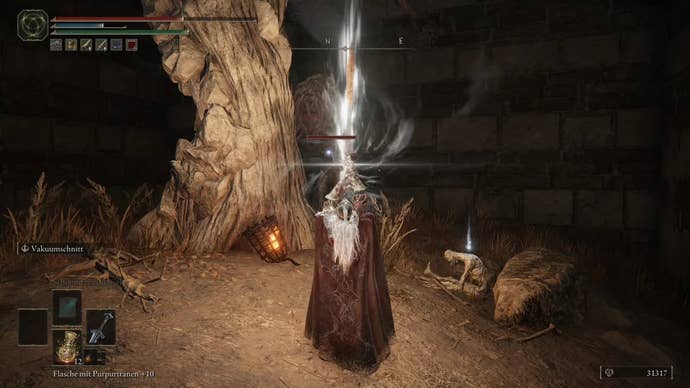
You already know this bang out of enemy as a boss from the outskirts of the capital.
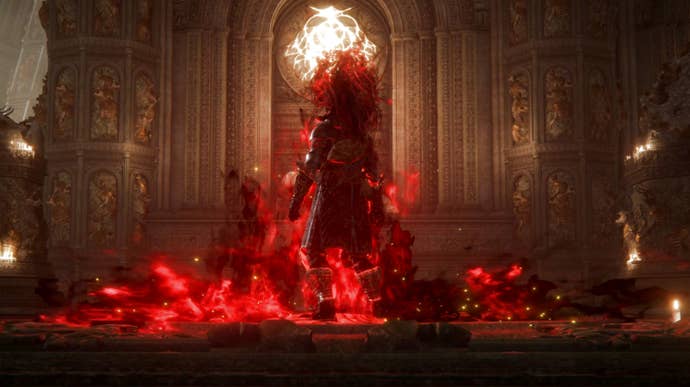
With that in mind, let’s proceed to the final boss.
On defeat, Maliketh will reward you with220,000 runes and the Remembrance of the Black Blade.
You’ll also be transported to Leyndell, Ash Capital, to begin the final stretch of the game.
Next destination:Leyndell, Ash Capital