Take on Destiny 2’s raid boss rush for some great loot!
The Pantheonis an all new raid boss-rush mode added toDestiny 2.
Its a limited time activity, with the potential to reward some of the best gear in the game.

This end-game difficulty activity is geared towards fireteams of 6.
Each week will debut a new series of bosses to face, each taken from previous Destiny 2 raids.
Each week also represents a change in difficulty.

For week 1, everyone in the fireteam will play with a-5 level disadvantageversus the enemies.
That might sound daunting, but you have an ace up your sleeve in a special buffs each week.
For week one it calledClass Warfare.
For week 2, the buff isShot Caller.
Clearing each encounter brings with it a veritable bounty of raid weapons, frequently including some with Deepsite Resonance.
In addition, Shaxx has a special quest called Divine Weaponry.

Each week Shaxx will update his quest, and add to his assortment of expotic weapons.
Your level disadvantage is set to -5.
The first encounter is Golgorothfrom Kings Fall.
![]()
We have a full walkthrough to this fight in ourKings Fall Raid guide.
To summarize, everyone will clear adds until you eliminate a pair of yellow health bar wizards.
They have to stand in the good to damage the boss.
There are three key changes for this version of the fight.
First, the add clear phase now features Ogres, and yellow-bar Knights called Witnesss Conscript.
verify you clear those quickly.

Second, during the boss damage phase Two Guardians will now be cursed with Unstable Light.
Finally, the Gaze Holders will have to deal with Invisible Minotaurs while they are holding Golgoroths attention.
Next up is The Caretakerfrom Vow of the Disciple.

He is slowly walking towards an obelisk, and will wipe the party if he reaches it.
They will then need to shoot the symbols they have gathered on the obelisk to clear them.
Once all nine symbols have been shot, the damage phase will start.

After a damage phase the entire battle moves up another floor.
This one is more or less the same as before.
Anytime he hits them, it decreases the amount of time you have to find the fragments.
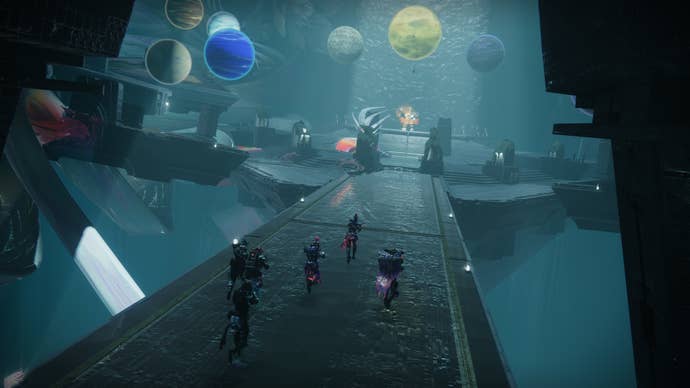
The third encounter for week 1 isMacrocosmfrom the Root of Nightmares.
you’ve got the option to check outour guide for full details.
Once all of the correct changes are made, more Colossi will appear.
Damage phase will begin after this.
The boss will have either a Dark or Light Shield.
You will only be able to damage the boss while standing under aplanet that matches his shield.
After several rounds of this he will go into a last stand phase of his own.
Finish him quickly to advance.
There are two things you will need to watch out for.
This does a lot of damage, and will rotate from Island to Island.
Also, a Tormentor will spawn once all of the planets are aligned.
verify you deal with him quickly before he becomes a problem during the damage phase.
The last encounter is a fight withAtraks-1from the Deep Stone Crypt.
Split into two teams of three.
Someone from each team will need to pick up those symbols.
Yellow is theScanner buff.
When all of the Servitors die, the damage phase begins.
Thats the one that needs to be destroyed.
There is a terminal in both the upper and lower areas.
The Operator Augment should besent up as soon as possible.
When a copy dies, it leaves behind a ball of energy.
Someone needs to pick this up, or it explodes and wipes the team.
The Operator can shoot the energy off of them, which resets its timer.
After two copies in the upper area die, they will appear in the lower area.
The Scanner augment will need to be sent down.
After two copies die in the lower area, two more appear in the upper.
After a few back and forth cycles you will either reach thelast stand, or the damage phase ends.
If the damage phase ends then everyone should return to their side and start the process again.
If the last stand begins, then everyone should gather at the top.
A larger number of copies will appear.
Everyone should rush the one identified by the Scanner.
After it dies another copy will become the target, then one more after.
ensure to take them out quickly, otherwise complete this as normal.
Things are officially getting tougher.
The strategy for the first four bosses is unchanged.
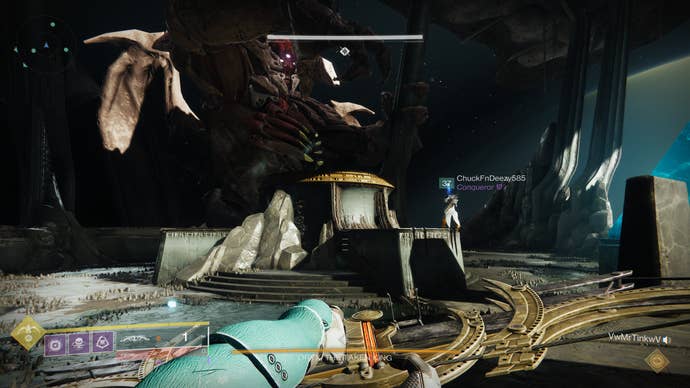
This is a complex fight, and it is worth referring to our detailed breakdown in ourfull Oryx guide.
As a refresher, you will divide into a group of four platform holders, and two floaters.
The platform holders will be assigned to one of the four platforms at the corners of the arena.
The two floaters will be in charge of killing enemies, and will replace a platform holder as needed.
A knight will spawn on each of the four platforms.
Now, a few things will happen.
One random person will becomeTorn Between Dimensions, they are now a runner.
If it was a platform holder, the nearest floater will take over the platform duties.
The runner will go to the platform Oryx struck.
Simultaneously, one of the other platforms will have anorb of lightappear above it.
Now the platform that Oryx punched will turn green, indicating it is the starting point.
This must be stood on, followed by the one with the orb.
Once collected, everyone will get off of their platforms.
Once the third orb is collected, the runner will gain the Brand Stealer ability.
They will then locate a special Knight called theVessel of Oryx, and steal his brand.
This gives them the Aura of Immortality, making them and anyone in a close radius invincible.
They must be killed quickly.
When they die they leave a special ‘bomb’, be careful not to get close to it.
After an ogre dies, a special knight will spawn to try and collect the bomb.
The platform holders and floaters will need to focus on killing all of the ogres and knights.
Oryx will find another platform to punch.
As soon as he does, every platform holder will run into the bomb near their plate.
As soon as someone sees their name, head back into the Aura.
The bombs will strike Oryx, setting him up for DPS, and kill anyone not in the Aura.
Hit Oryx as much as you’ve got the option to while his chest is open.
Eventually he will reach a last stand.
Everyone should meet up in the center again, and let Oryx have it.
Ogres will spawn at the two platforms closest to this end of the map.
Kill them, and detonate those bombs one at a time to interrupt his party wiping hand-clap maneuver.
Poor enough damage, and Oryx will fall.
The Pantheon specific additions to this fight are pretty tough.
First, the Knights on the platforms are the more powerful yellow health bar variants.
For this week your team will be facing a-15 level disadvantage.
There are three phases to this fight.
During the first phase you will divide into two groups of three.
The people will focus solely on clearing enemies, the other three will beLeeching Forceholders.
Once those are shot by the other two Leeching Force holders, the buff will transfer to them.
A pair of yellow health bar enemies calledGlyphkeeperswill appear.
Killing the one on the right does the same for anyone without the buff.
Players will need tocall out the symbols they see, one symbol will be common on both sides.
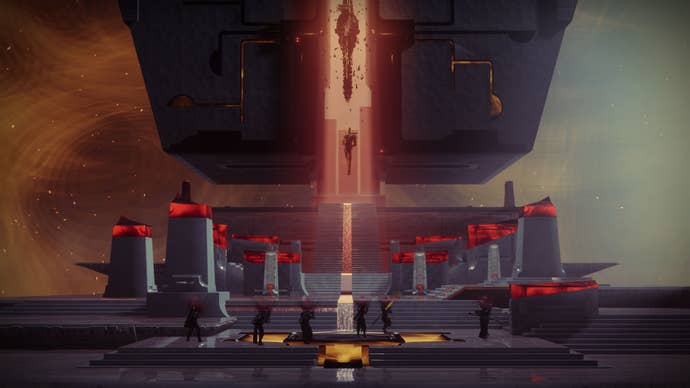
Rhulk will retreat to a small stage at the rear of the arena.
After a few rounds of attacks, he will drop his Glaive on the ground.
One person from the team will need to shoot it to get the Leeching Force buff.
They will be able to see a symbol left behind, and will call it out.
They will identify to the Emanating Force holder which one has the matching symbol.
The Emanating Force will then be deposited in that pillar.
This will reveal aglowing weak pointon Rhulk that must then be destroyed by the team.
Repeat this process several times, and the damage phase will begin.
Rhulk will continue his attacks, but will be vulnerable to damage.
Unload everything you have on him.
Rockets, Linear Fusion Rifles, and Sniper Rifles are particularly effective.
The process then repeats from the first phase.
Eventually Rhulk will reach the last portion of his health bar, which starts a last stand mechanic.
This second Rhulk is invulnerable, but lacks any ranged attacks.
It will walk around the stage, and attempt to punt players off to their deaths.
As long as youkeep your distanceyou can avoid him.
Best of luck with the Pantheon!
