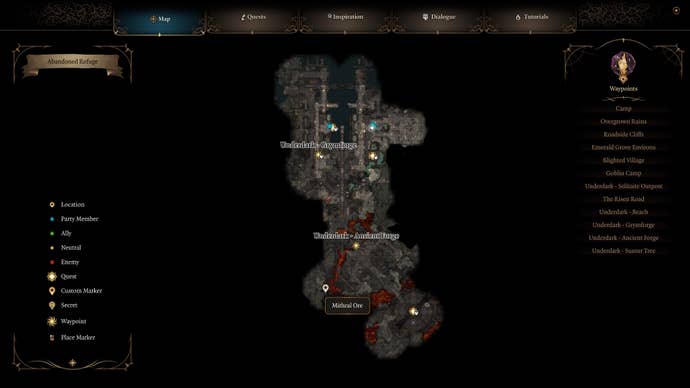
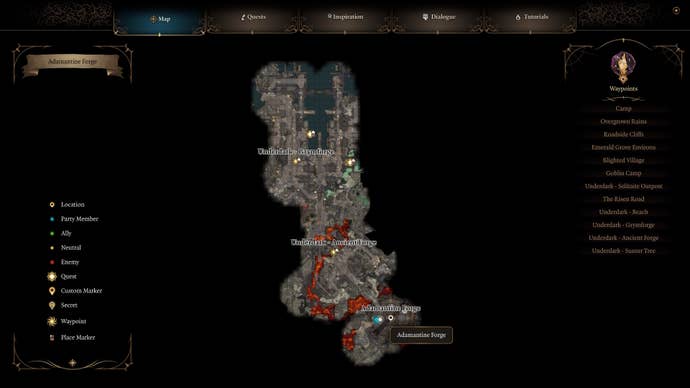
Including how to reach the Adamantine Forge.

The Adamantine Forgeis both the name of a side quest and an Underdark location inBaldur’s Gate 3.

We’ve got a quick and easyGrym boss strategythough if you’re struggling with its mammoth health bar.

Character in blue and brown armor turning a large wheel in an area with a glow from lava.

On this page:

For more help in your adventures, check out ourBaldur’s Gate 3 tips.

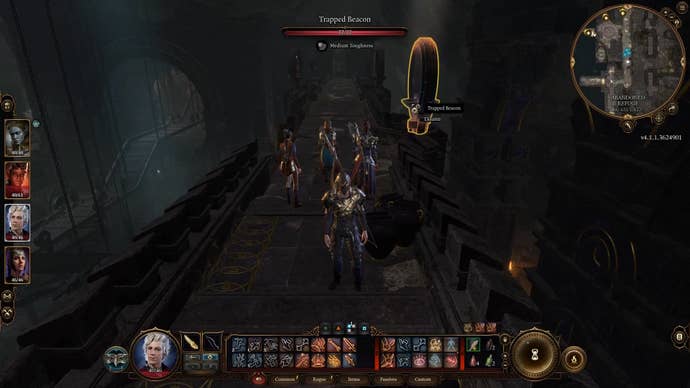
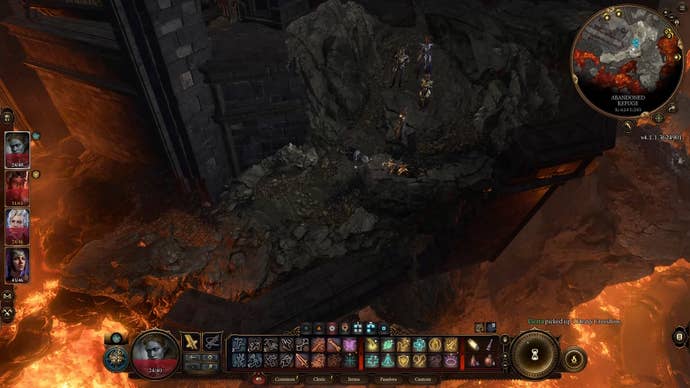
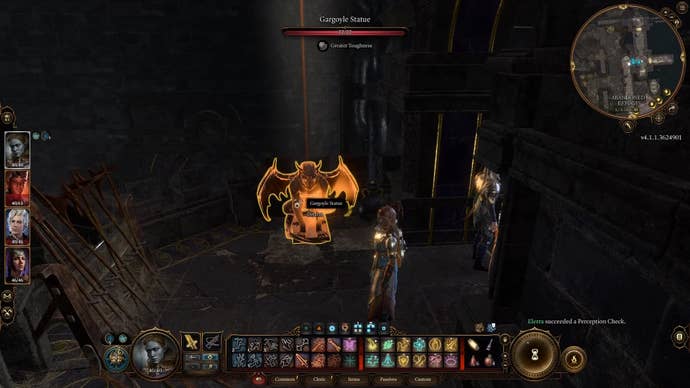
Be careful of other traps on the way though, like gargoyle statues.

We recommend bringing Trap Disarm Toolkits and acompanionlike Astarion to disable traps.

Cover image for YouTube video

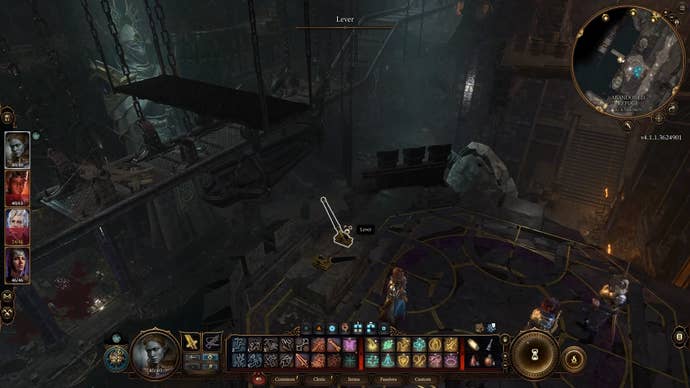
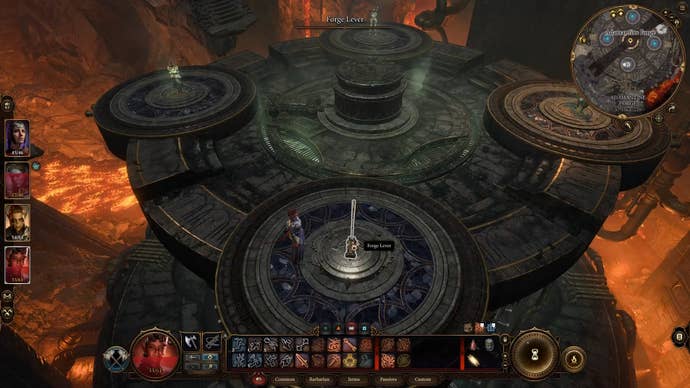
Switch back to the character by the first set of levers and bring the platform back to them.

Then jump on this platform and make your way south to the end of this path.

This moves the character on the platform to the other side.

Map highlighting the location of the Adamantine Forge/

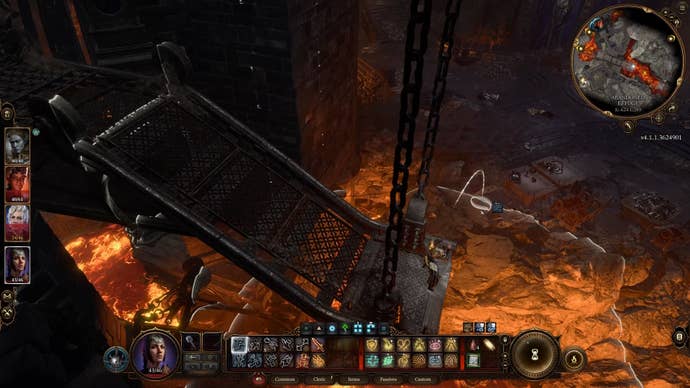
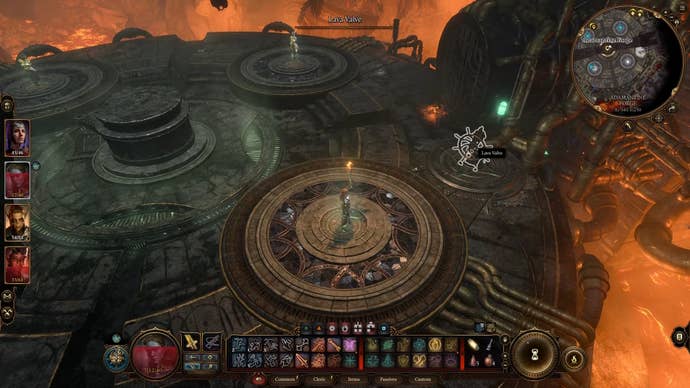
Jump down from this platform, follow the path, then jump to the ground at the end.

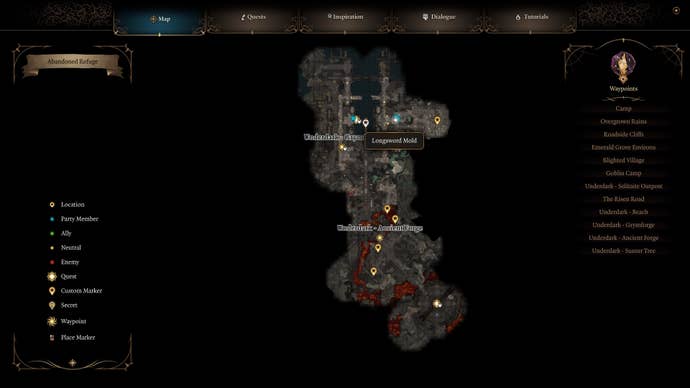
The Ancient Forge waypoint will unlock and you cangather your party again by using the waypoint.

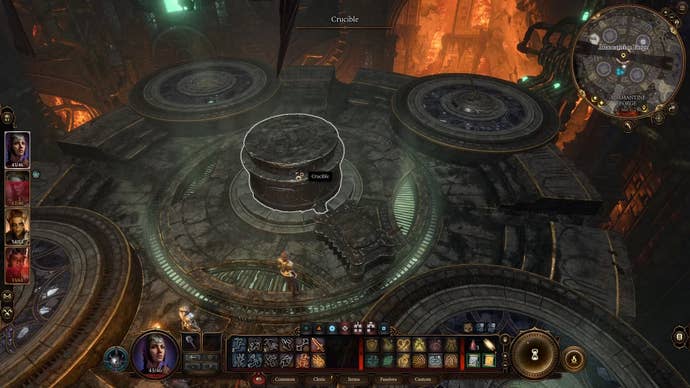
We’ve got a quick and easyGrym boss strategyif you’re struggling to take the boss down.

Map showing the location of rubble.

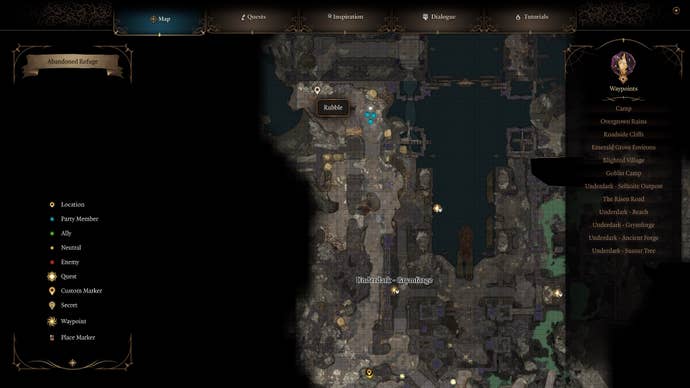
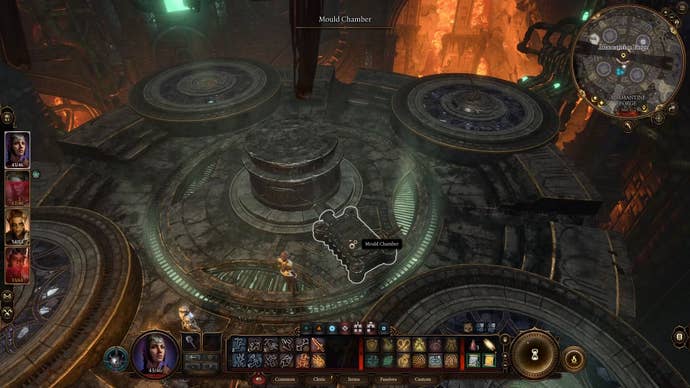
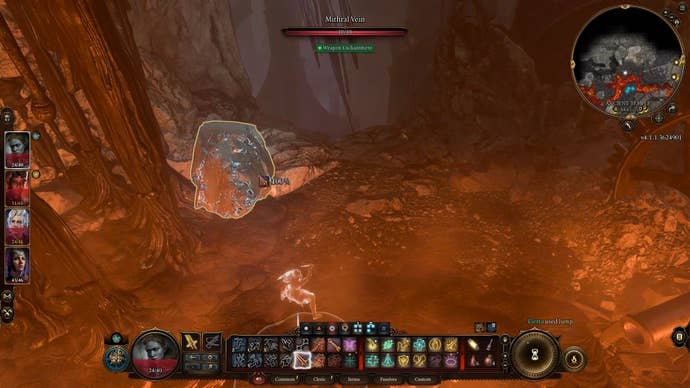
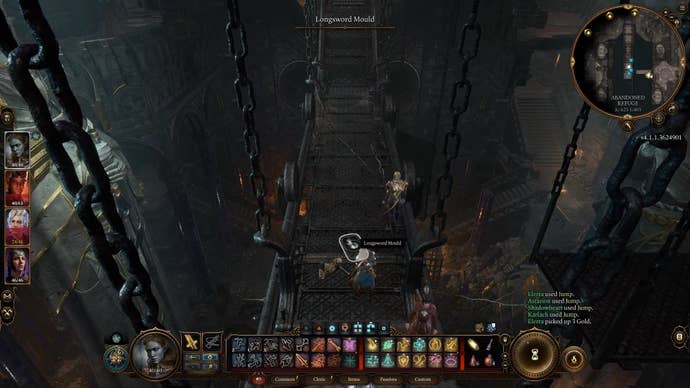
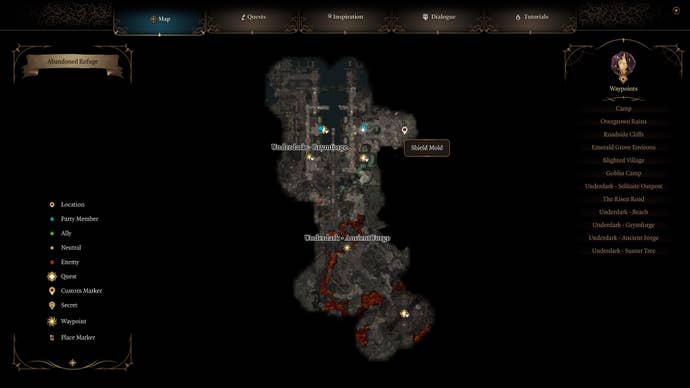
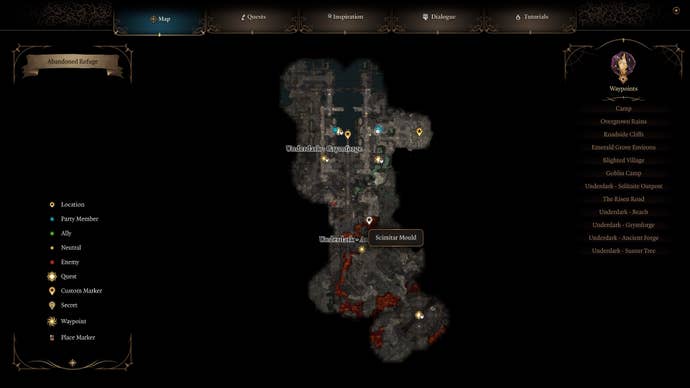
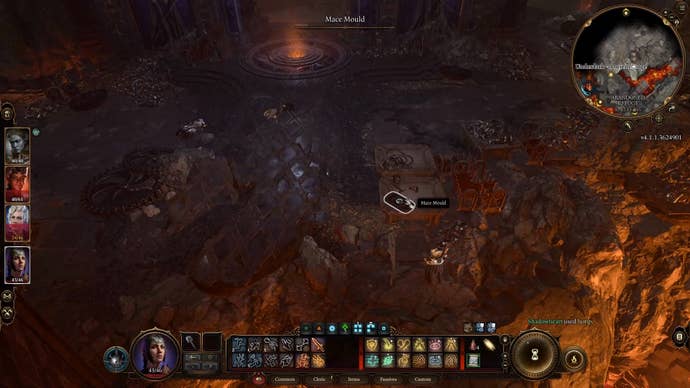
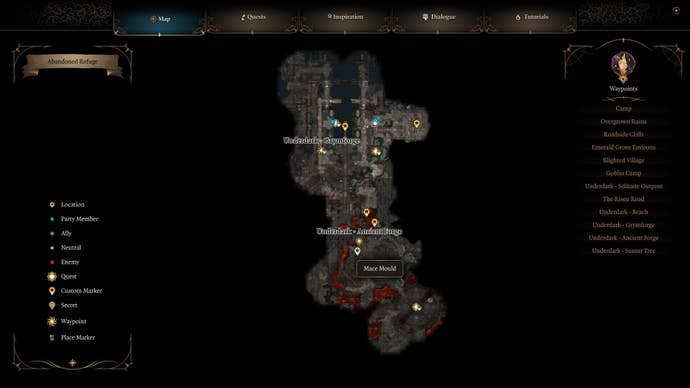
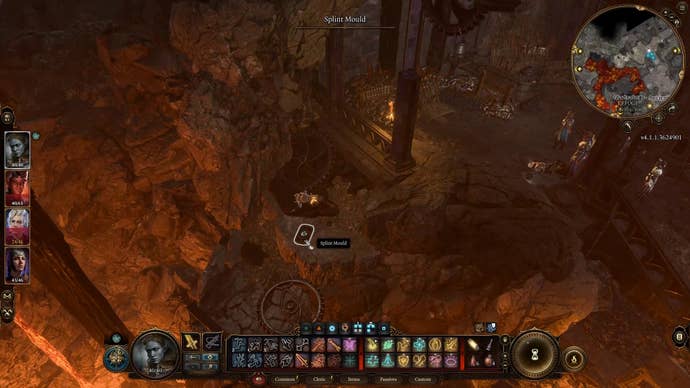
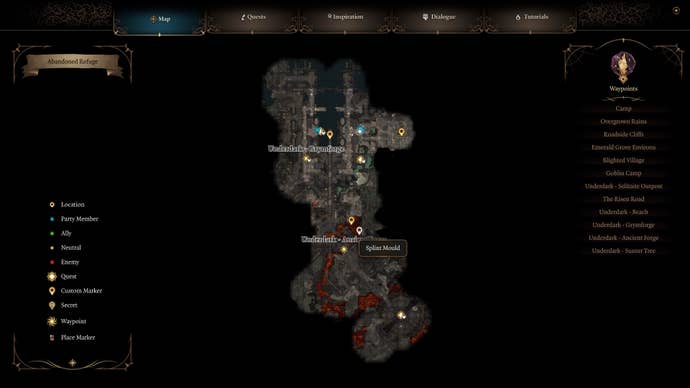
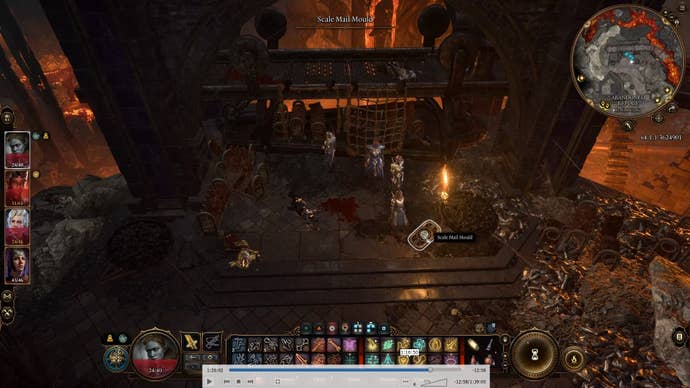
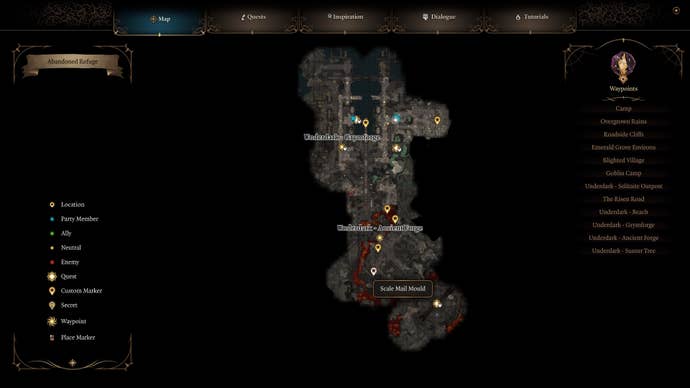
If you still need to find Mithral Ore or a certain mould, we’ve detailed their locations below.

There are multiple enemies on the ramparts here, however, so prepare for a fight.

You could also use spells or abilities like Misty Step to help you across.

Dialogue option highlighted telling a horned ox looking creature to kill its masters with the creature behind the text.

Once the vein’s health has depleted, you’ll get a piece of Mithral Ore.

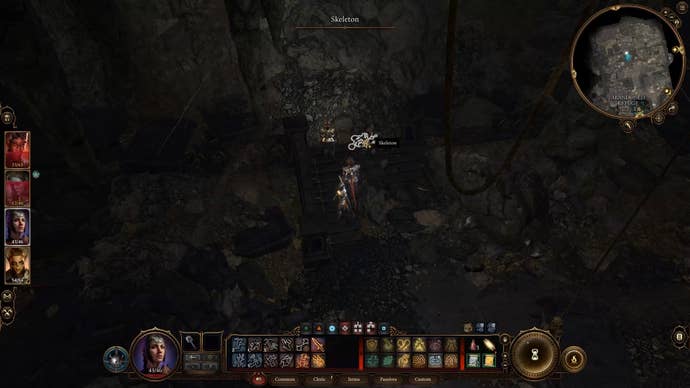
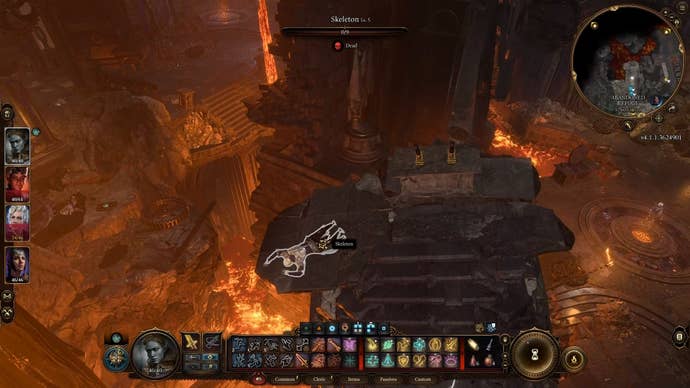
It’s on the floor beside a skeleton.

There are enemies on the ramparts though, so be prepared for a fight.

Cursor on an orange highlighted gargoyle statue in a dark dusty area.

Good luck at the Adamantine Forge!

Cursor on orange highlighted beacon trap on run down battlements.

Cursor on a lever with another lever not highlighted beside it.

Cursor on a lever which is above an area covered in lava.

White line showing the jump path of somebody on a narrow metal platform.

Cursor highlighting the crucible in the middle of a circular forge area surrounded by lava below.

Cursor highlighting the Mould Chamber in the middle of a circular forge area surrounded by lava below.

Cursor highlighting the Forge Lever near the edge of a circular forge area surrounded by lava below.

Cursor highlighting the Lava Valvenear the edge of a circular forge area surrounded by lava on all sides.

Map showing the location of mirthal ore

A party of four on a path leading to a lava river that can be seen on the bottom corners.

Cursor highlighting a mithral ore vein near a lava river.

Cursor highlighting longsword mold on a metal platform.

Map highlighting the longsword mould location.

Cursor highlighting a skeleton next to a cave-in in a dark room.

Map highlighting the shield mould location.

Cursor highlighting a corpse beside levers and above lava.

Map highlighting the scimitar mould location.

Cursor highlighting the mace mold on a table in an area littered with corpses and large cogs.

Map highlighting the mace mould location.

Cursor highlighting the splint mold on the ground between two cogs with a lava glow.

Map highlighting the splint mould location.

Cursor highlighting the scale mail mold beside a lit torch and under ramparts near lava.

Map highlighting the scale mail mould location.