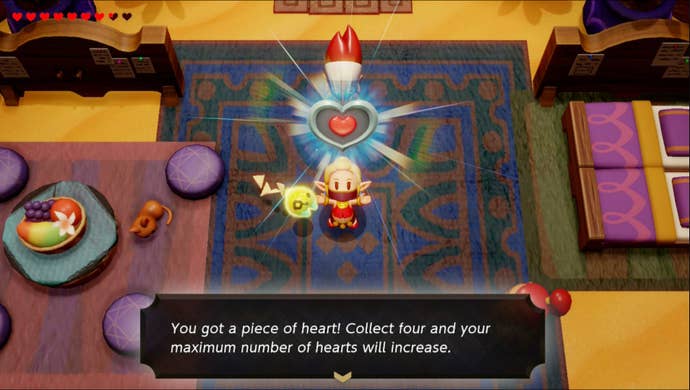
Our guide to finding every Heart Piece location.
Knowing theHeart Piece locationsis vital inZelda: Echoes of Wisdomas collecting them will increase Zelda’s health.
The problem, however, is finding the Heart Pieces as they’re rarely in an obvious location.
Here we take a look at every region and the Heart Pieces hidden within them.
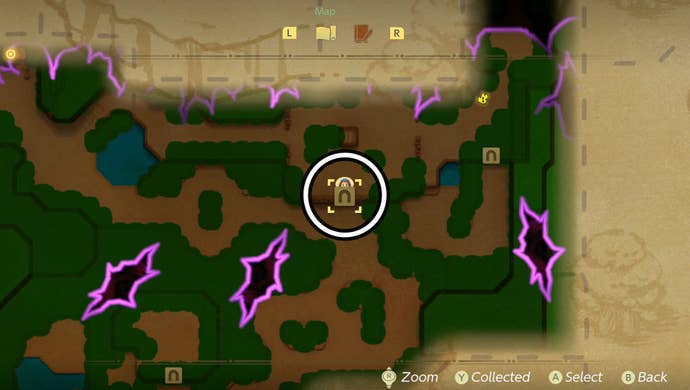
Here’s an overview of every Heart Piece location in Zelda: Echoes of Wisdom.
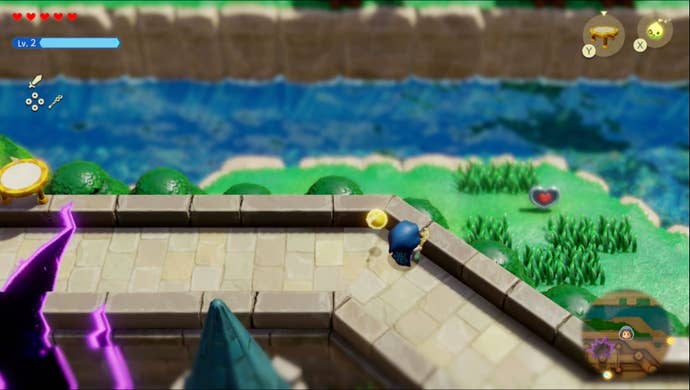
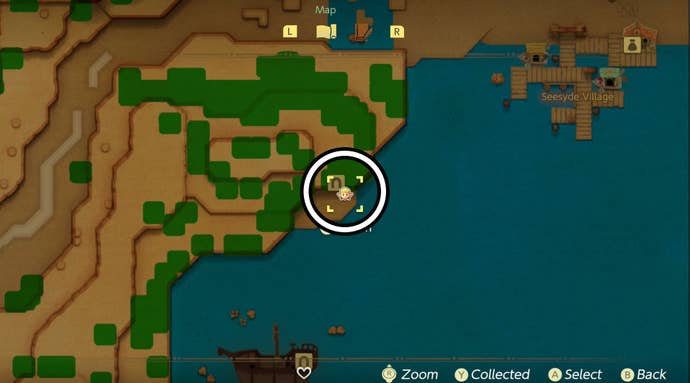
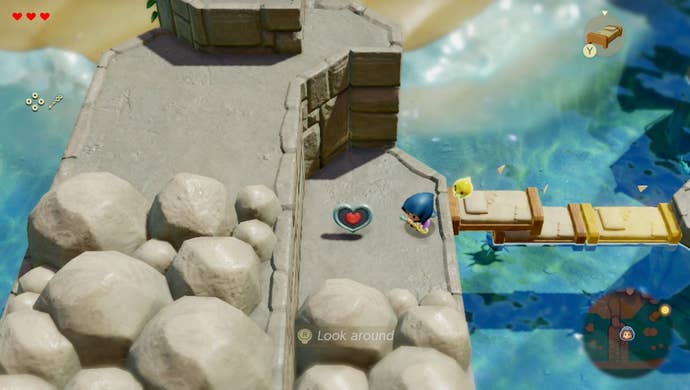
It can be found on the cliffs just off the coast of the beach near Suthorn Forest.

To reach it, you oughta swim out to the rocky outcrop on the right-hand side of the beach.
From there, use the Bed Echo to create a platform to where the Heart Piece sits.
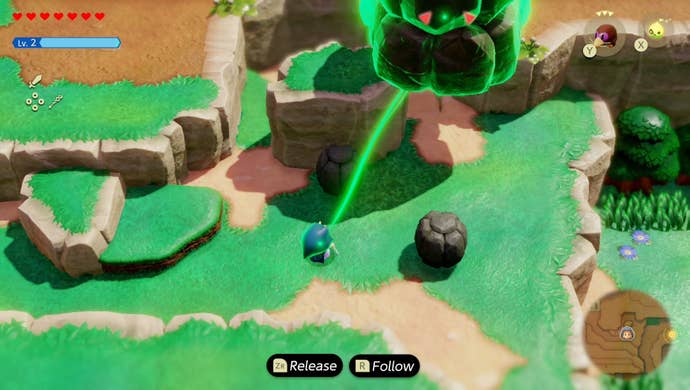
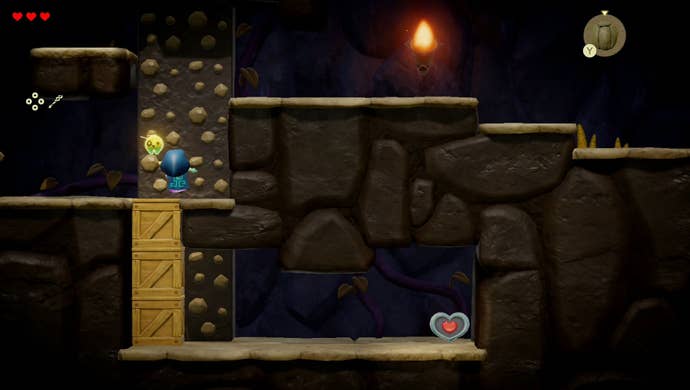
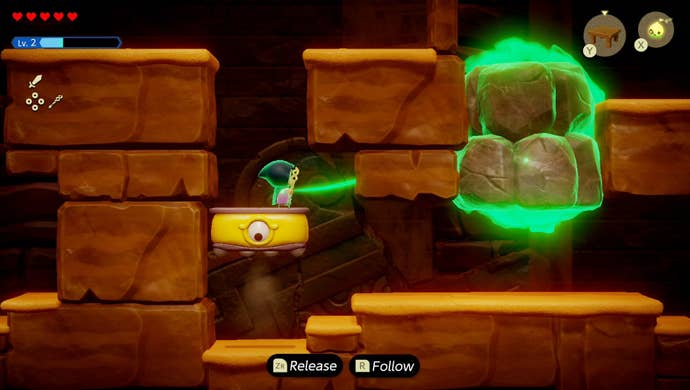
It’s trapped behind a series of crates, so you’ll need to climb onto the nearby ledge.
Once there, create a Boulder Echo and drop it down on the crates.
You’ll need to do this three times to reach the Heart Piece.
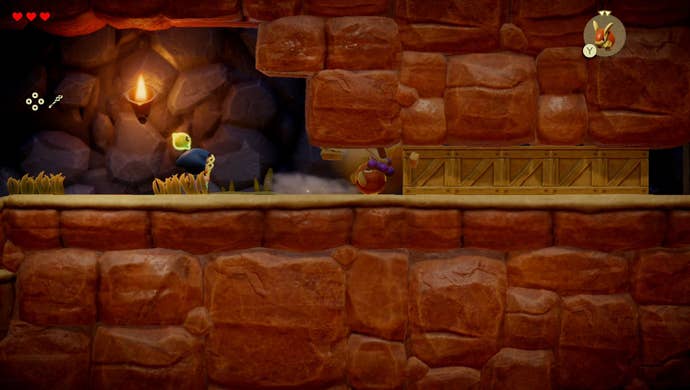
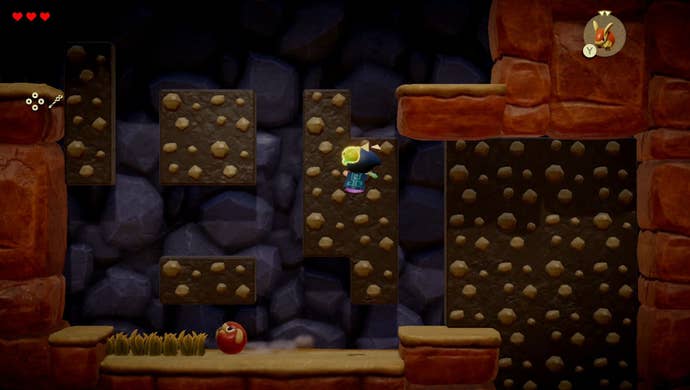
Once inside you oughta collect the Caromadillo Echo and then use it to destroy the crates blocking your way.

Afterwards use the climbable walls to reach the Heart Piece on the ledge near the cave’s exit.
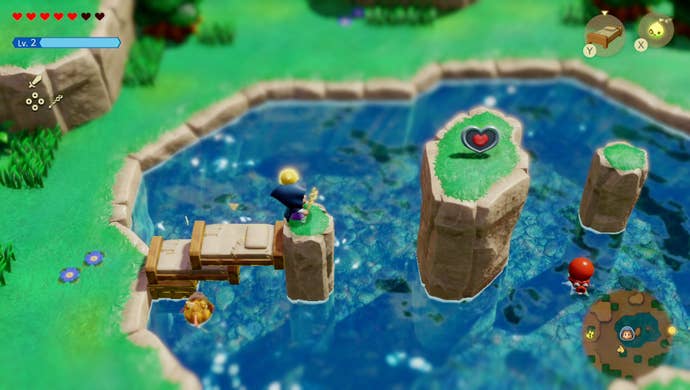
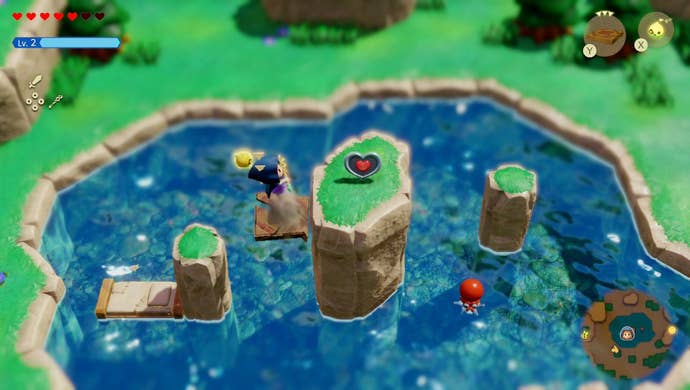
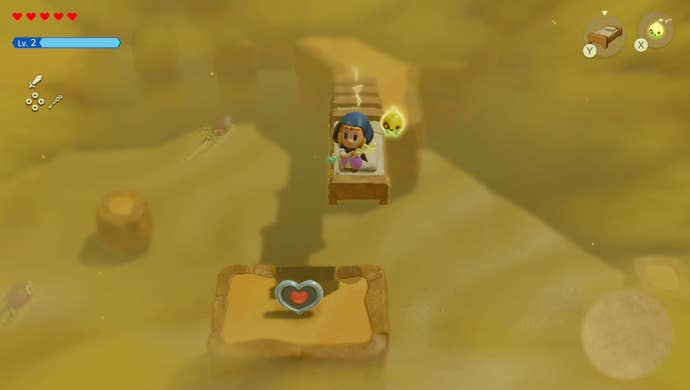
Here you’ll find the Heart Piece atop the pillar in the middle of the pool of water.
Now the Heart Piece is all yours!
To reach it, you gotta head slightly north-west from its actual location.
After that create a series of Bed Echoes to act as a platform to reach the Heart Piece.
You will have to jump down to the Heart Piece, but you will be able to reach it.
From there, use Bind to move the platform so it’s above the series of crates.
When it’s in place, let it go so it destroys the crates.
Now you’ve got the option to go safely back down the gap and collect the Heart Piece.
Once there you oughta fully complete the Ultimate Seeds challenge by harvesting the max number of Tough Mangos.
We found the Dancingoutfit, which increases your spin area, incredibly helpful for this challenge.
First, however, you better have completed both theGerudo SanctumandJubal Ruinsas well as having defeated two Lanmolas.
Now all you have to do is attack it withEchoesor the Swordfighter form until the Lanmola is defeated.
Upon its defeat, the Lanmola will drop the Heart Piece.
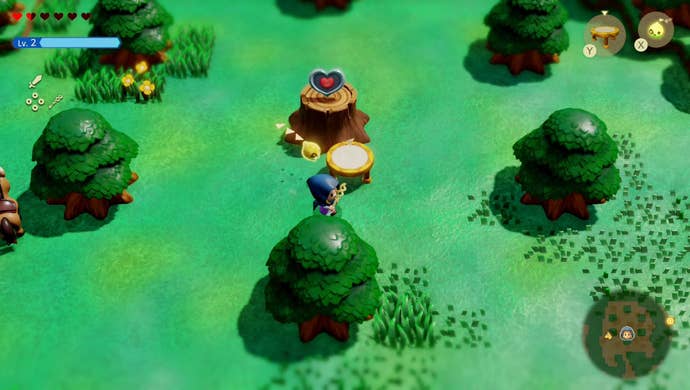
Now all you have to do is use a Trampoline Echo to reach the Heart Piece on the stump.
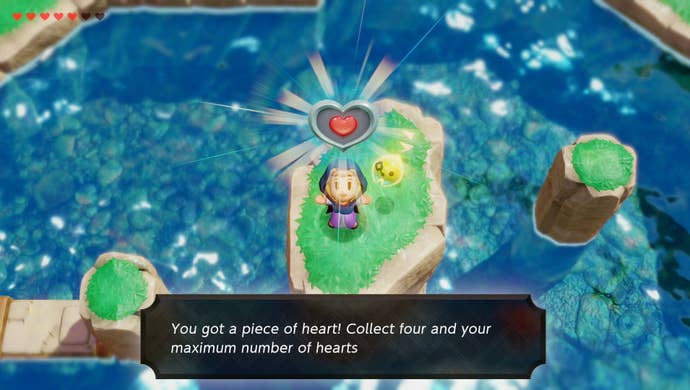
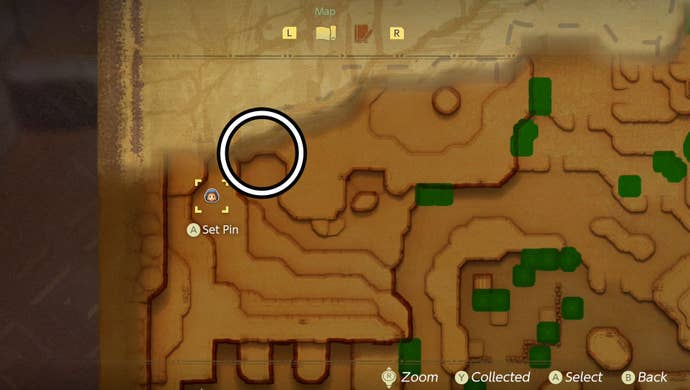
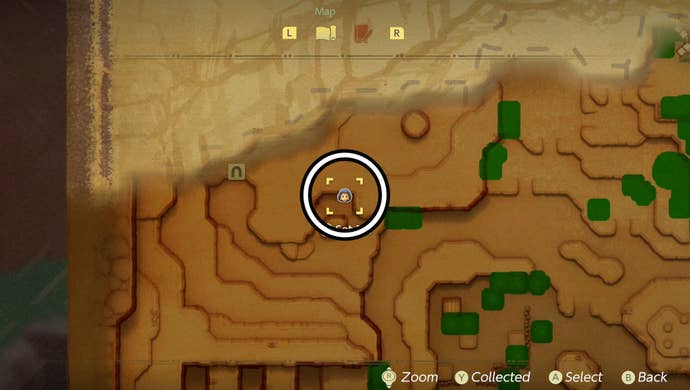
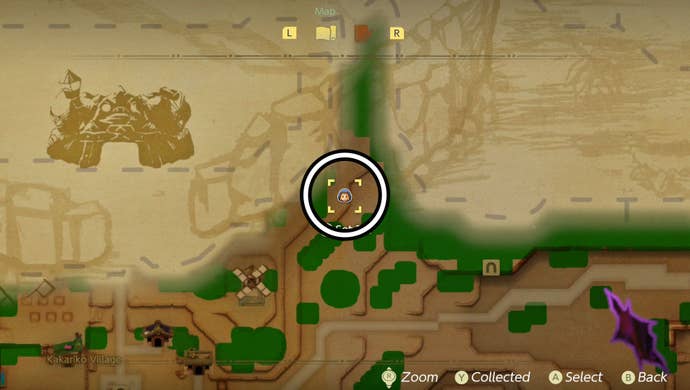
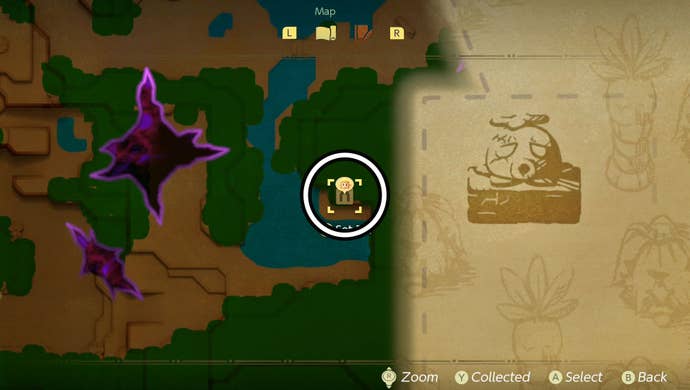
To be exact it sits on the southern border of the Eternal Forest, east of Kakariko Village.
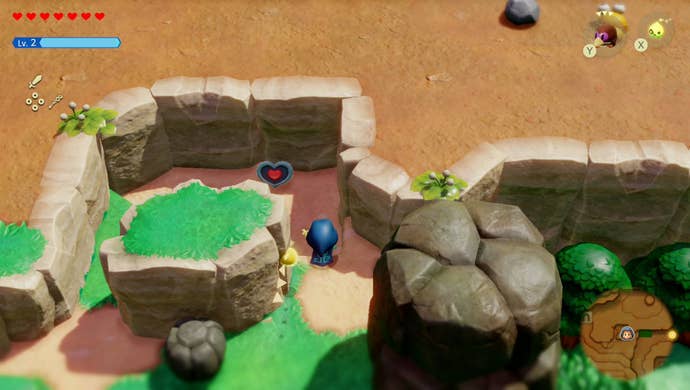
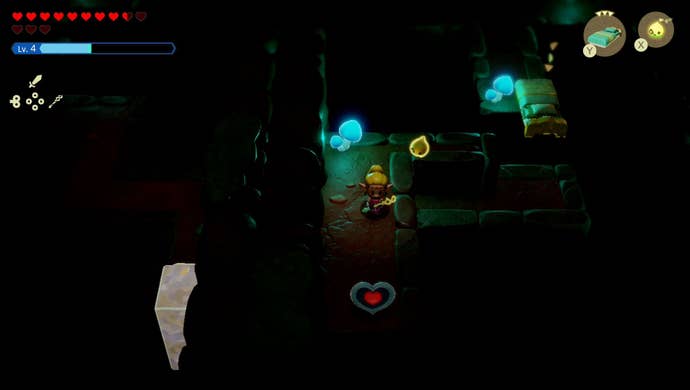
You don’t, however, obtain this Heart Piece by entering the cave through its entrance.
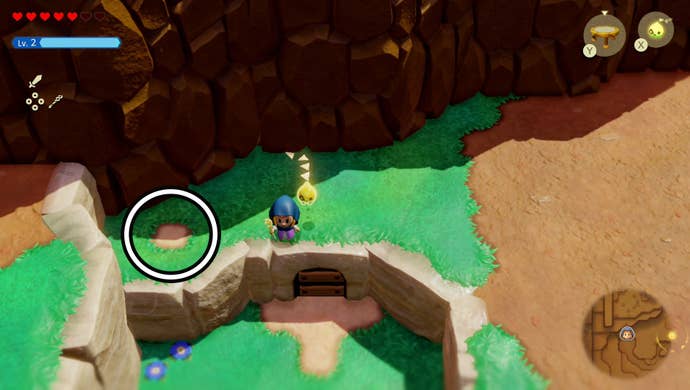
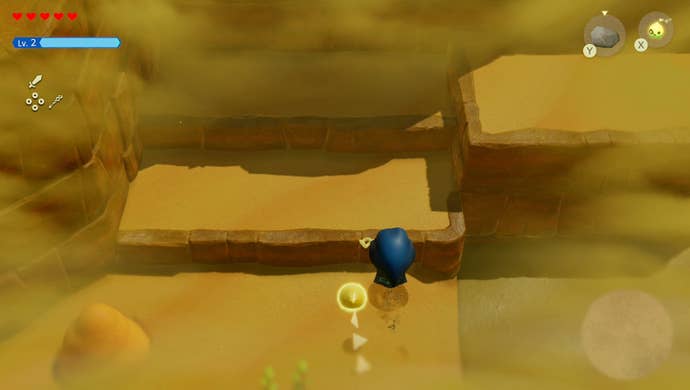
There you’ll be able to spot a small patch of digable dirt on a small cliff.
Once there, use the Holmill Echo to dig a hole in the dirt.
Now all you have to do is drop down the hole and collect the Heart Piece!
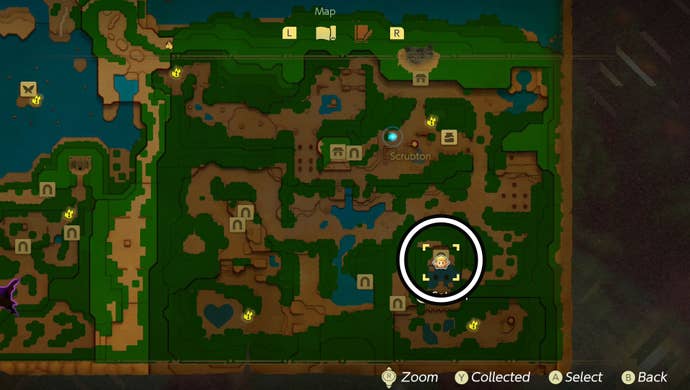
It’s roughly south-west of Kakariko Village.

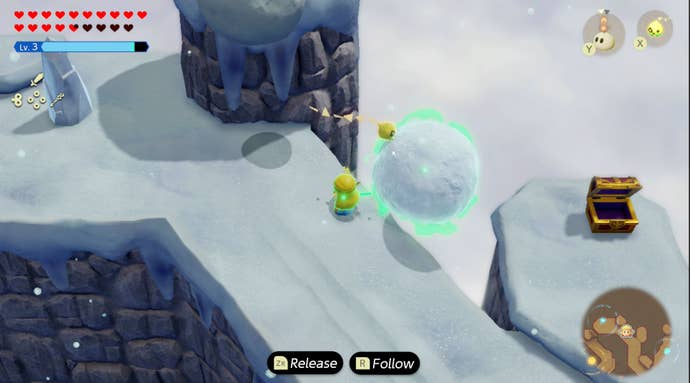
When you’re ready, you’ll first want to create a bridge up to the first rocky outcrop.
You’re not there yet though as the Heart Piece is still out of reach.
Then all you have to do is pick up the Heart Piece.

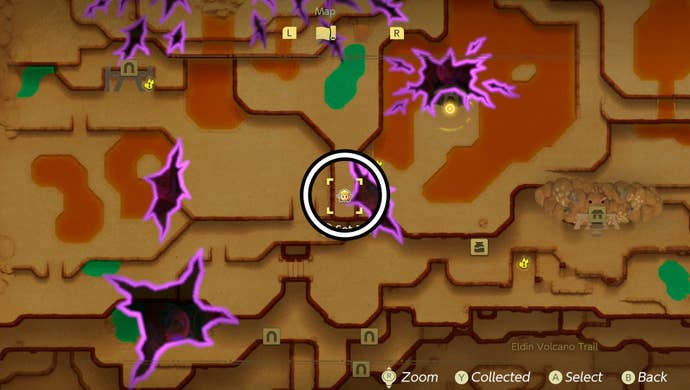
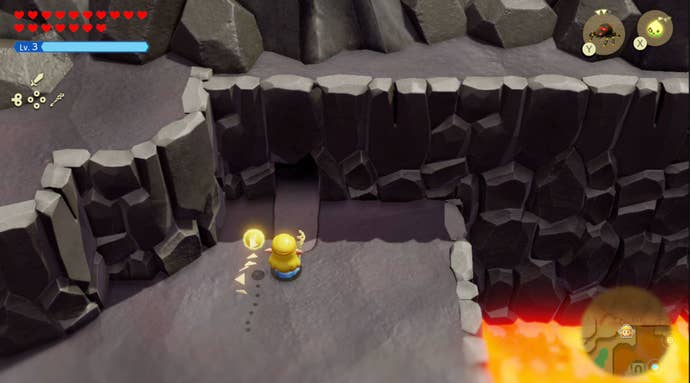
Once there you’ll find a cave entrance, but don’t go inside.
Now all you have to do is drop down inside to grab the Heart Piece.
Hyrule Field Heart Piece location seven
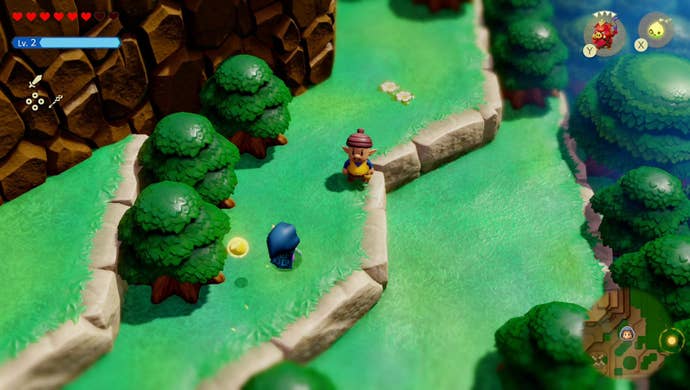
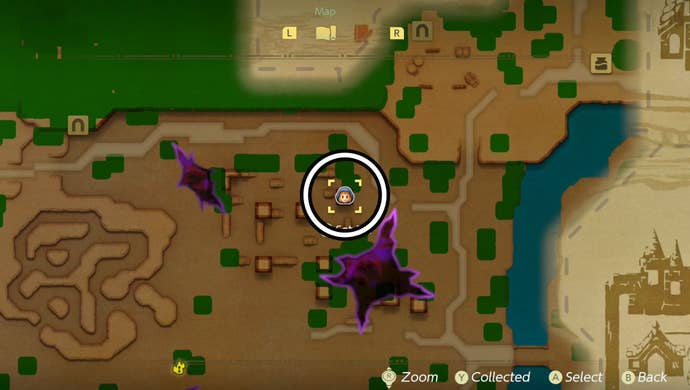
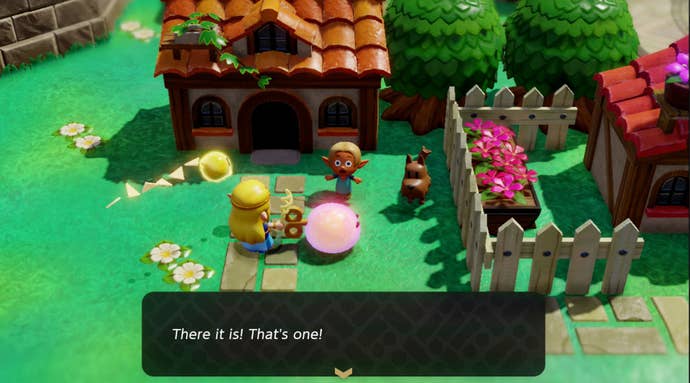
Kakariko Village holds another Heart Piece for you to collect.

Spend 10 Rupees and collect all of the Acorns before 40 seconds pass to earn the Heart Piece.
It’s located within the ruins south of the Eternal Forest border and east of Hyrule Castle Town.
Simply Bind Zelda to a Crawltula and use it to climb the pillar to grab it.

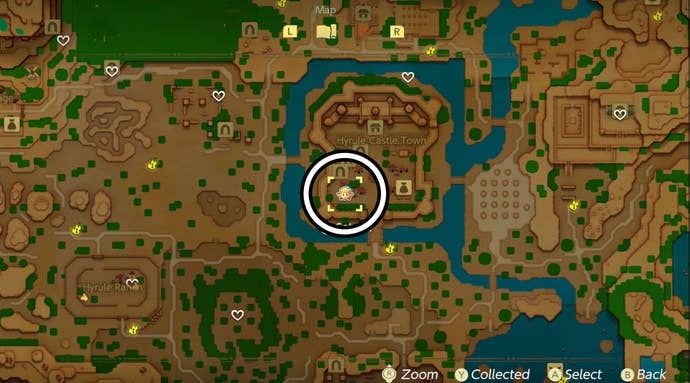
Hyrule Field Heart Piece location nine
There’s a Heart Piece sitting directly behind Hyrule Castle!
To do this you gotta complete the course in under 20 seconds.
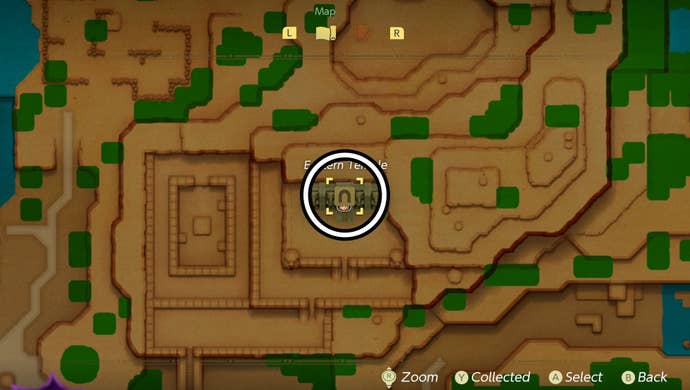
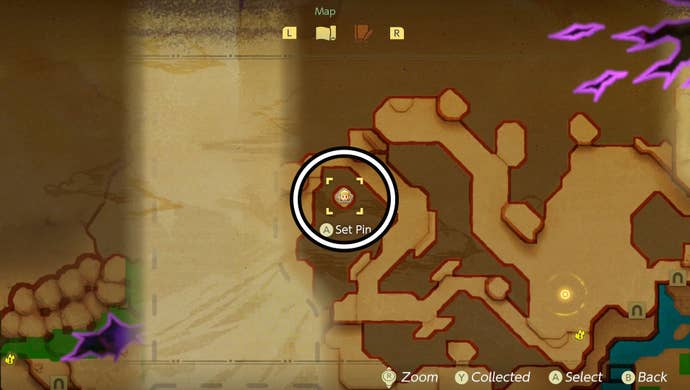
It can be found in the middle of Eastern Hyrule Field.
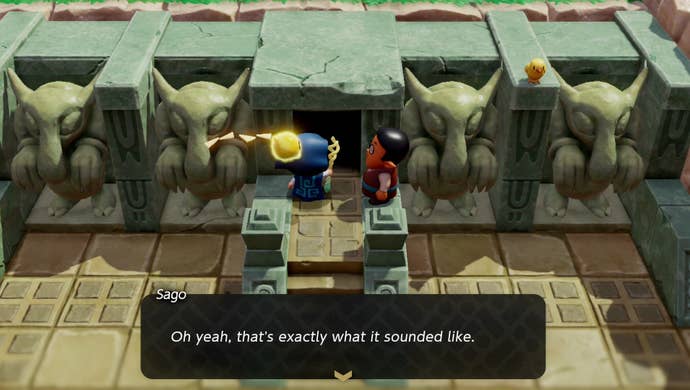
This involves heading into the temple anddefeating Smogwho you’ll encounter at the end of the short dungeon.
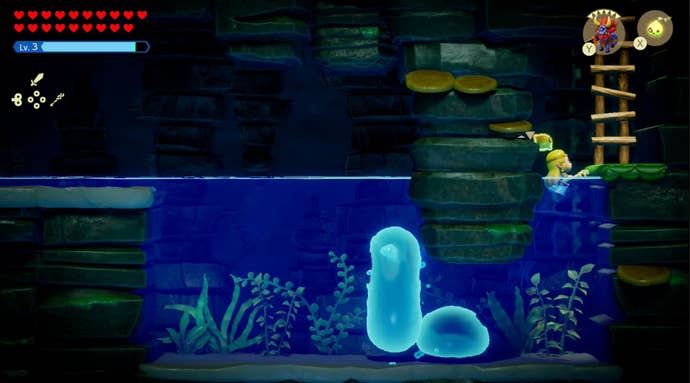
At the end of this dungeon, you’ll find yourself facing a jellyfish mini-boss.
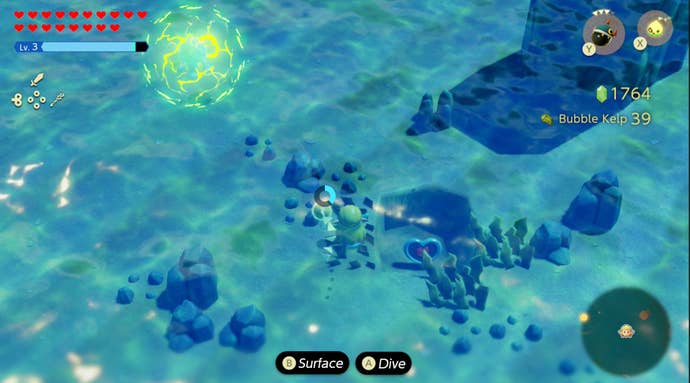
Just south from this island, you’ll see a bombable rock on the seafloor.

Blow it up with a Bombfish and then grab your Heart Piece.
If you’re having trouble finding it, head directly north from the shipwreck.
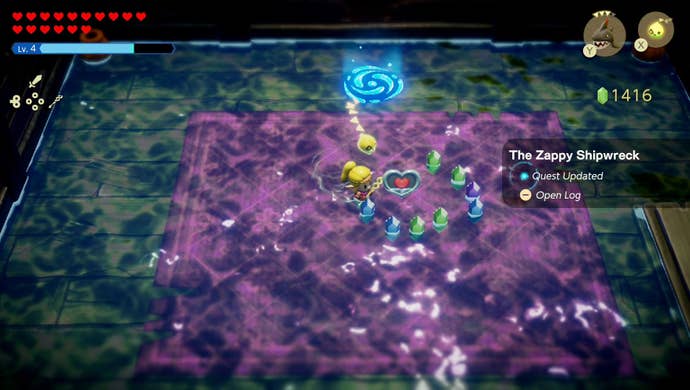
At the end of this area, you’ll find yourself in a room containing three Ignizols.
Defeat them and then put out the lanterns using Hydrozols to pop fire up doors.
With that done, simply go through the northern door and pick up the Heart Piece.
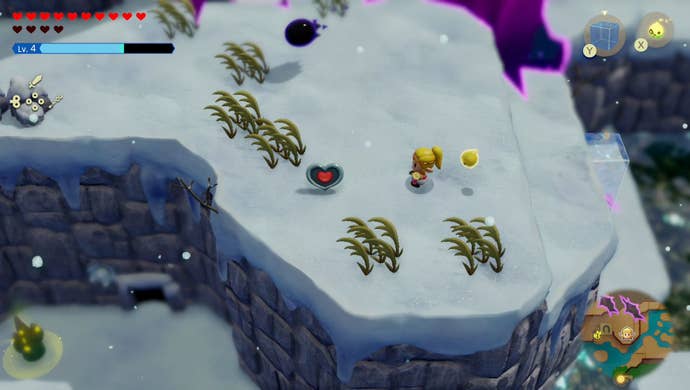
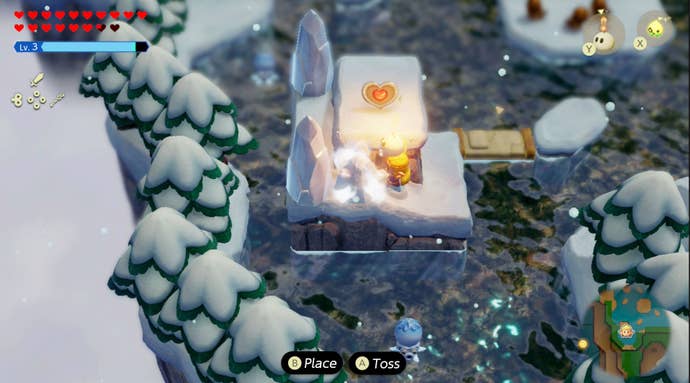
The Heart Piece sits atop a small hill and you’ll need to melt the ice blocking your way.

Hebra Mountain Heart Piece location four
For this Heart Piece you first need to complete theLanayru Temple.
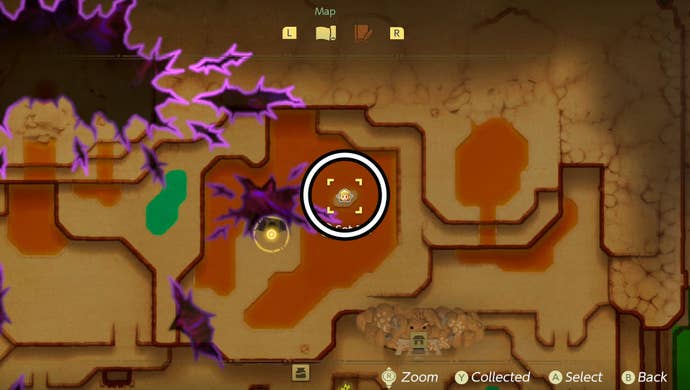
It’s directly north-west of where you could fight a group of Lizalfos to open a chest.
ensure you heal before entering the final room as you’ll now have to defeat a mini-boss.

This mini-boss is theSeismic Talusbut on fire.
You will need to repeatedly dampen its body as it will catch flames.
After defeating this mini-boss, you’ll get your Heart Piece.

You’ll find it eventually!
Once you’re in the cave, swim down to the bottom of the cave.
Defeat this Armos, then swim past its location and continue down the new tunnel you’ve reached.
You’ll encounter another Armos followed by two Deku Babas, all of which need defeating along the way.
Upon their deaths, continue heading up the water tunnel until you finally reach the surface again.
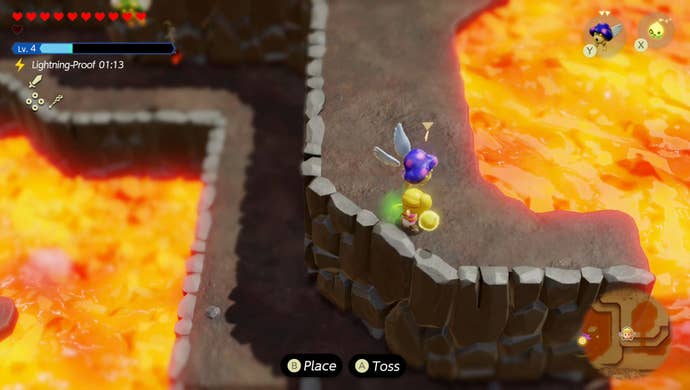
From here, follow the platform along until you need another entrance.
Donotgo in though and, instead, head down the nearest offshoot of the platform.
At the end, use the Bed Echo to bridge the gap to the other side.
From here, you’ll be able to reach the Heart Piece on the nearby ledge.

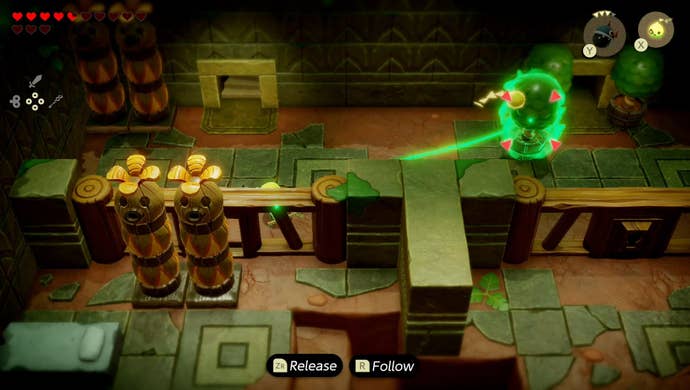
Here you then need to move one of the little trees using Bind to reveal a little entrance way.
Head inside and you’ll find a Heart Piece standing atop of a set of Deku pillars.
To reach it you’ll need to create a way up using Bind and the objects within this room.
Take a look at our screenshot below for an example.
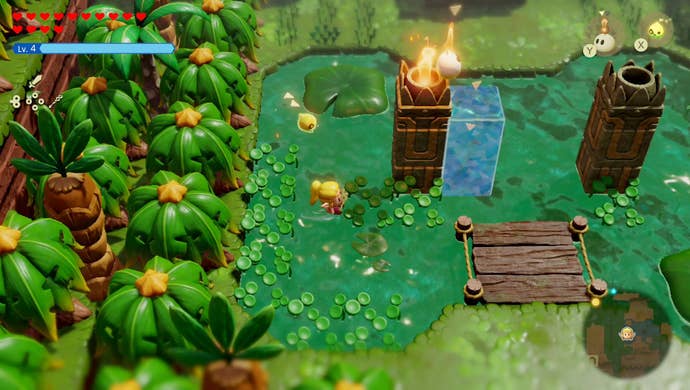
Firstly, you should probably head to the lake in the north-eastern corner of the Faron Wetlands.
You’ll find two unlit torches once you’re there.

To light them, we recommend building a way up using Water Blocks then climbing atop the lantern themselves.
From there you’re able to light them using an Ignizol Echo.
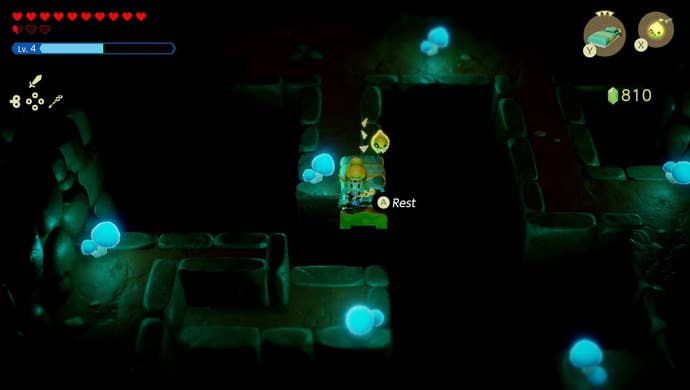
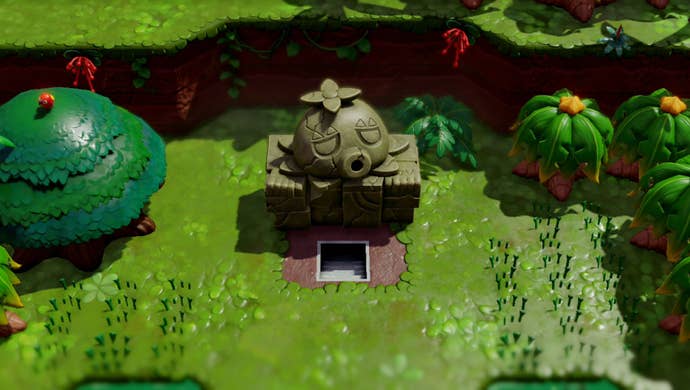
Head down and you’ll be brought to a mini-dungeon where the Heart Piece can be properly found.

Though you’ll also be able to collect a Monster Stone from the first chest you encounter.
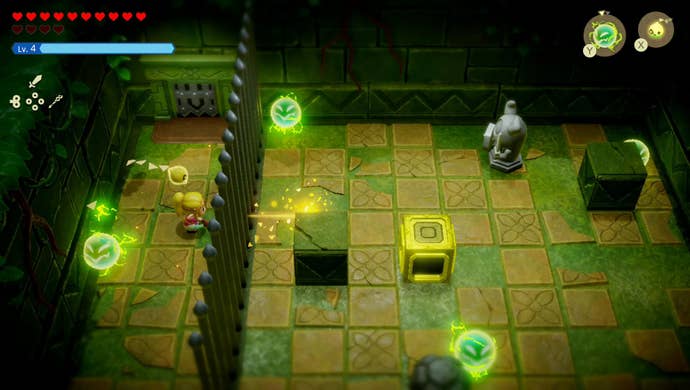
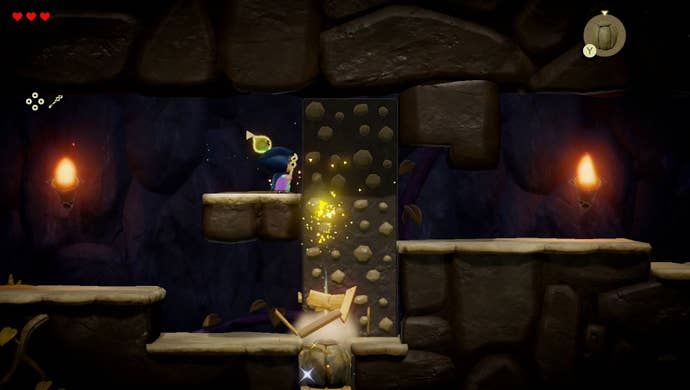
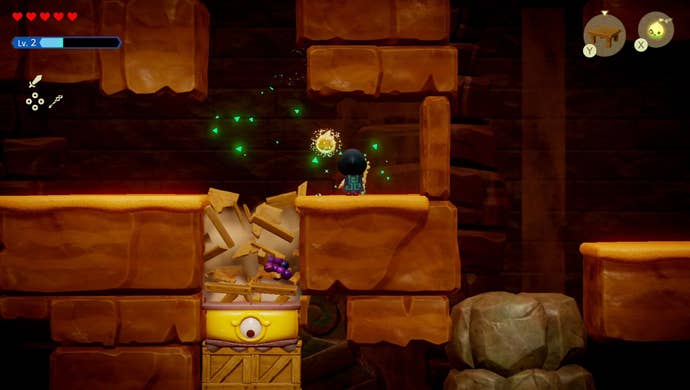
In the next room you oughta place a Spark Echo inside the yellow box to unlock the right-hand door.
This box needs to be hit three times before the door opens.

(Ignore that Spark on Zelda’s side in our screenshot.
We created it ourselves by accident.)
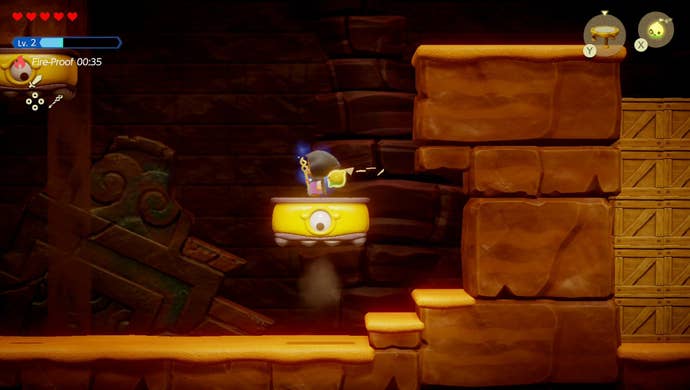
The next part of this mini-dungeon is a side scrolling segment.
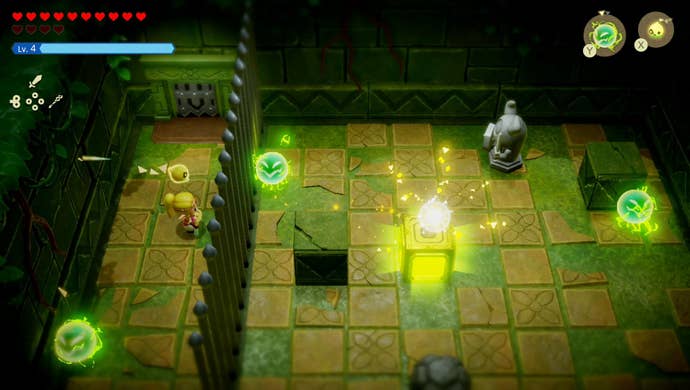
Afterwards, you’ll reach a section with a pool of water and another yellow box.
Here you should probably hit it three times to unlock the next door.
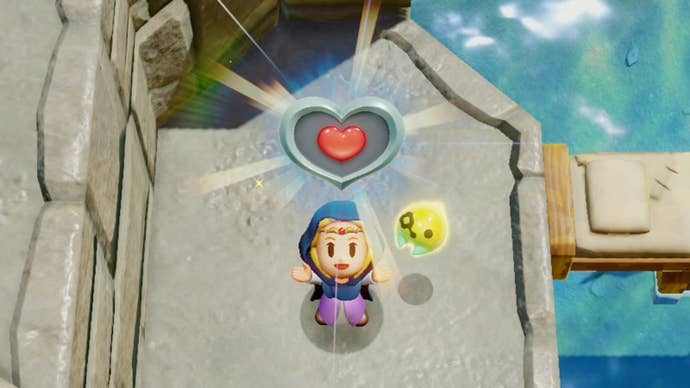
You’ll then have to go through a small climbing section until you’ll find yourself facing Smog.

Keep repeating this process until Smog is defeated and the Heart Piece appears.
Good luck finding all of the Heart Pieces!
If you’re looking for more assistance, check out ourZelda: Echoes of Wisdom walkthrough.