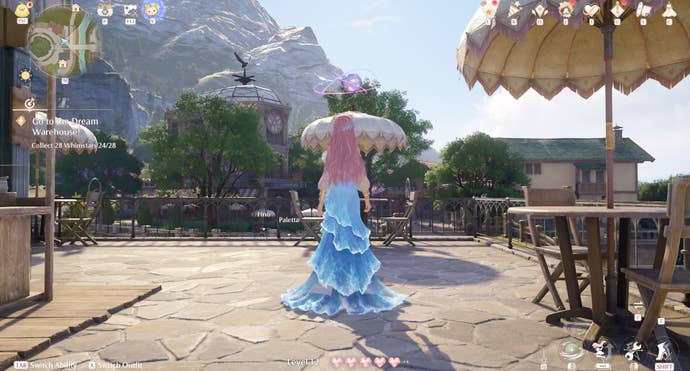
Where to find every Florawish Whimstar.
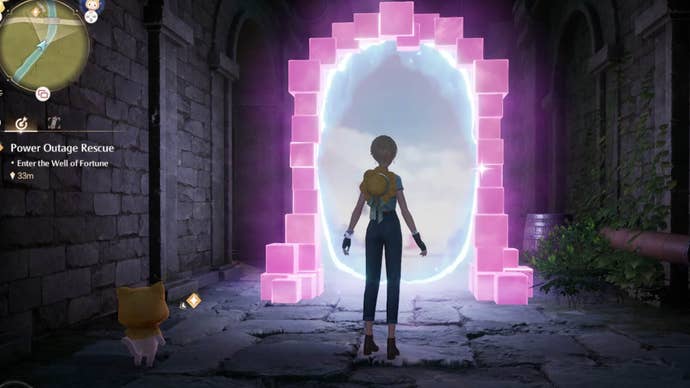
You’ll also need to venture into twoInfinity Nikkidungeons to find them all - theWell of Fortuneand theDream Warehouse.
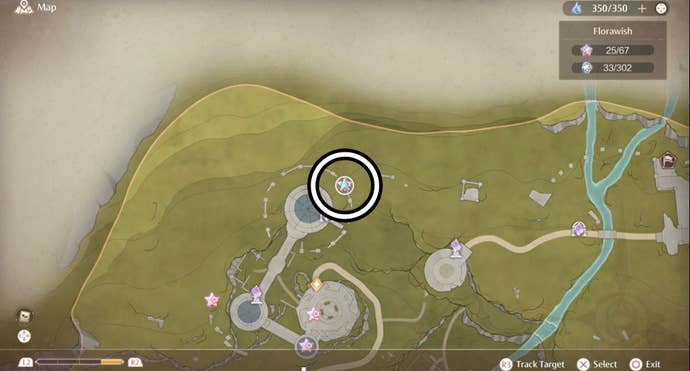
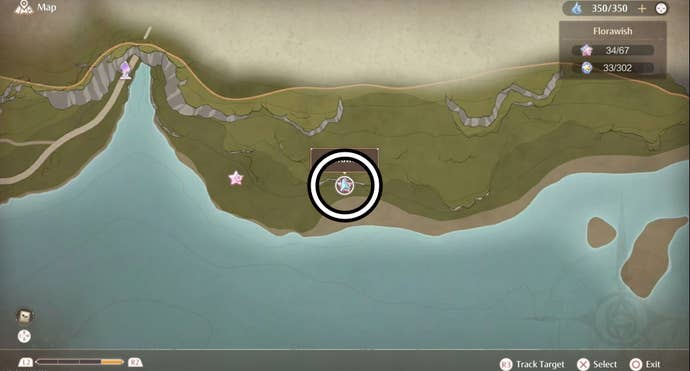
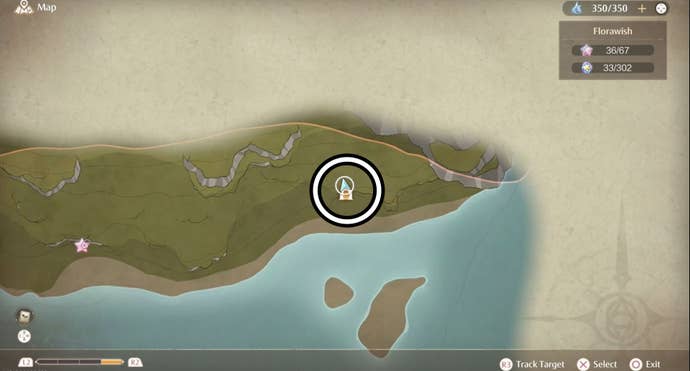
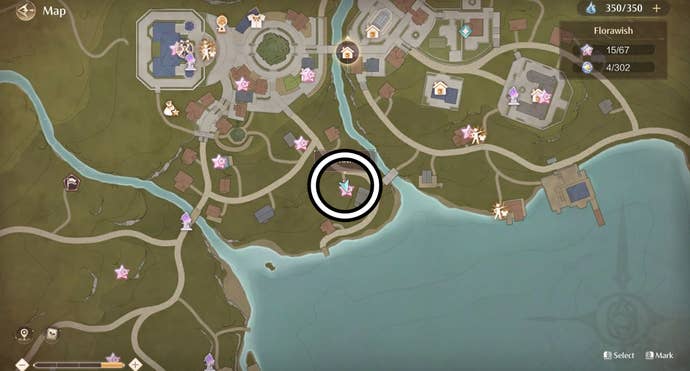
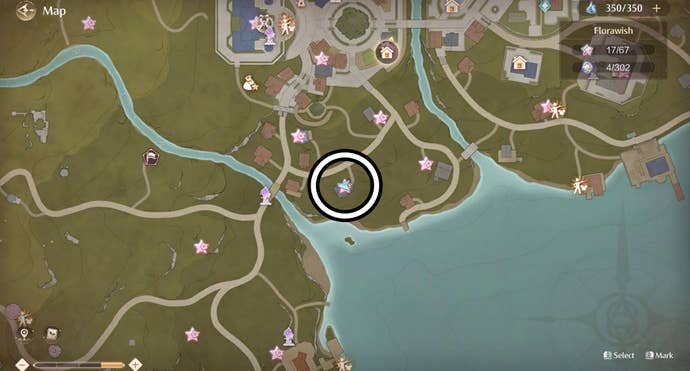
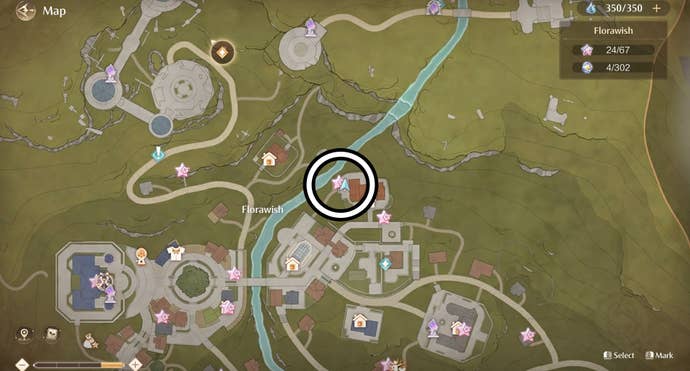
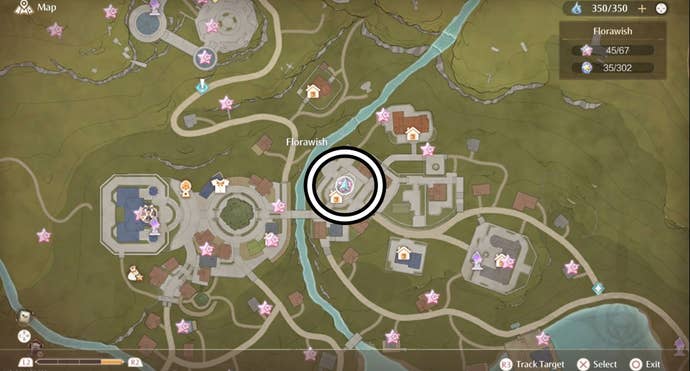
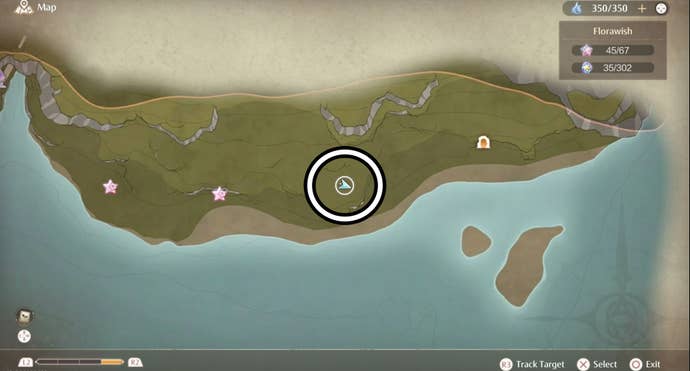
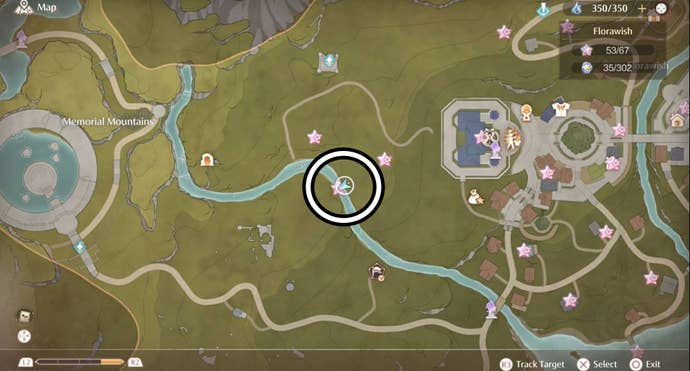
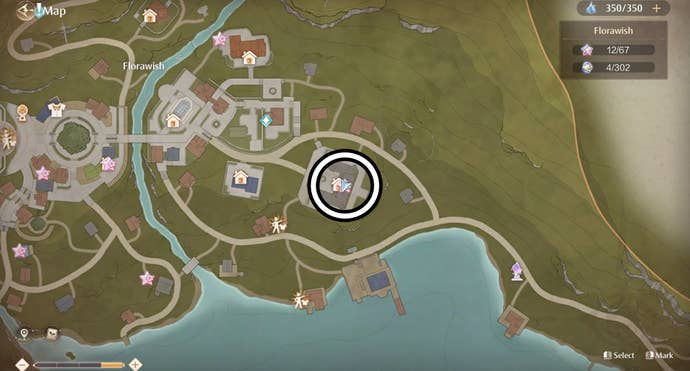
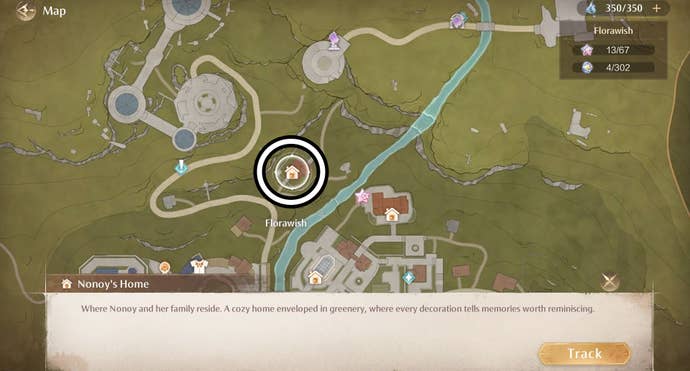
All Florawish Whimstar locations in Infinity Nikki
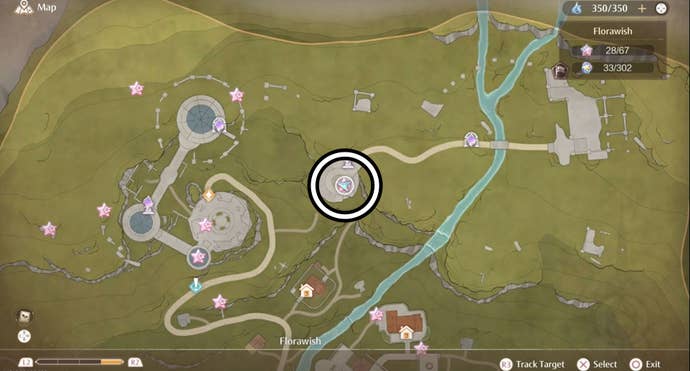
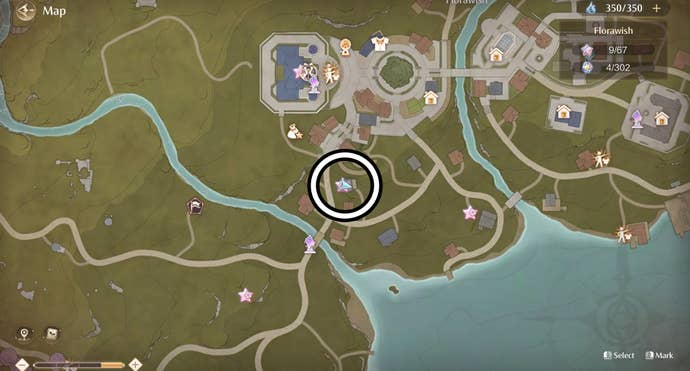
There are67 Whimstarsin Florawishin Infinity Nikki.

We’ve outlined these Whimstar locations in separate guides for theWell of Fortune dungeonandDream Warehouse dungeon.
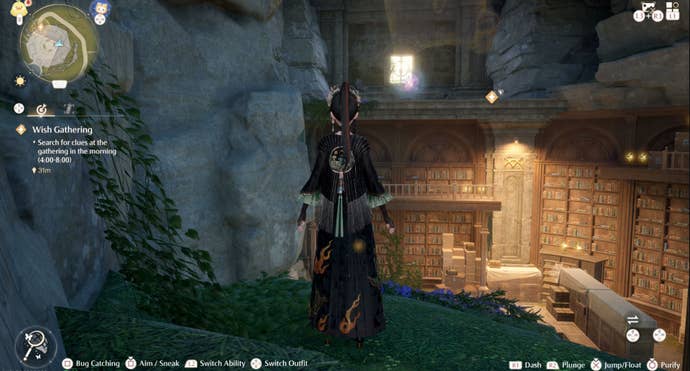
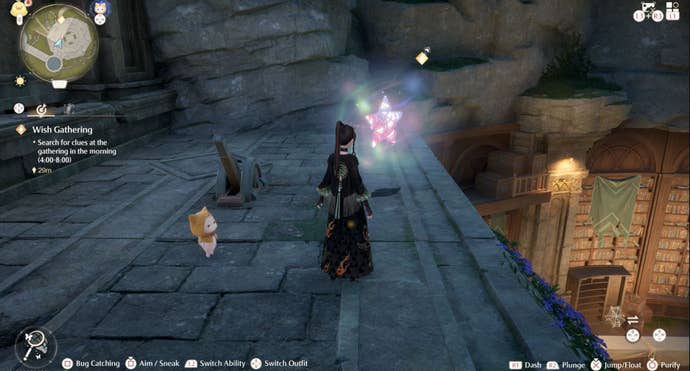
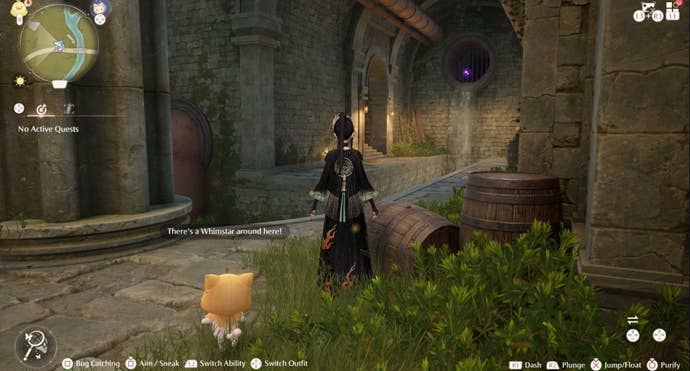
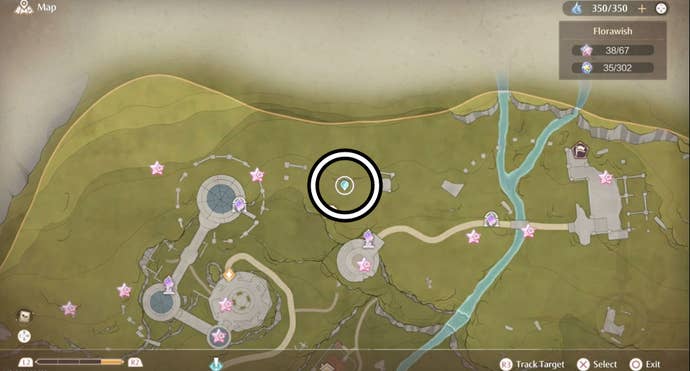
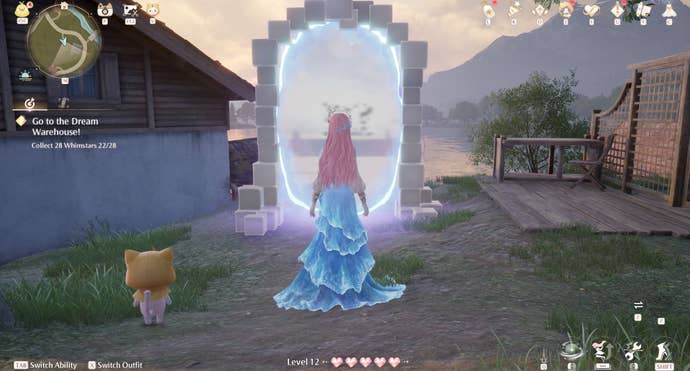
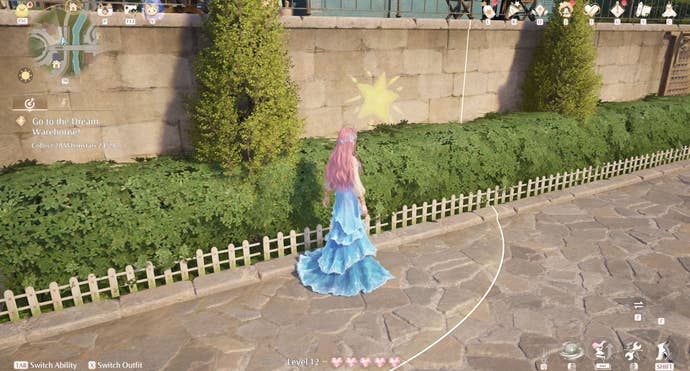
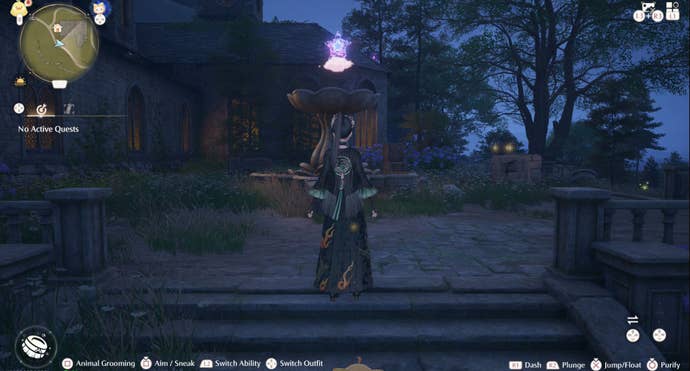
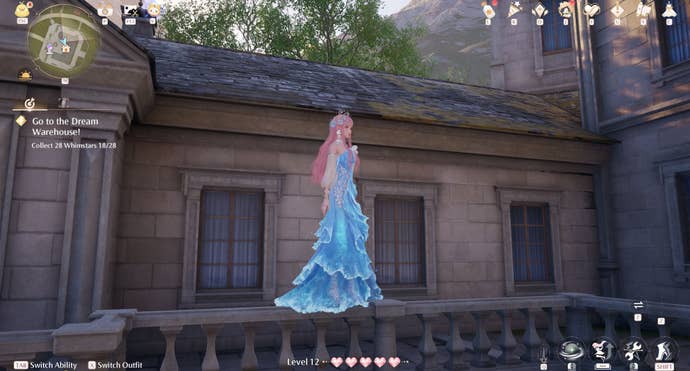
Now you’ve got the option to go inside and collect the Whimstar.
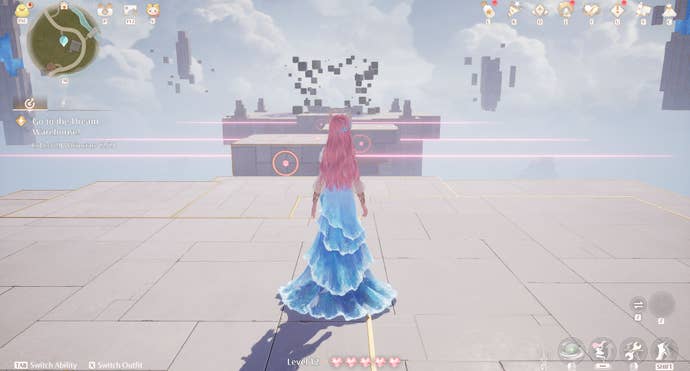
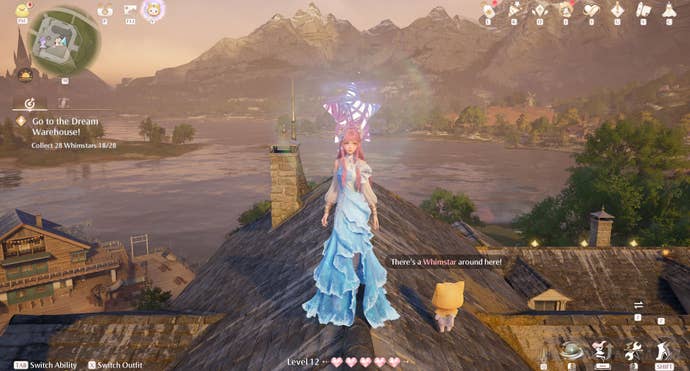
Now simply walk across the walk until you see the Whimstar.
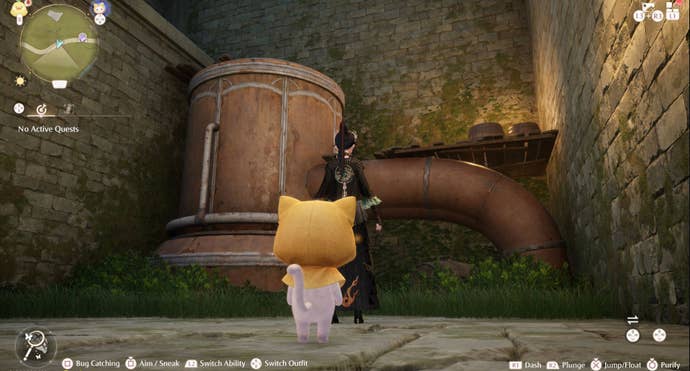
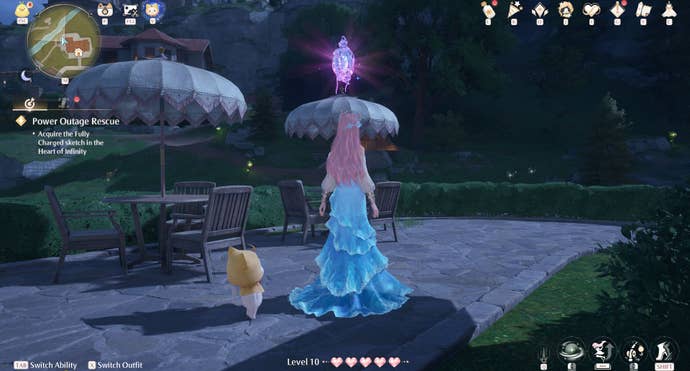
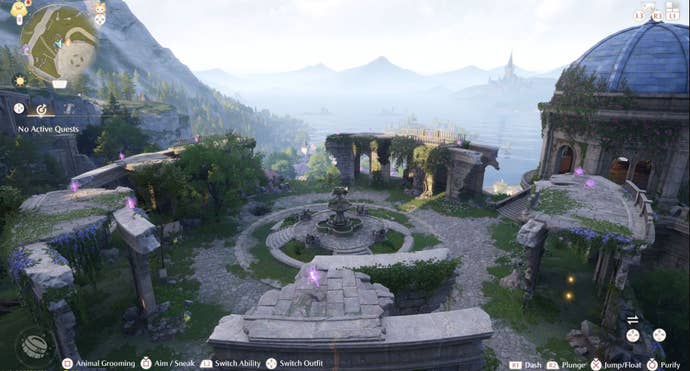
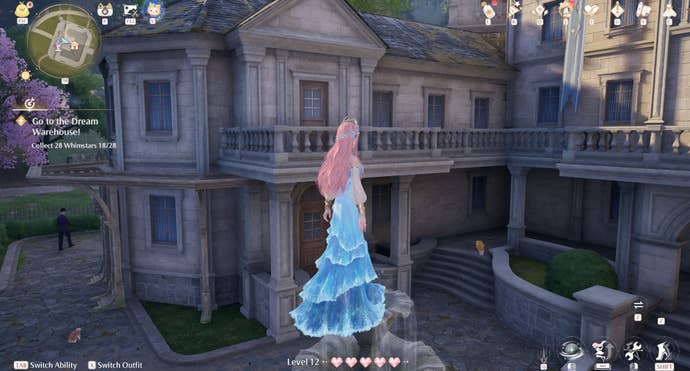
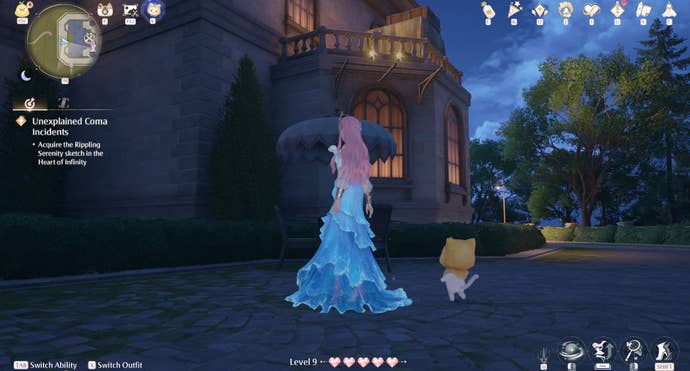
From here you oughta drop atop of the fountain to your left.
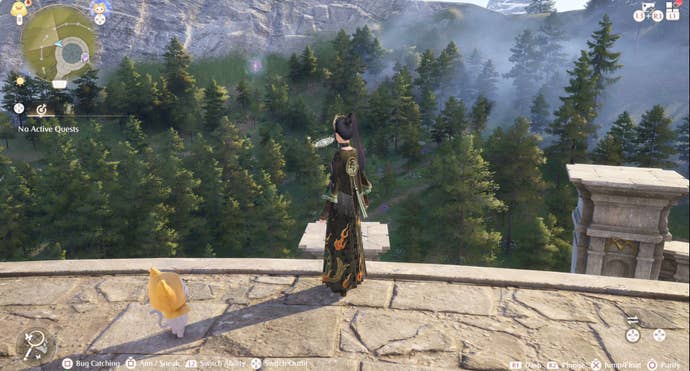
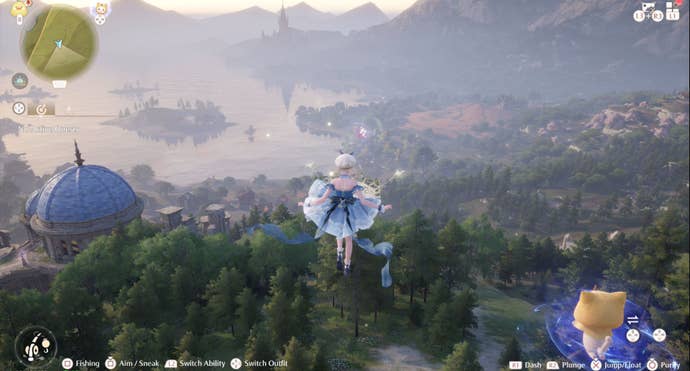
This will give you the height needed to glide across to the balcony in front of you.
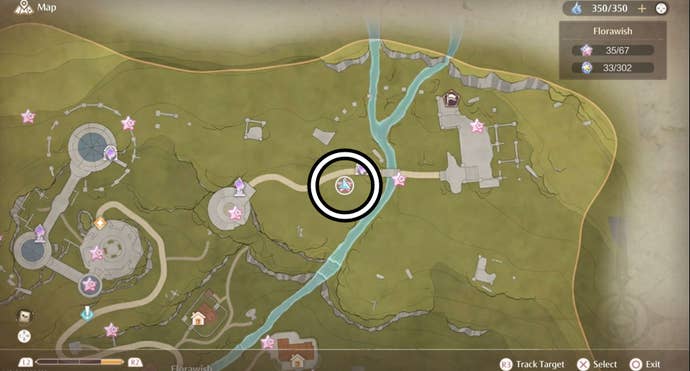
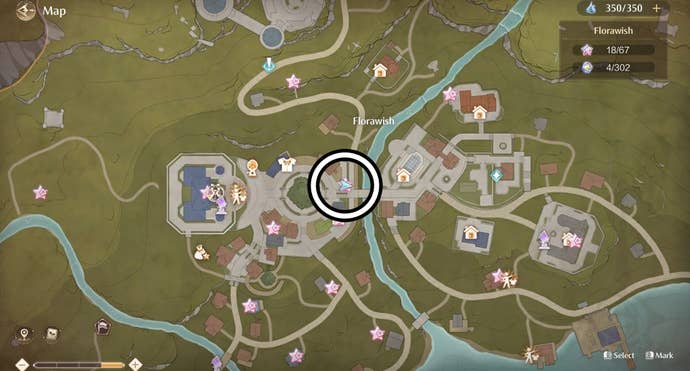
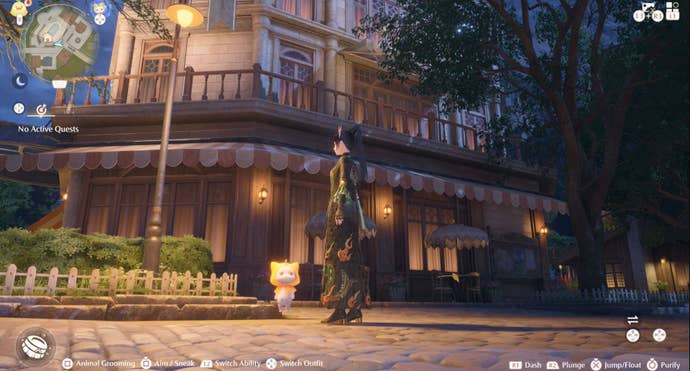
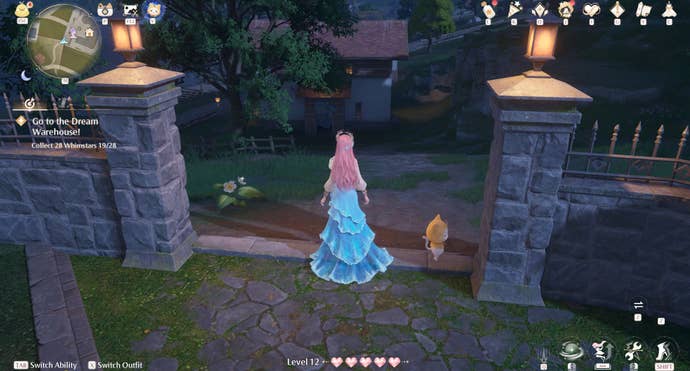
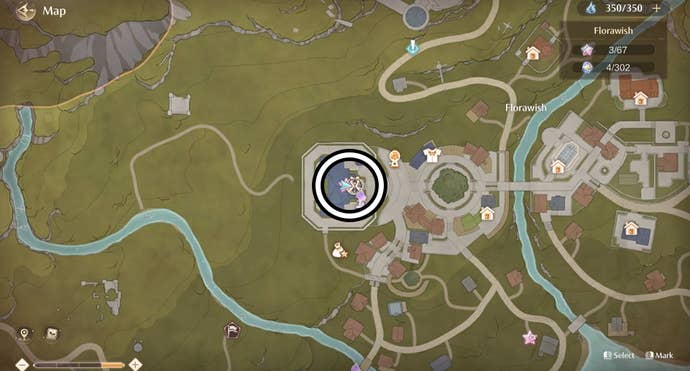
Starting at the Mayor’s Residence, take the entrance furthest to the left.

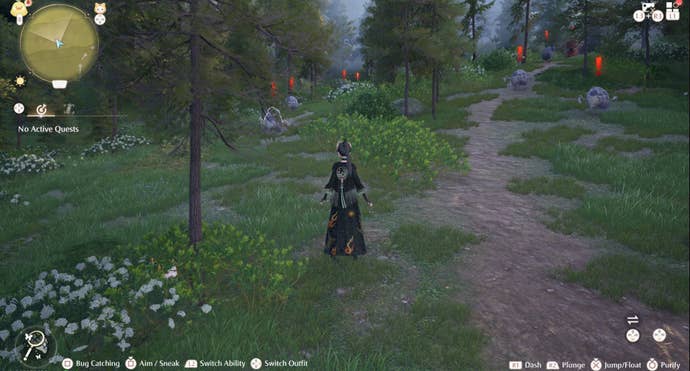
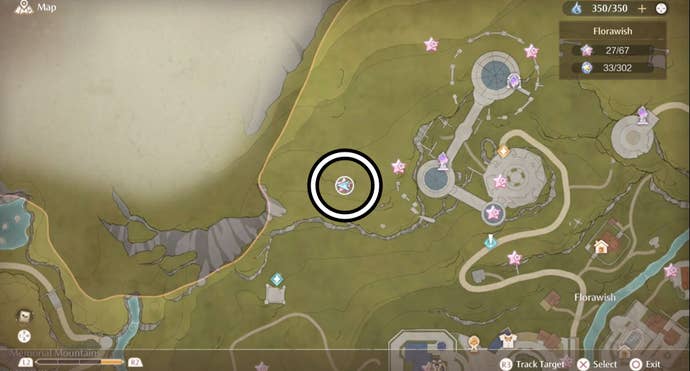
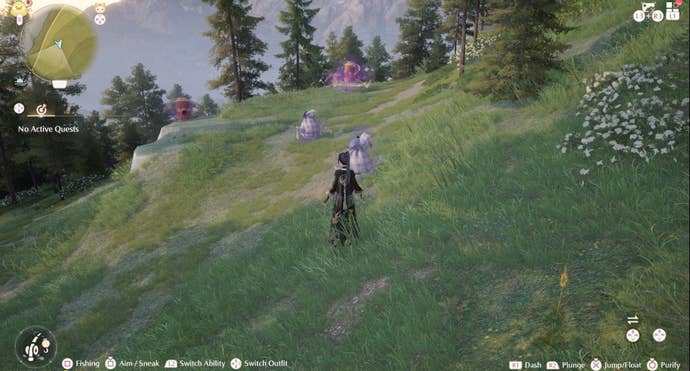
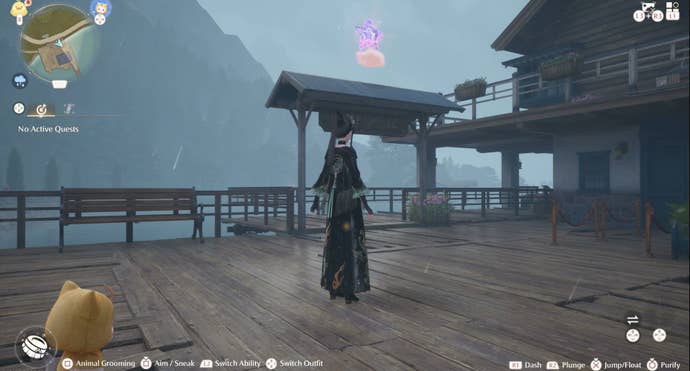
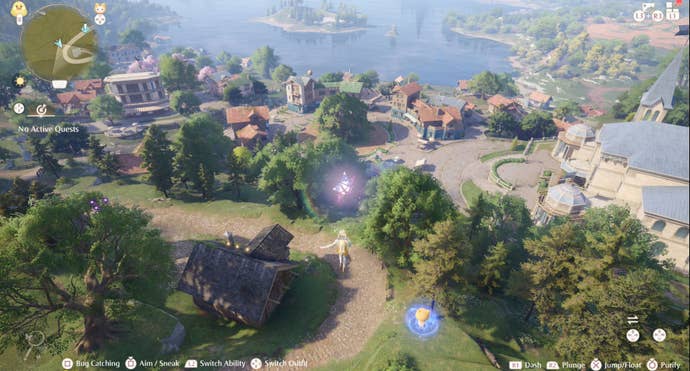
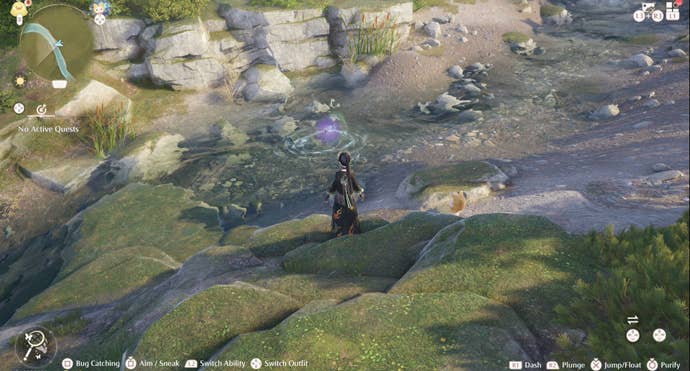
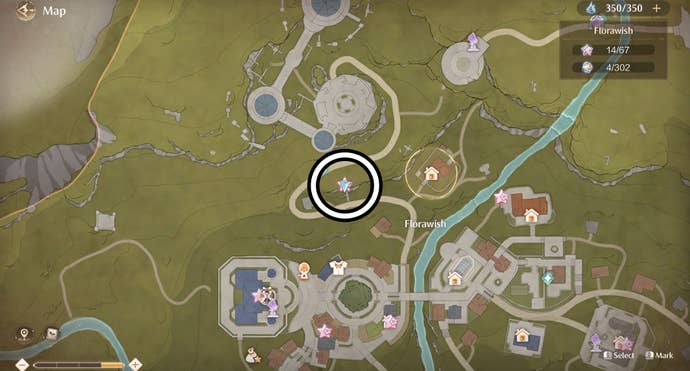
Simply head down the hill and blow the posters away using Nikki’s purifying power to find this Whimstar.
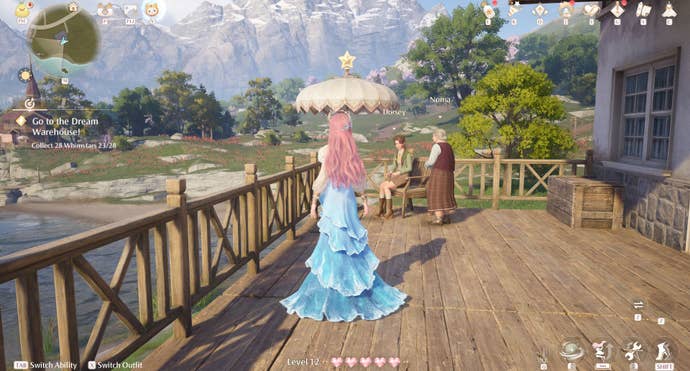
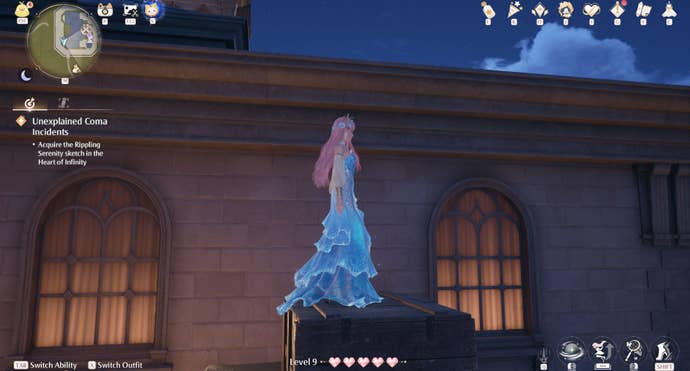
To reach it, go around the back of the Stylist Guild and jump onto the southernmost umbrella.
From here you’ll be able to reach (by jumping) a small wooden platform beneath a window.
This new position will then let you reach some wooden boxes sitting on a nearby balcony.
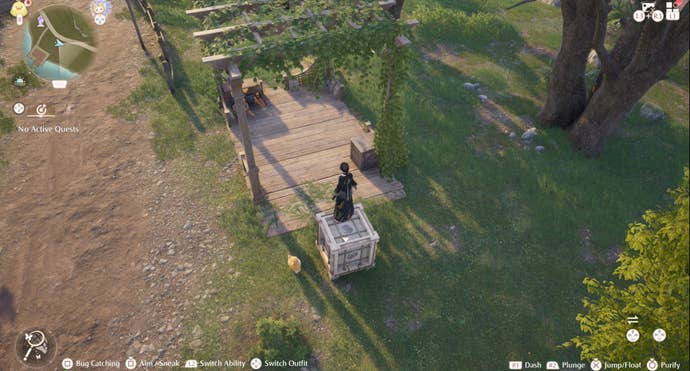
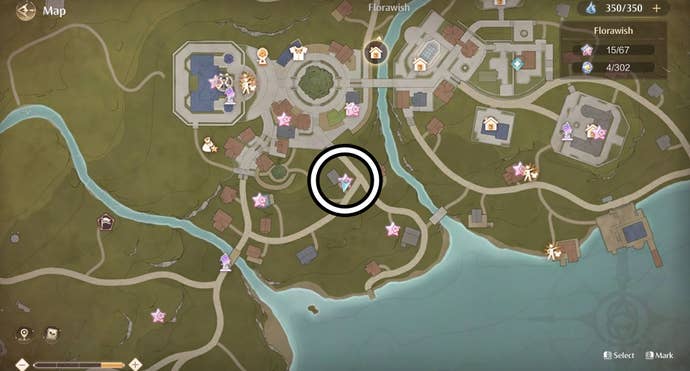
You’ll then want to head down this path until you find a small brown house.
Outside said house is the crate it’s crucial that you break using a groundpound.
This will release the Whimstar and you’ll need to chase it down to collect it.
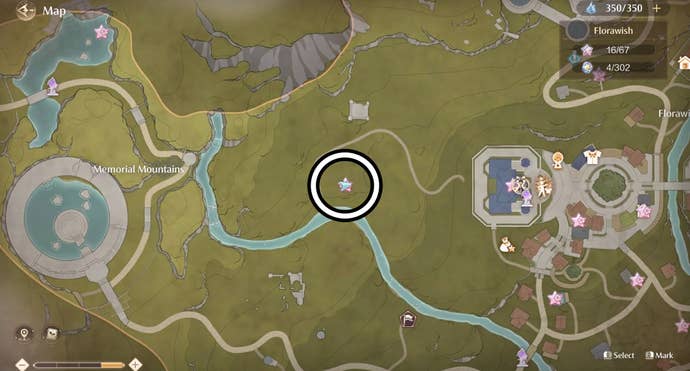
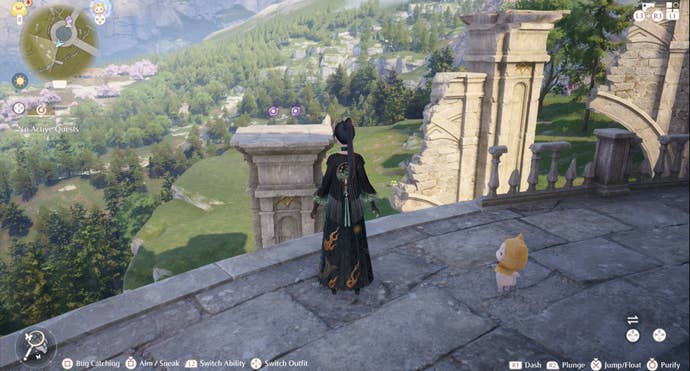
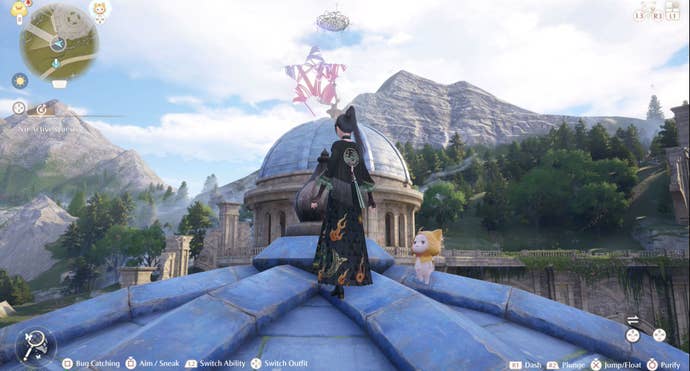
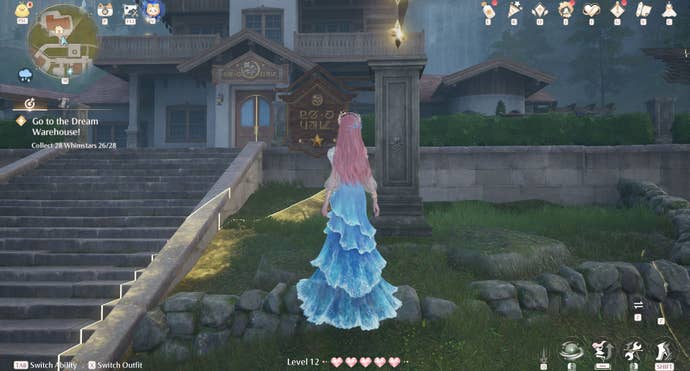
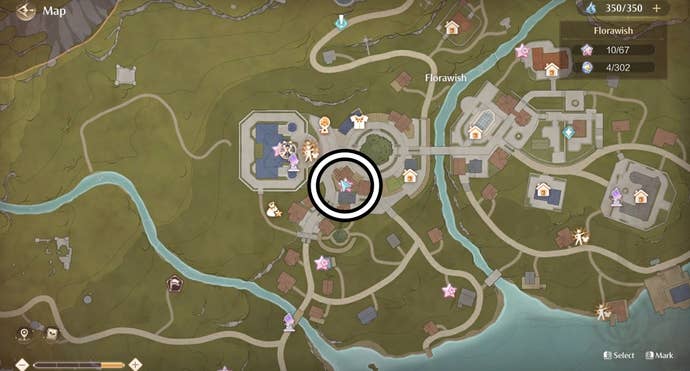
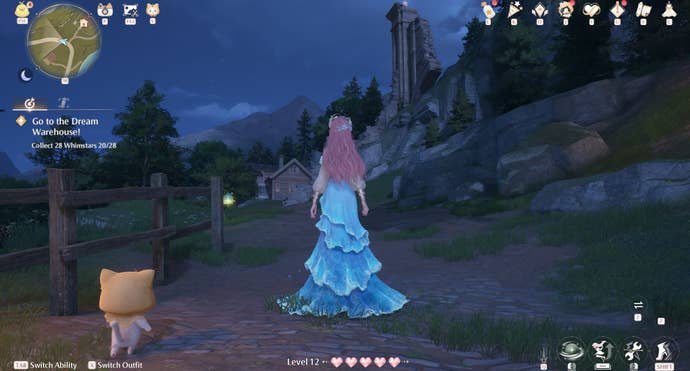
Let’s begin our journey to reach it at the Dream Warehouse Tower Warp Spire.
Once there, glide over to the fountain to your right.
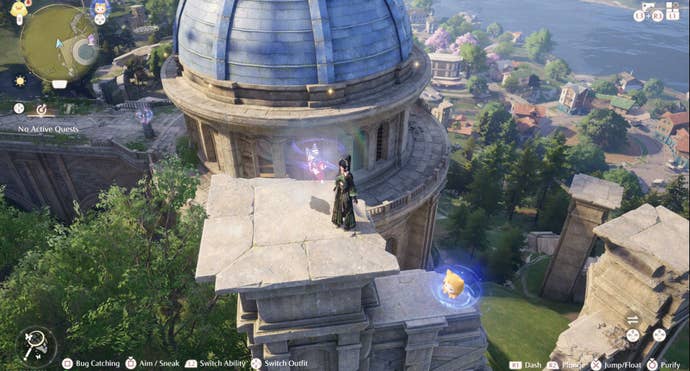
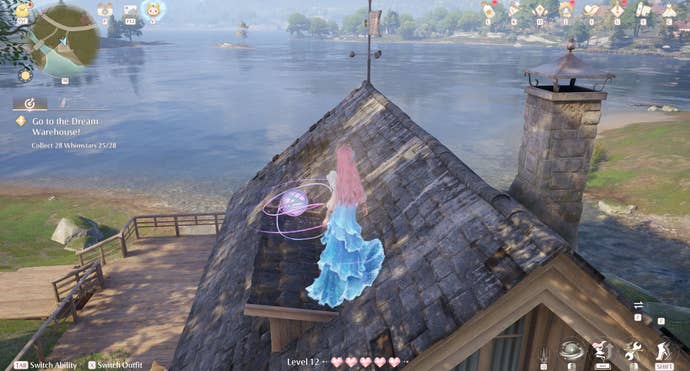
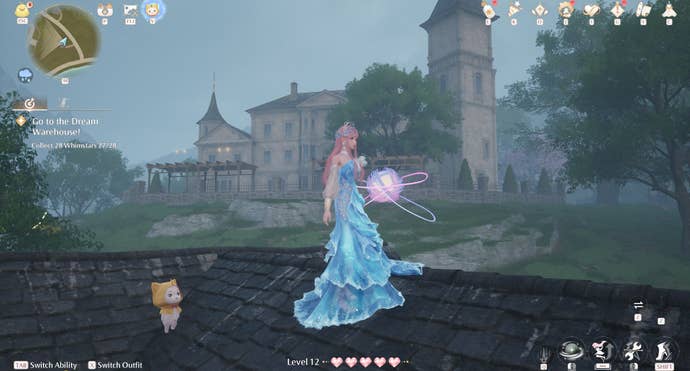
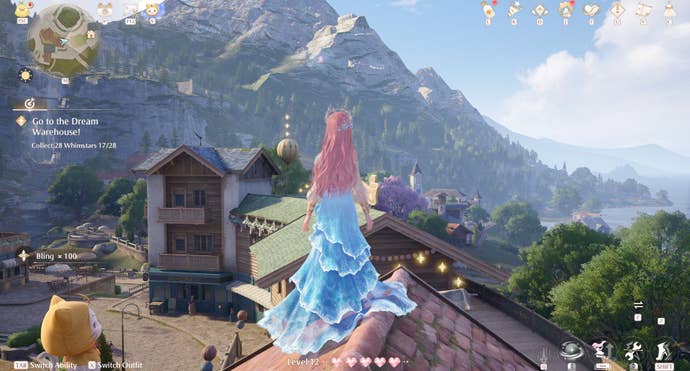
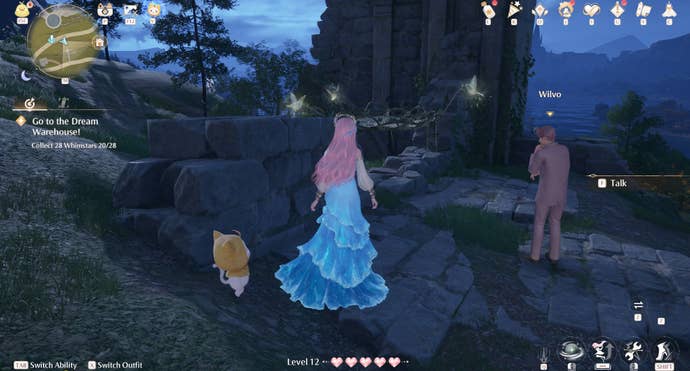
Beginning your journey to it at this Warp Spire, run around the back of the tower.
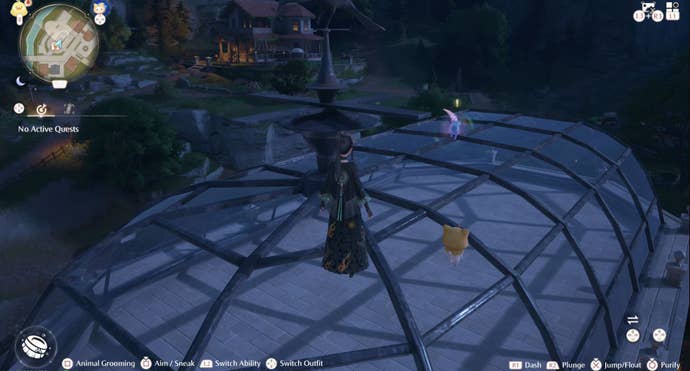
Once there you’ll be able to use a bird platform to jump onto the Dream Warehouse Tower Roof.
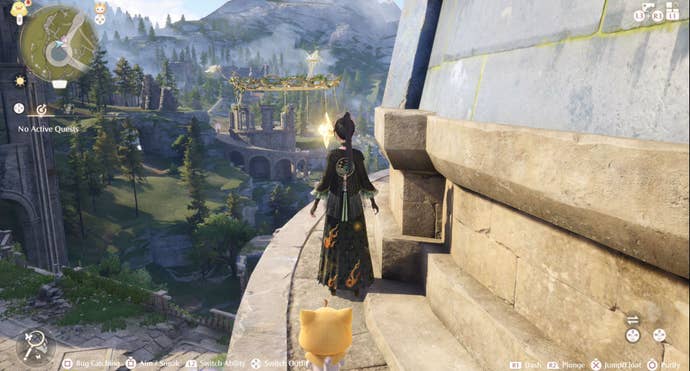
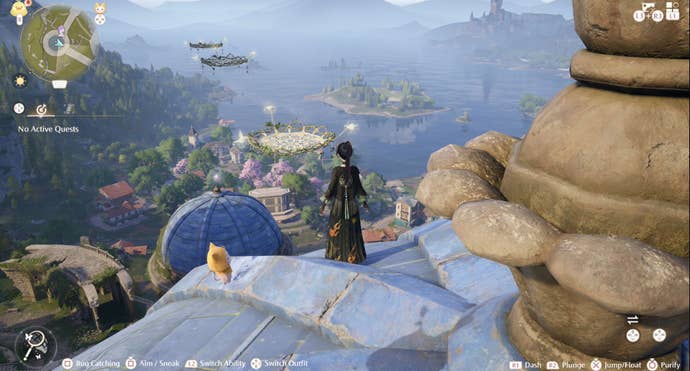
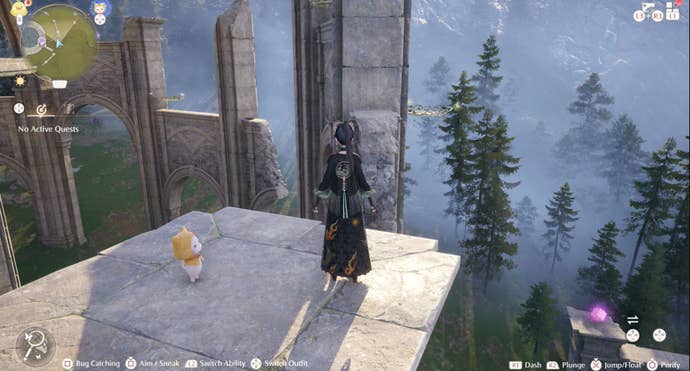
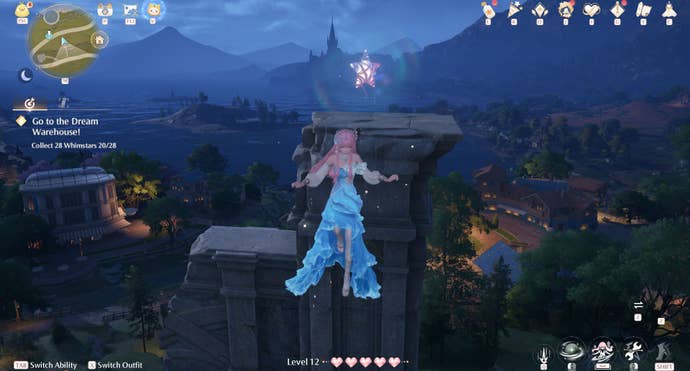
Once there, walk along the broken walkway before gliding over to a pillar on your left.
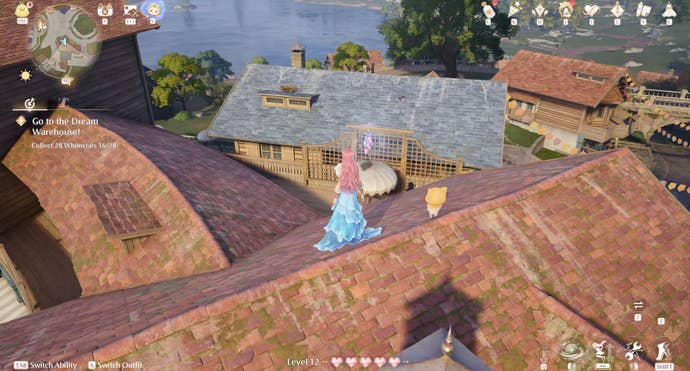
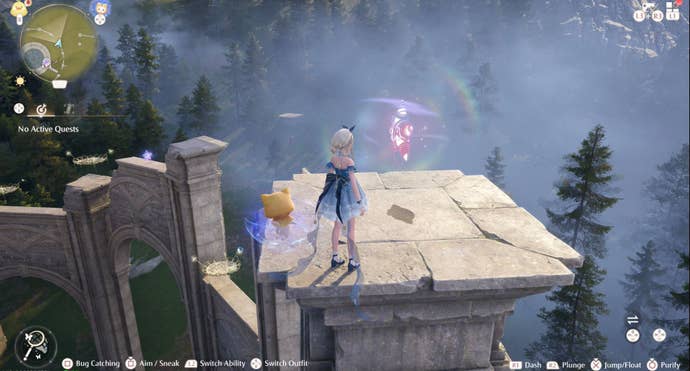
Once you’re safely on it, you’ll need to glide to the bird platform to your right.
Defeat those Esselings before using the most northerly bird platform to bounce upwards.
All you have to do is defeat the Esselings before attacking the chains to earn the Whimstars.
Defeat them to make the nearby bird platform start working again.
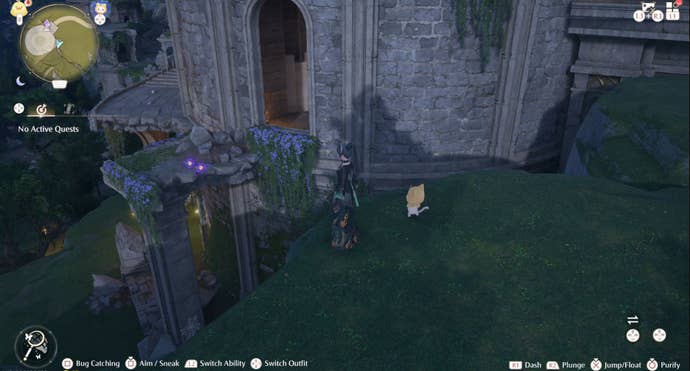
Glide over to this platform and then jump inside the window to find the Whimstar.
After defeating the Esseling, you should be able to easily glide down and collect the Whimstar.
To get this Whimstar, you first need to kick off the chest before defeating the Esselings which appear.
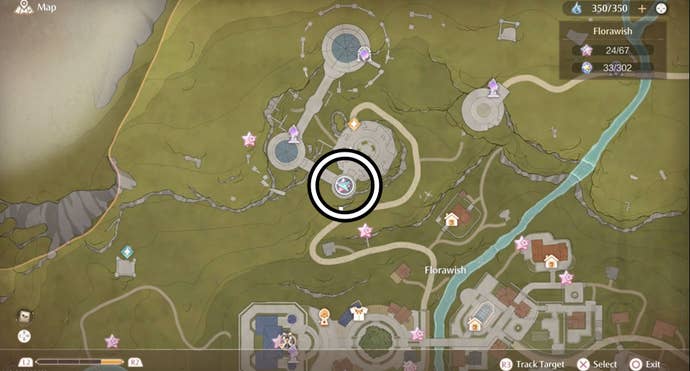
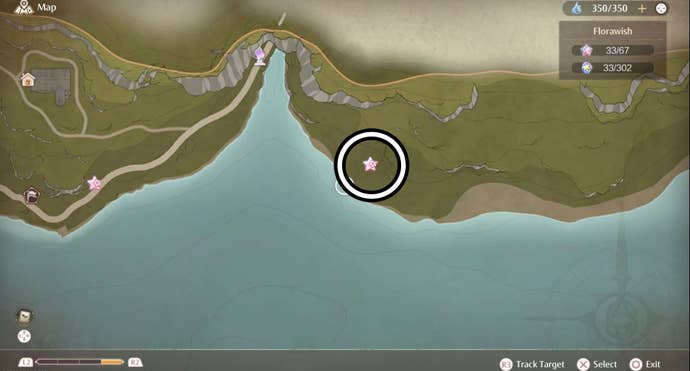
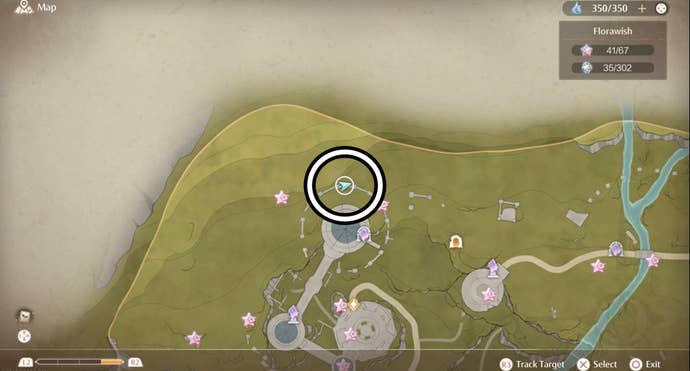
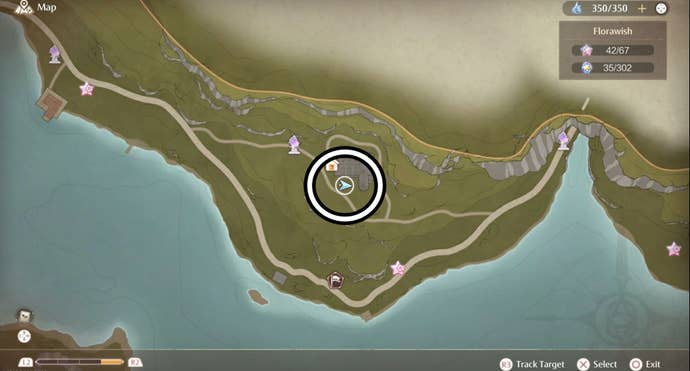
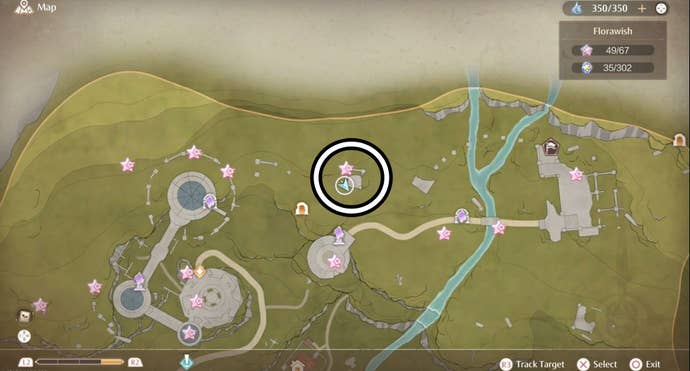
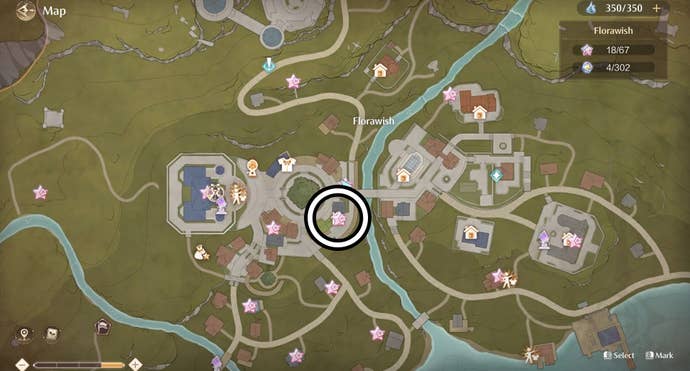
This time it’s roughly south of the Sanctum of the Observant, northeast of the Hoop Hopper mini-game.
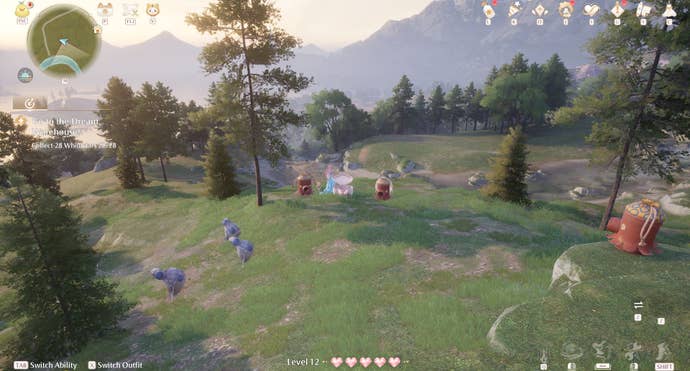
First you’ll want to head to that mini-game and then walk northwest until you encounter some Esselings.
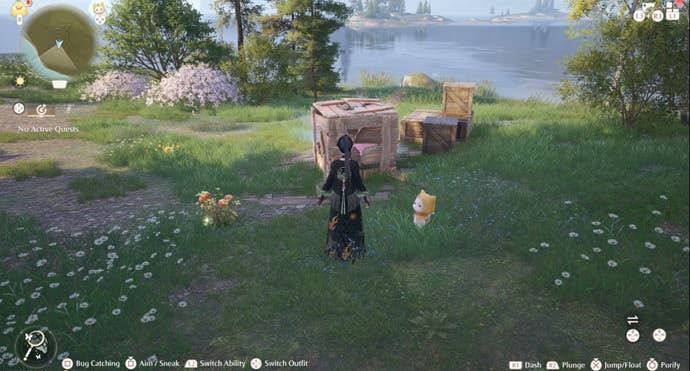
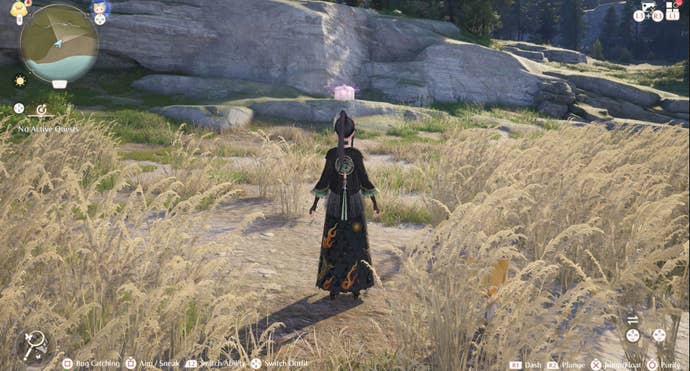
Now head southeast until you see a glowing crate hanging out in the middle of some boring non-glowing crates.
Ground pound that glowing crate into the dust before chasing down your new Whimstar!
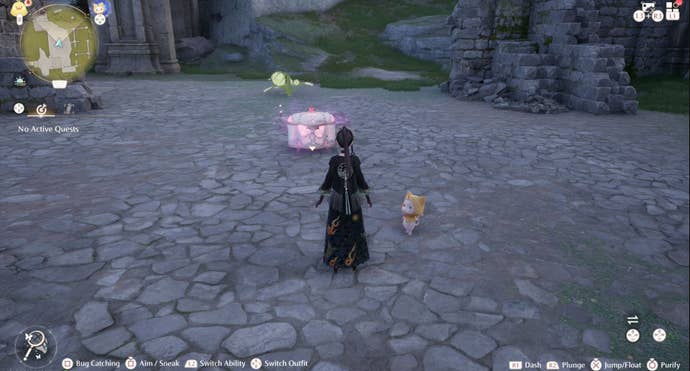
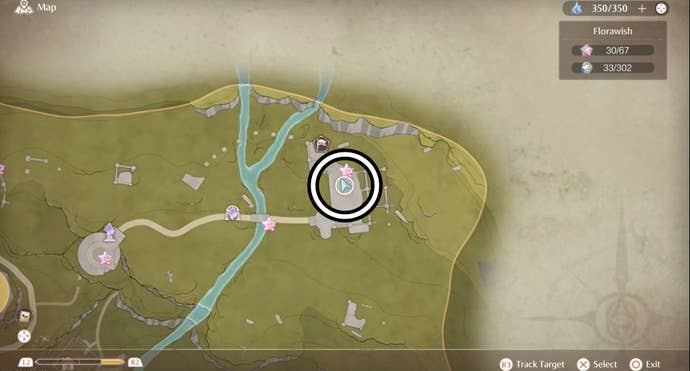
You’ll soon see a treasure chest and, when opened, a group of Esselings will appear.
Defeat them to earn your Whimstar.
Next head through the doorway and drop through the broken mesh to reach the Whimstar.
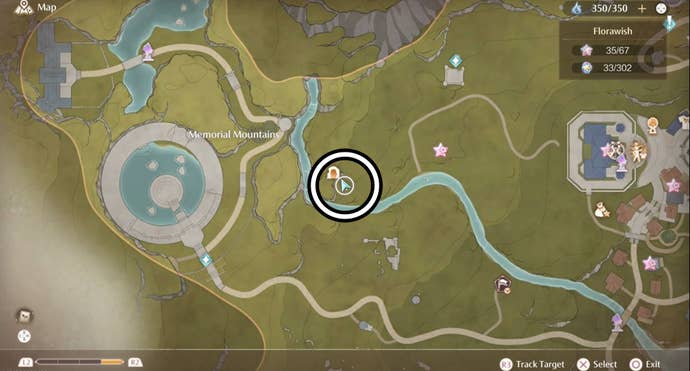
Don’t know where it is?
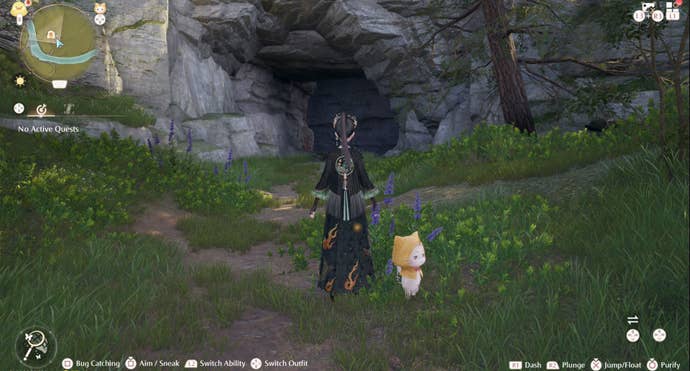
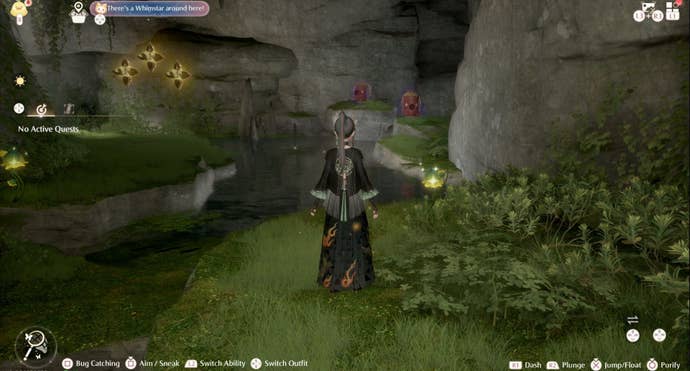
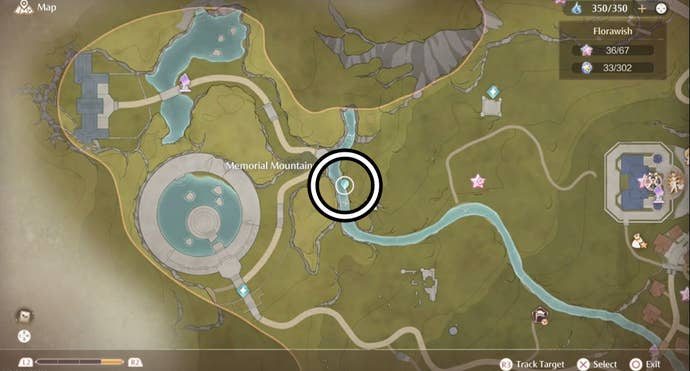
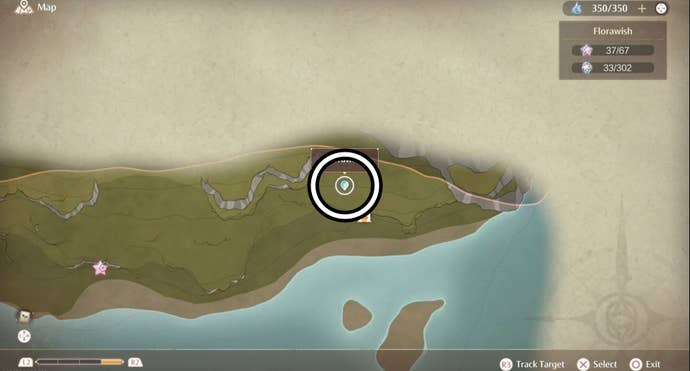
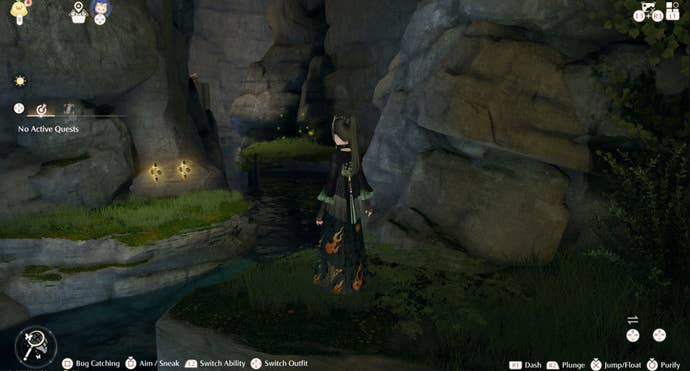
This path ends at a river and following that west will eventually lead you to the Riverside Cavern.
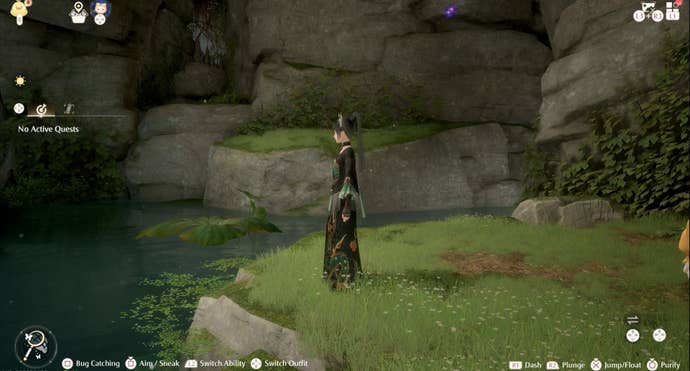
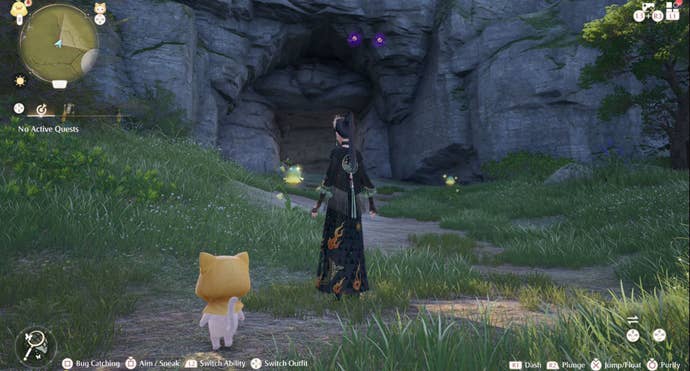
Once you’re inside the Riverside, jump onto the large rock to your right.
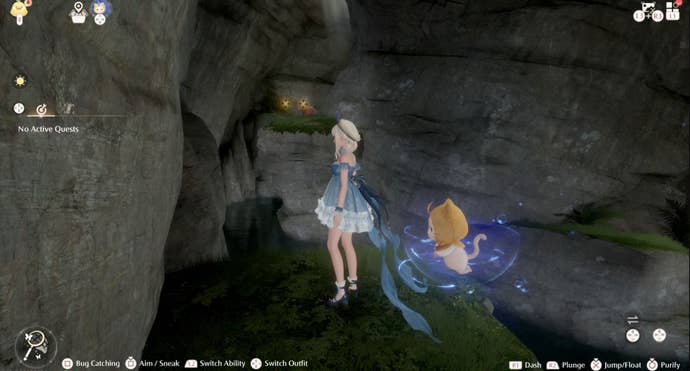
This will let you jump up to another rock where you’ll find a small pond.
verify to defeat the Esselings you encounter!
First, however, let’s find the Forest’s Edge Cavern.
Beginning at the Wish Pass Office Warp Spire, glide over the water to your east.
Inside the Forest’s Edge Cavern, you’ll want to defeat the first group of Esselings you encounter.
Head left this bird platform until you reach a large room containing multiple bird platforms.
Use these bird platforms to reach left until you reach some Esselings guarding the chest.
ensure to either defeat the floating Esselings or avoid their acts.
This will begin you another room containing bird platforms and floating Esselings.
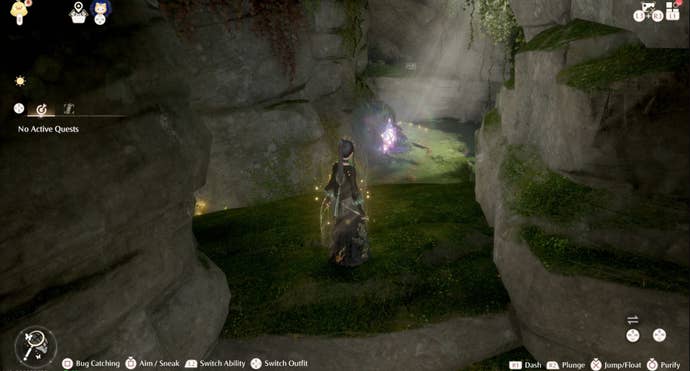
At this rock, you’ll be able to glide over to the Whimstar.
Simply head behind them and you’ll find the Warehouse Cavern entrance!
Once inside, follow the path until you reach a treasure chest.
You’ll now find yourself in an area containing a tree.
Once there, turn right and jump onto the large rock in front now.
Head right down this new path, defeating Esselings as you go, and jump onto the rock.
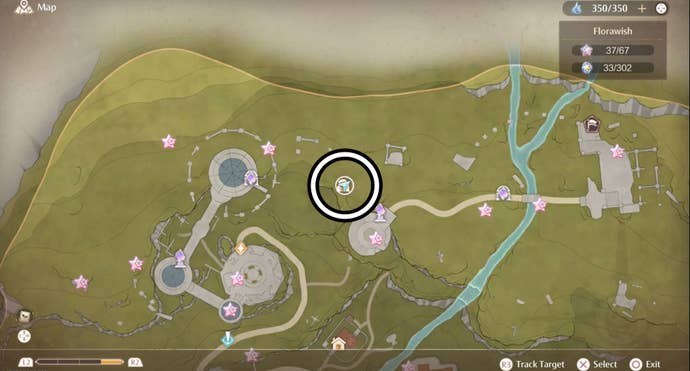
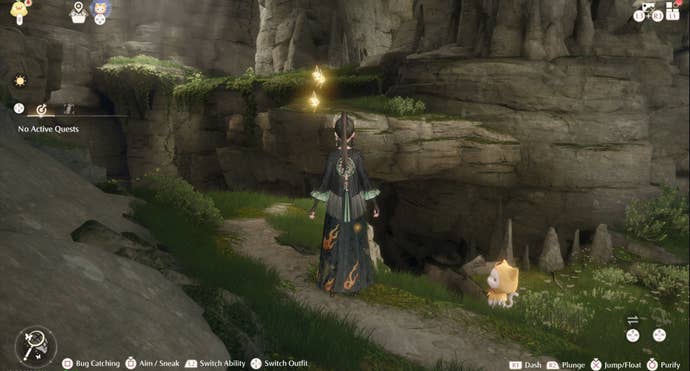
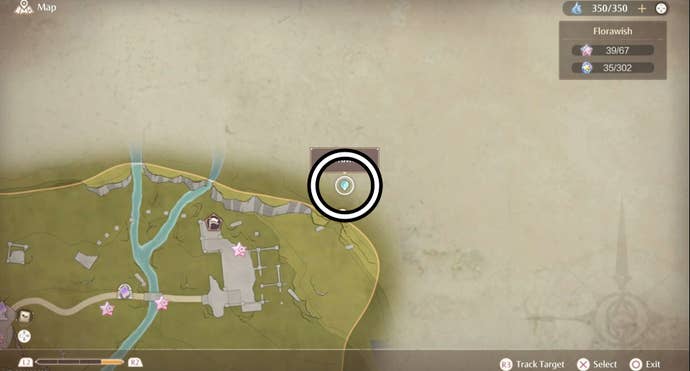
One way to reach it is to head eastward from the Hoop Hopper mini-game in the Florawish Ruins.
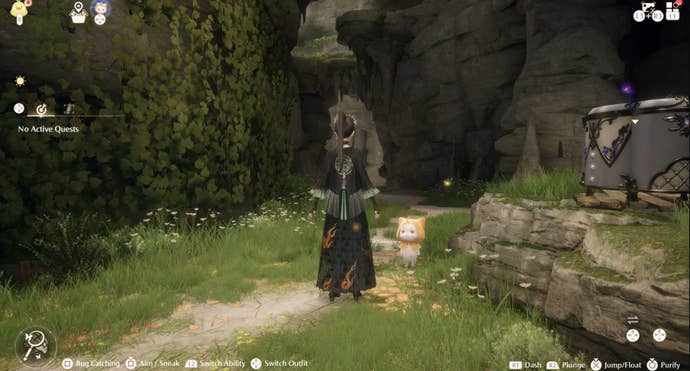
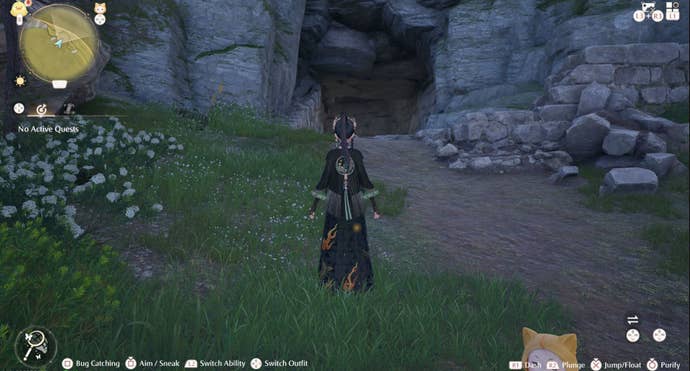
Continue going uphill until you find an entrance in the cliff side - this is the Relic Hill Cavern!
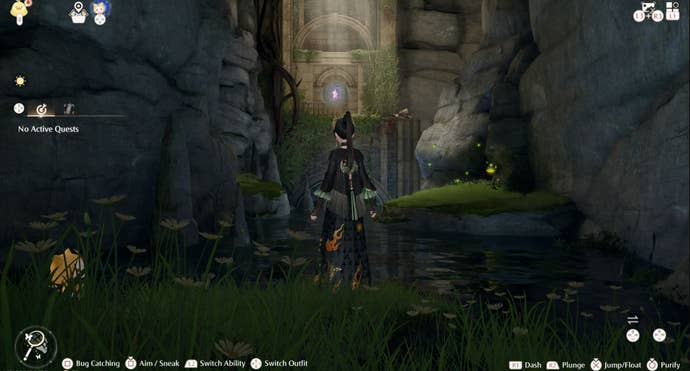
Venture inside the cave until you find the river.
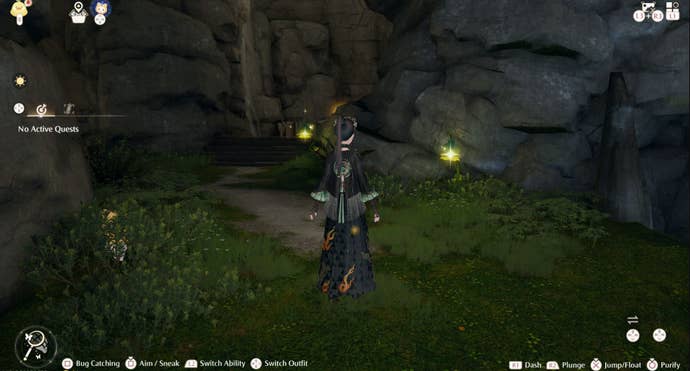
Continue heading from rock to rock until you reach a pathway leading to a set of stairs.

Head up the stairs, defeating the Esslings as you go, until you reach the Whimstar!
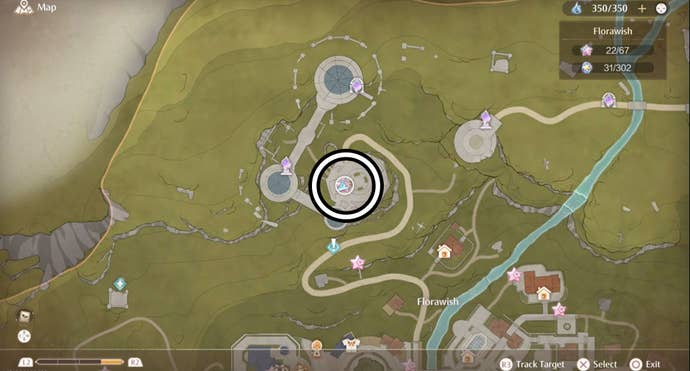
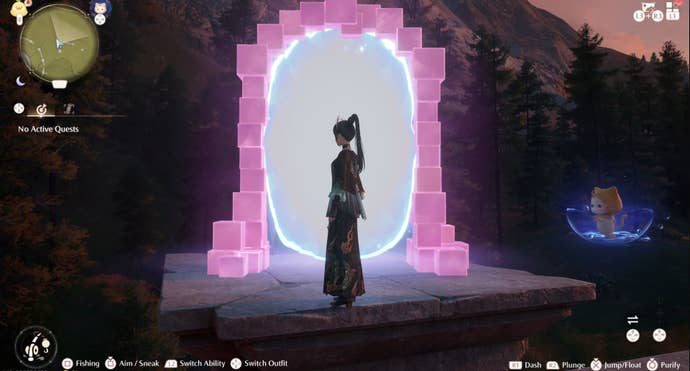
Here you’ll find a pink cube - simply interact with it to reach the Curio Domain.
You’ll get your Whimstar once you reach the other side.
To help how to get it, visit ourDream Warehouse Rooftop Warp Spire Curio Domainguide.
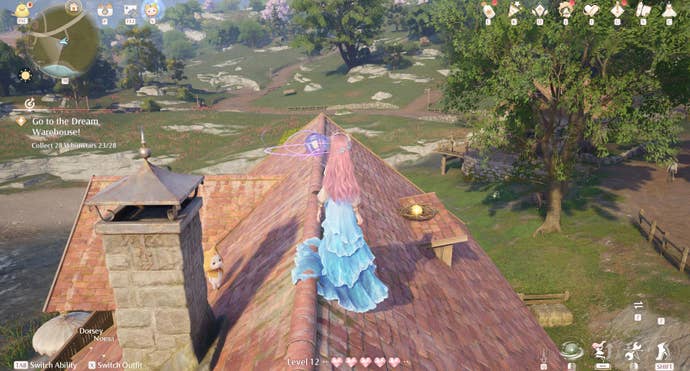
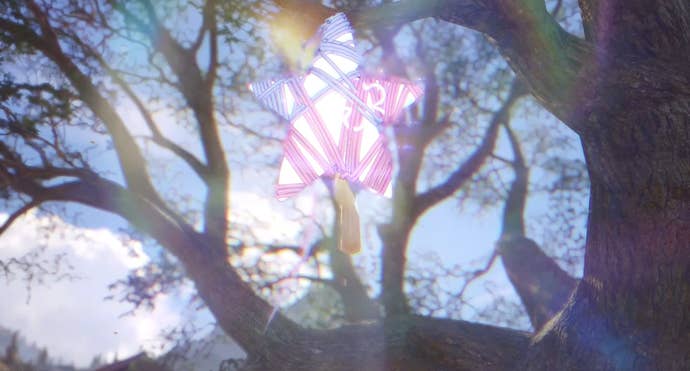
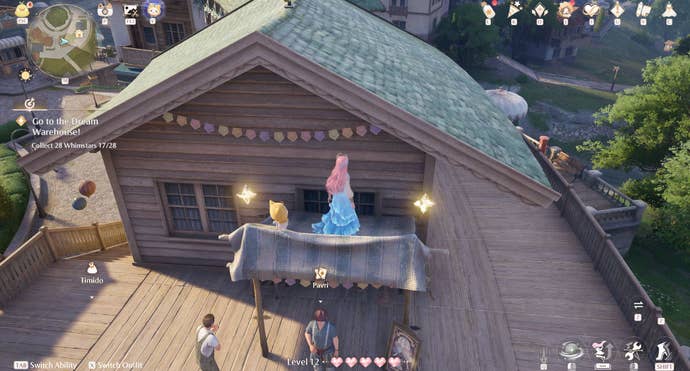
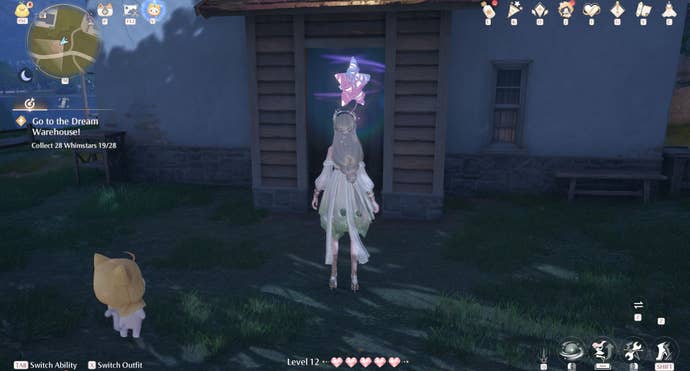
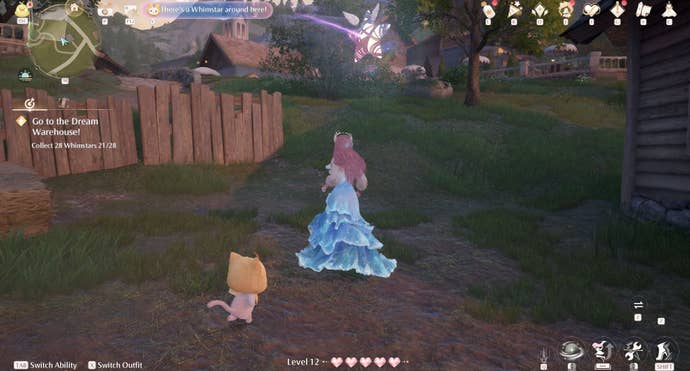
Finding the hidden star is quite easy - simply jump over the umbrella and down to the floor below.
Once there, face the wall and you’ll see the hidden star is a piece of graffiti art.
Simply interact with it to get your Whimstar.
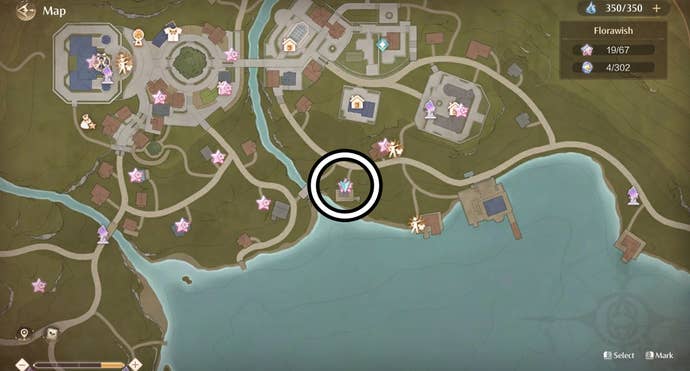
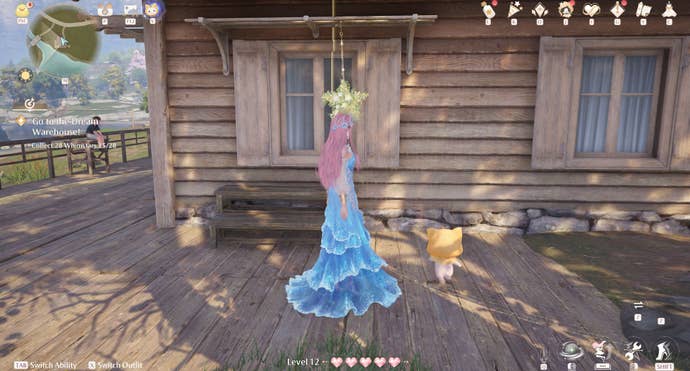
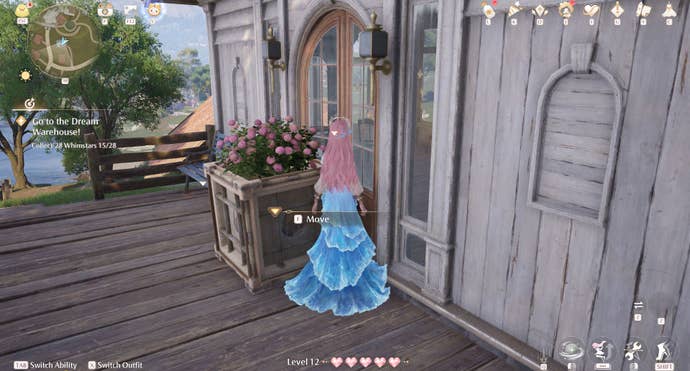
After doing so, jump down onto the patio attached to the left-hand side of the house.
Next, face the house and look for some flowers hanging in a star shape near a window.
Once found, interact with the star-shaped flowers to get your Whimstar.
Simply interact with it to get your Whimstar.
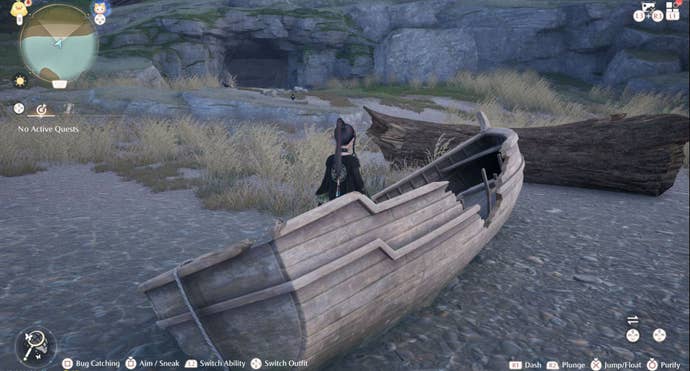
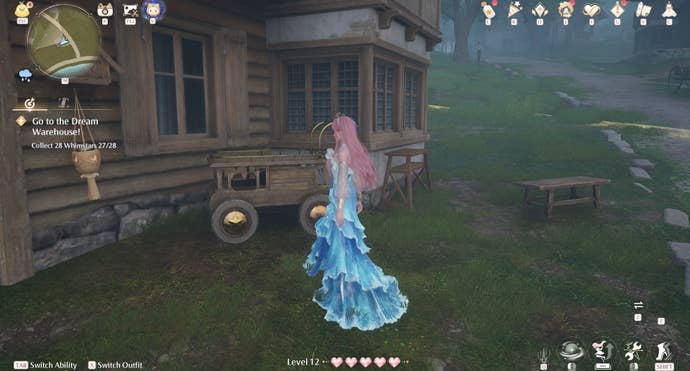
After doing so, drop down the south side of the building where you’ll find a wooden wagon.
Simply interact with the middle of the wagon’s left wheel to nab your Whimstar.
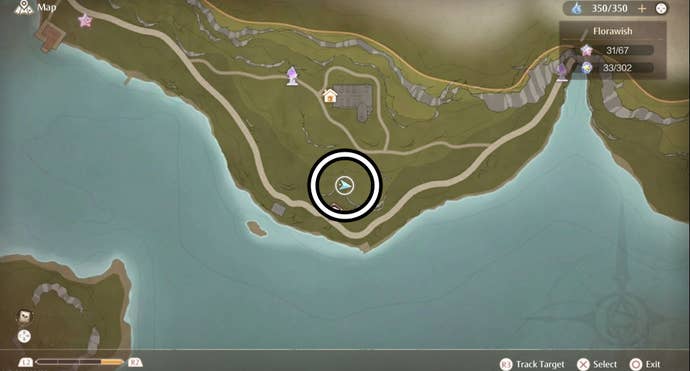
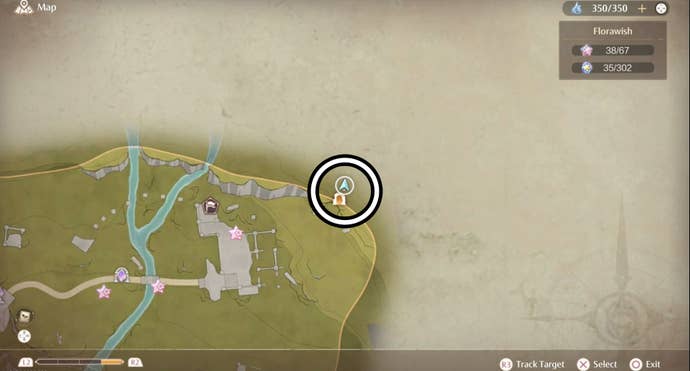
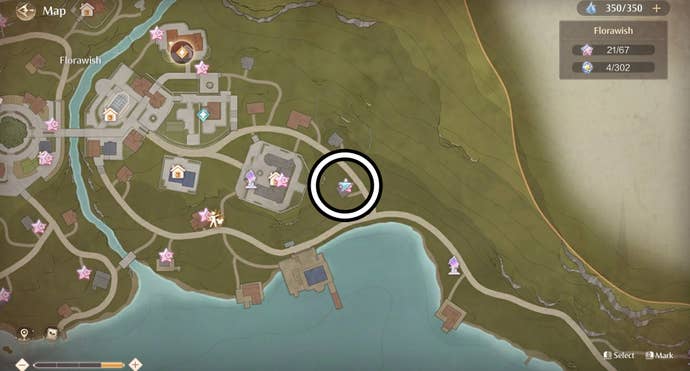
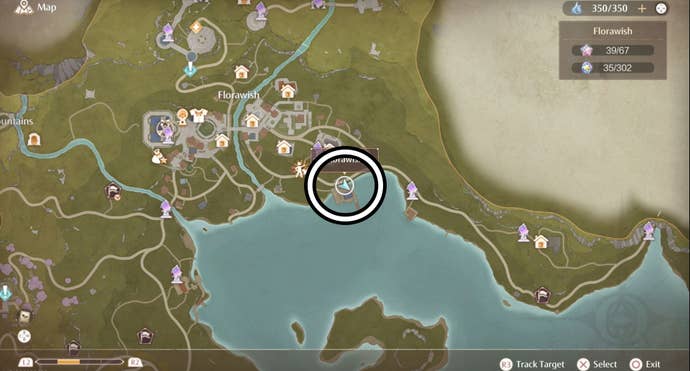
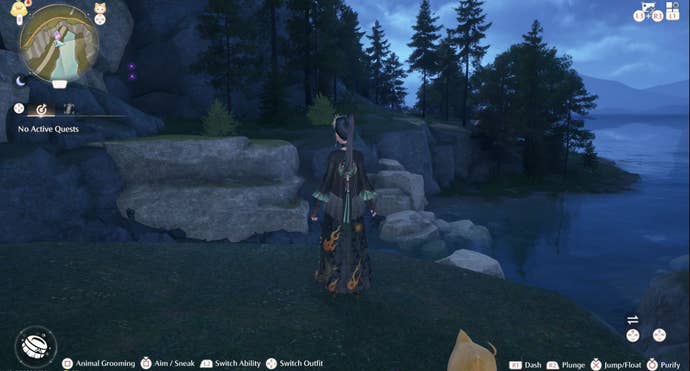
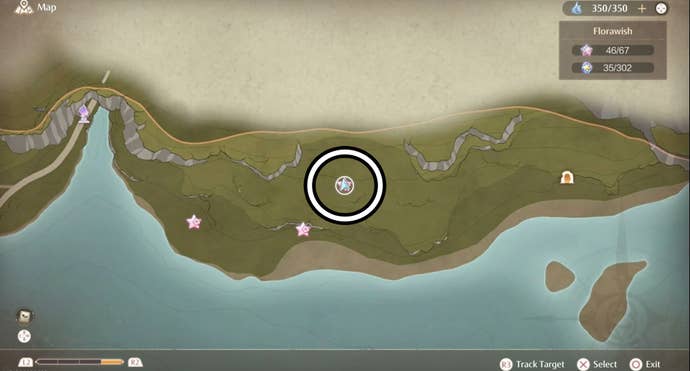
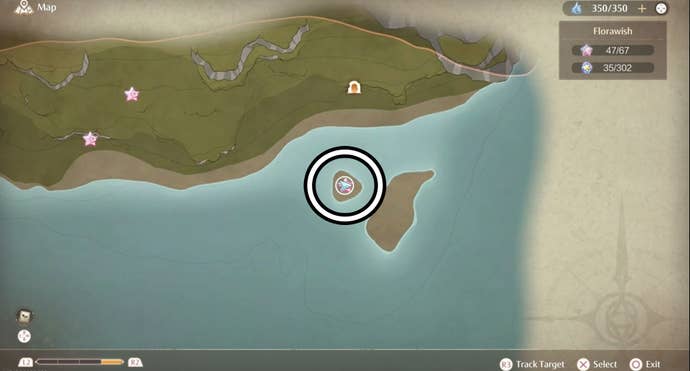
It’s located by the jetty near the house south of the Mayor’s Residence.
You will need to collect all eight stars to successfully complete the time trail.
Once you’ve managed to complete the time trial successfully, you’ll earn a Whimstar.
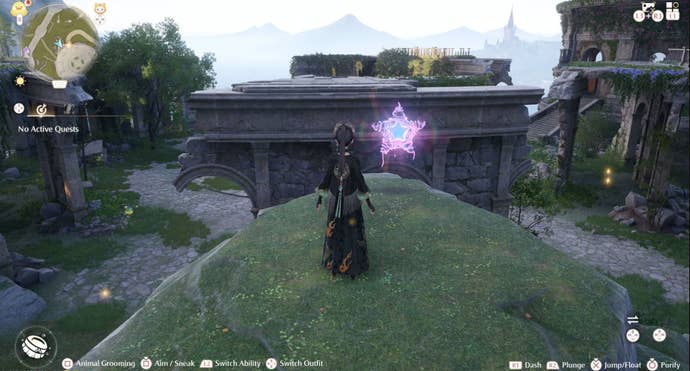
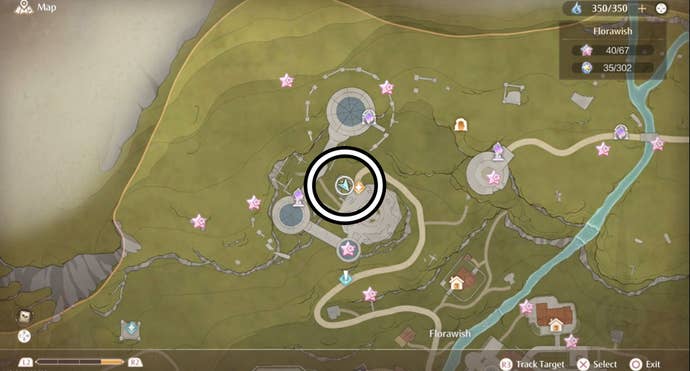
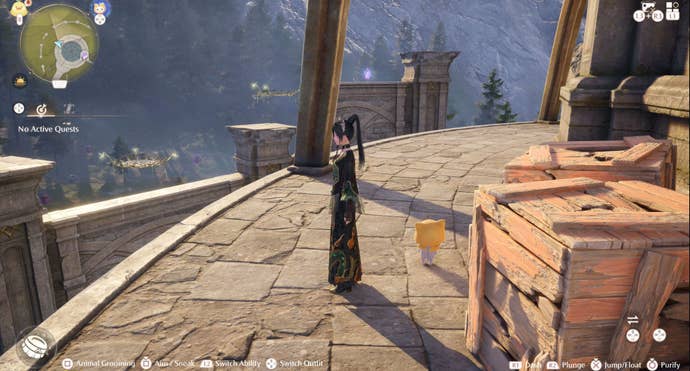
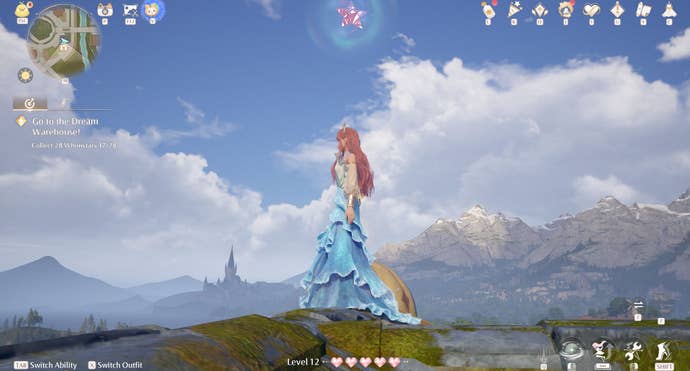
To reach it we recommend heading north from said Warp Spire until you find some crates.
Here you’ll be able to see a pillar you could easily reach by gliding.
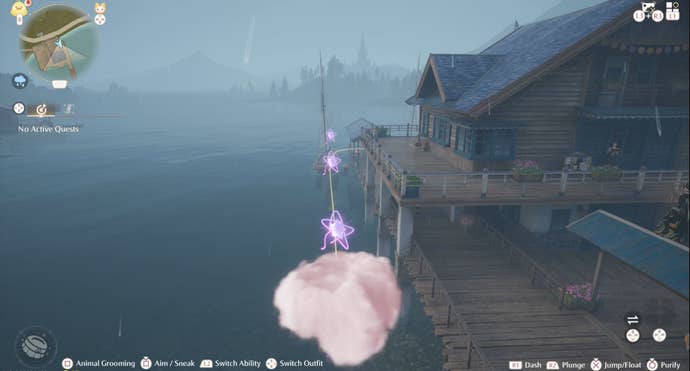
Remember - once you touch this the time trail will begin!
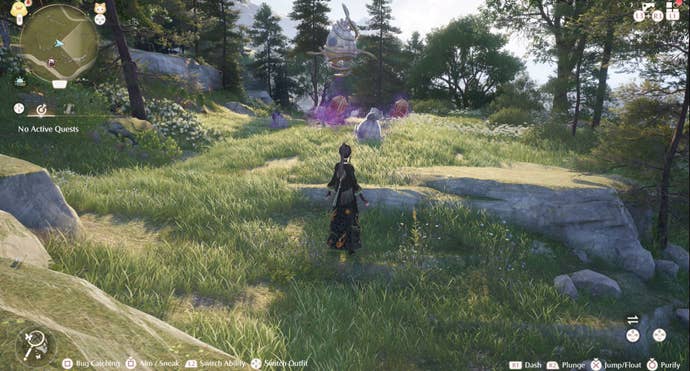
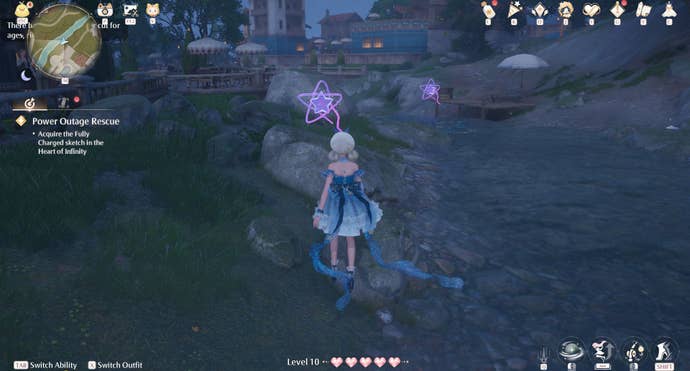
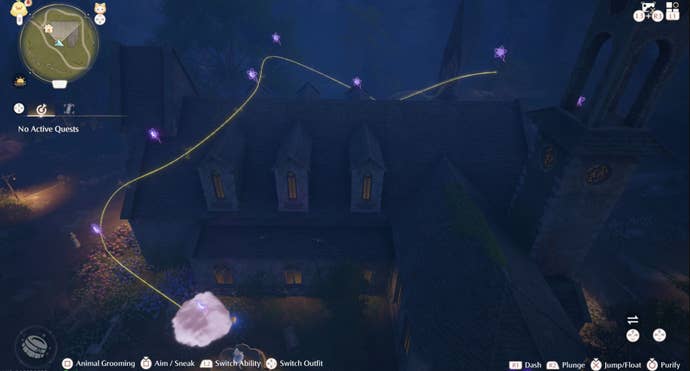
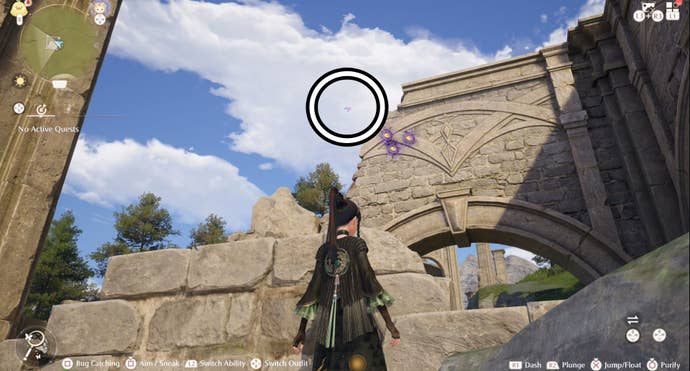
Interacting with the purple star attached to a cloud will cause a cloud to appear.
You will then need to travel on the cloud, occasionally jumping off, to grab all eight Whimstars.
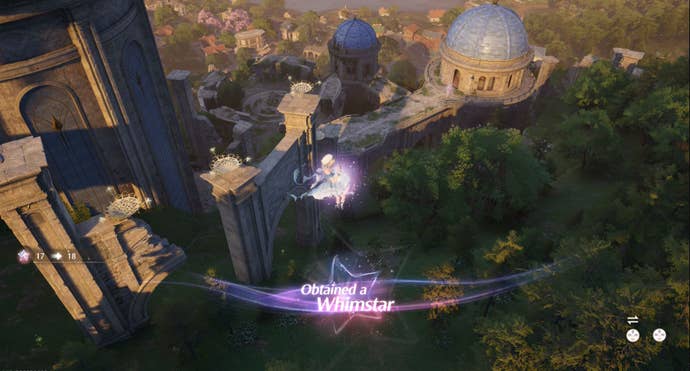
Well now you have a new Whimstar.
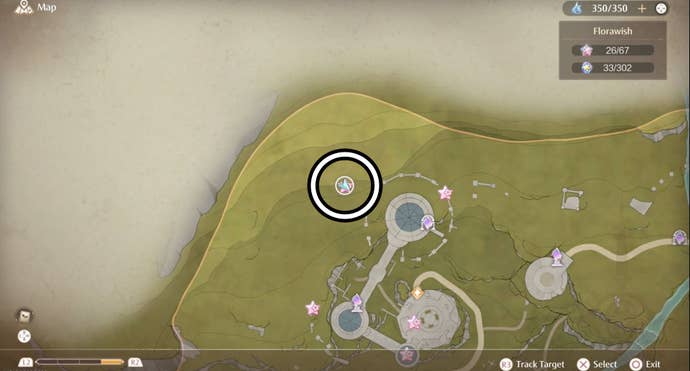
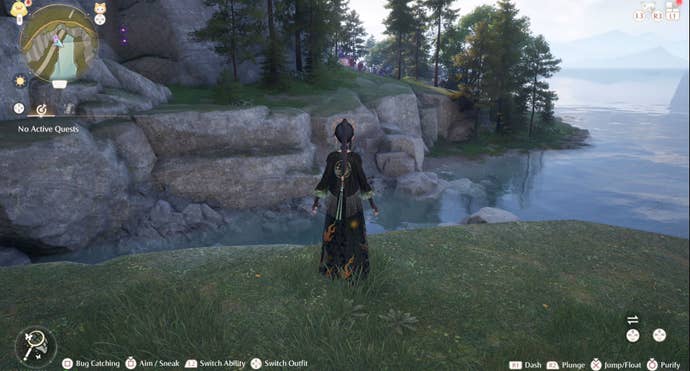
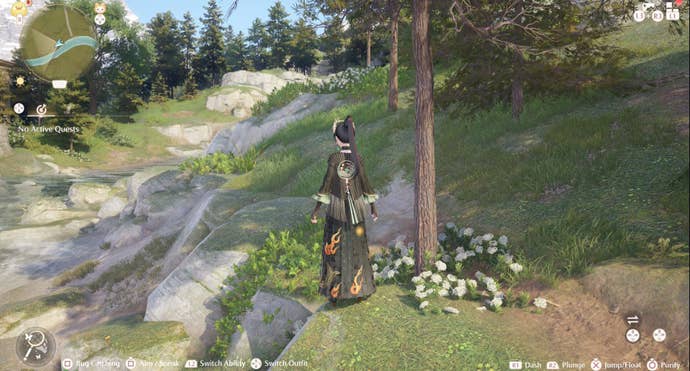
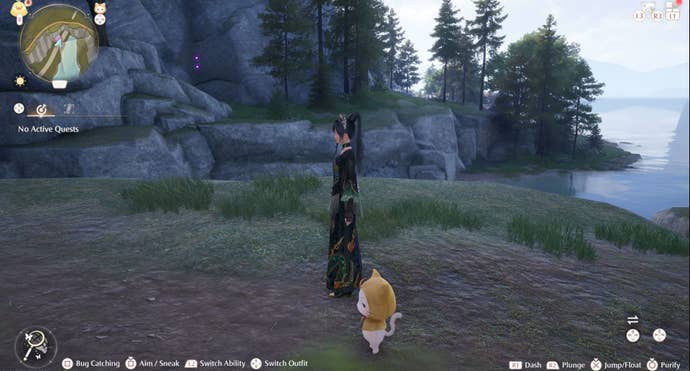
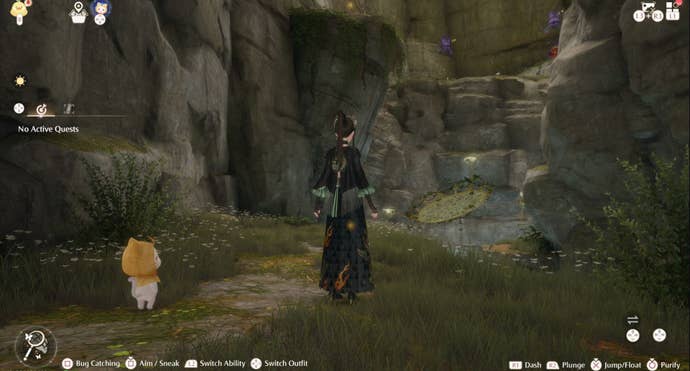
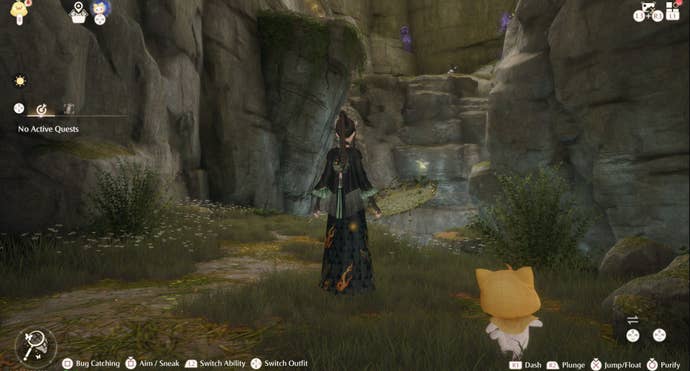
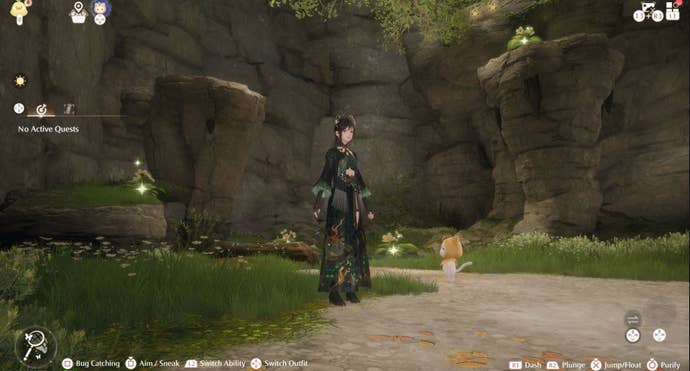
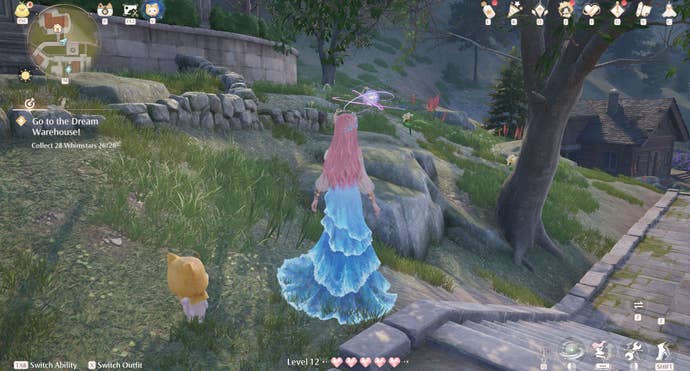
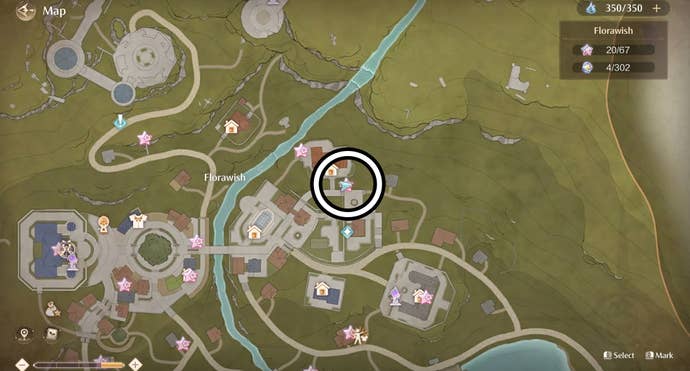
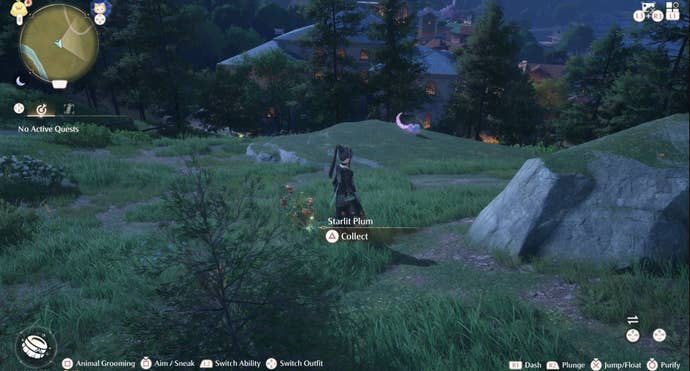
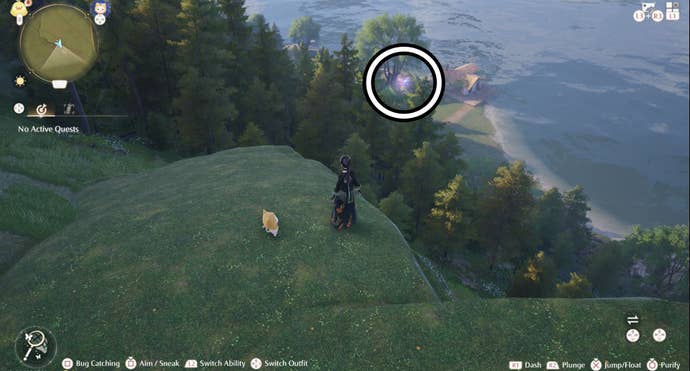
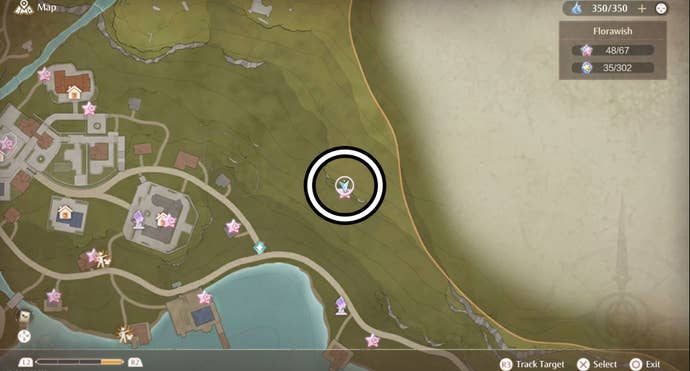
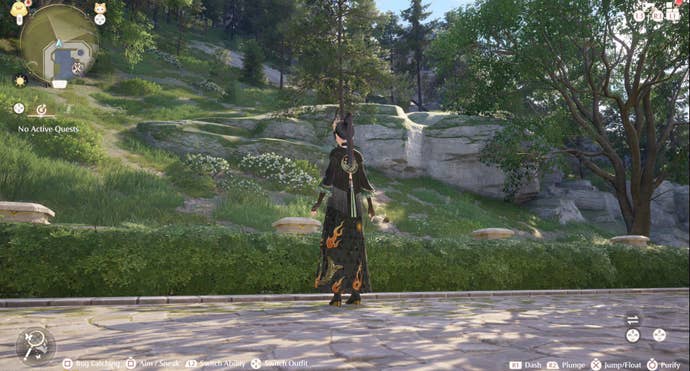
Head west from the Stylist’s Guild in Florawish and look for a grassy rock overlooking the guild.
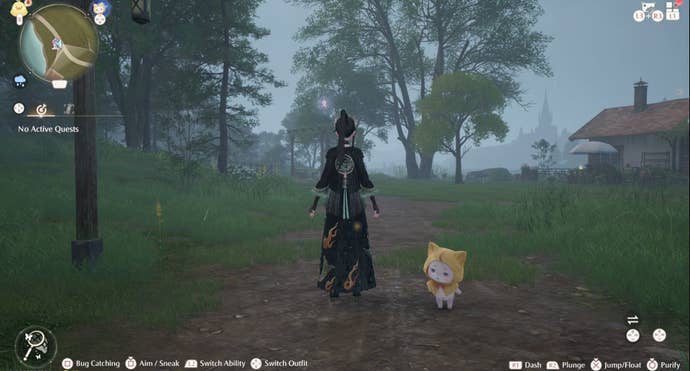
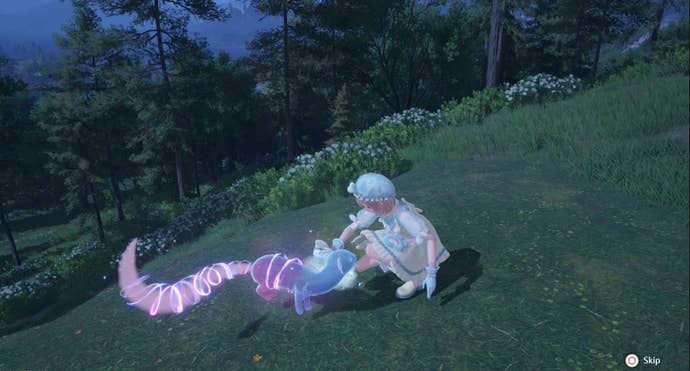
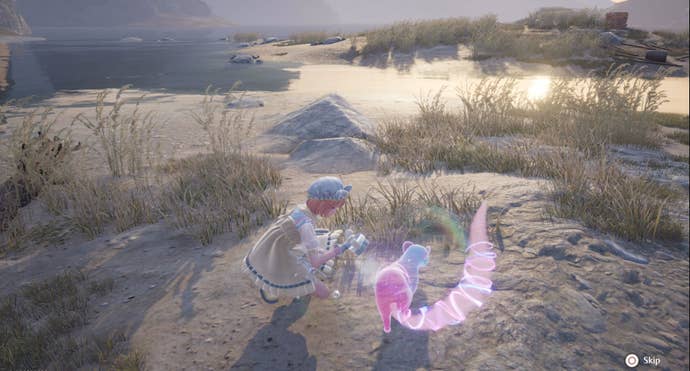
Here you should find a glowing ferret, which you’ll get a Whimstar in exchange for grooming it.
You will need to sneak up on this ferret though.
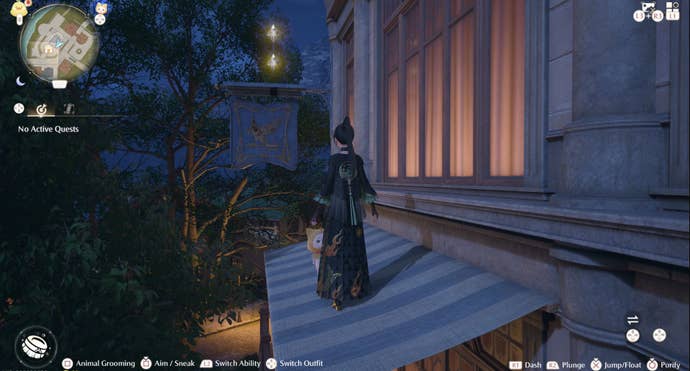
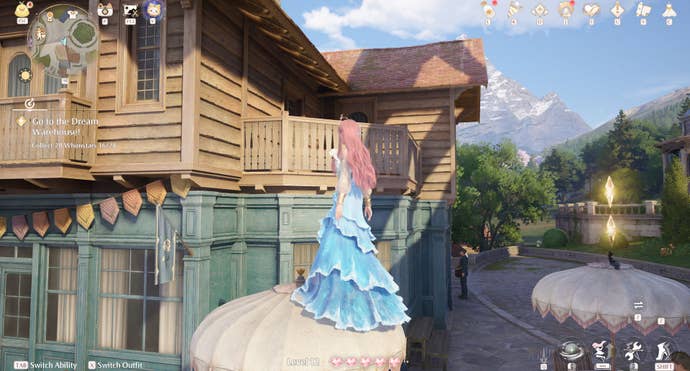
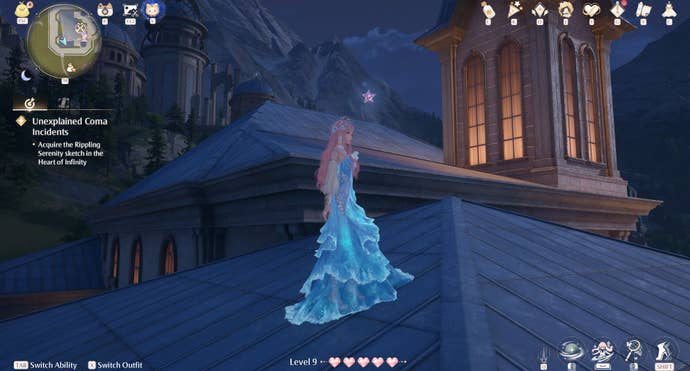
Now you’re free to jump over the railing to reach the upper level.
Next, you oughta jump onto the blue and white striped cover to your right.
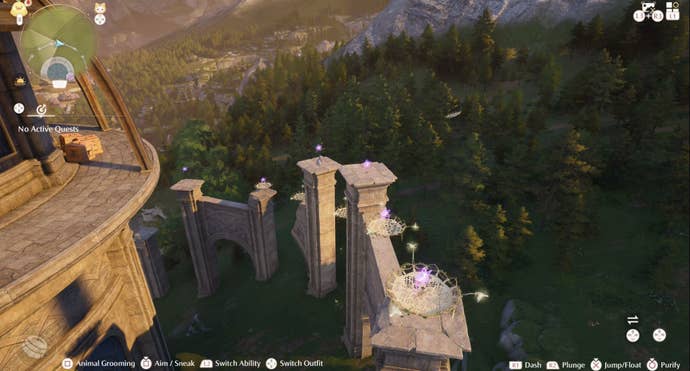
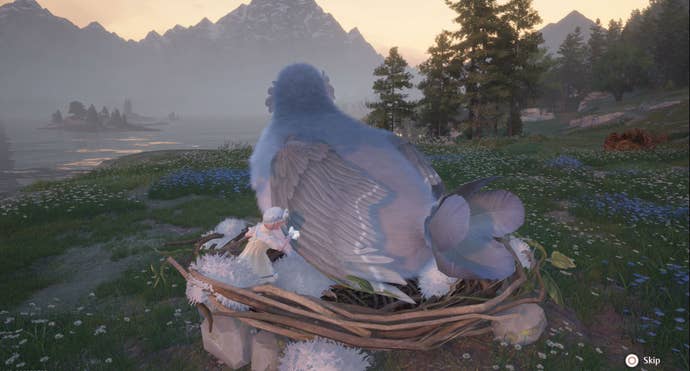
Now continue east, ignoring the floating Whimstar for now, until you find a big bird nest.
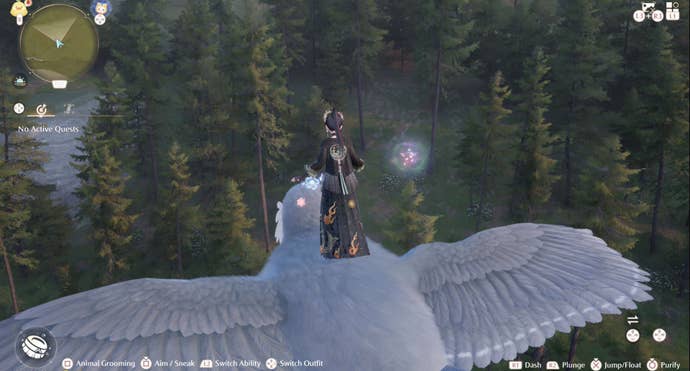
After grooming the bird, Nikki will be able to jump atop it.
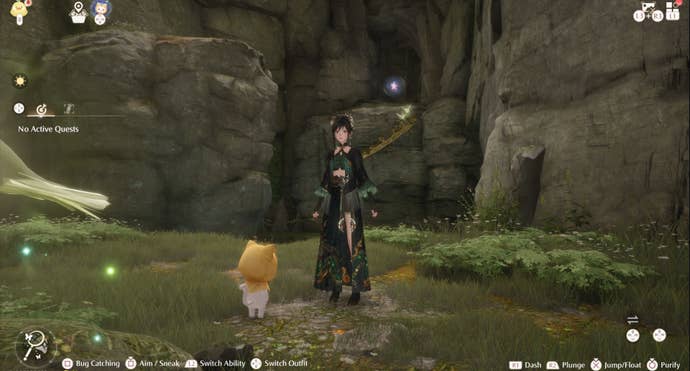
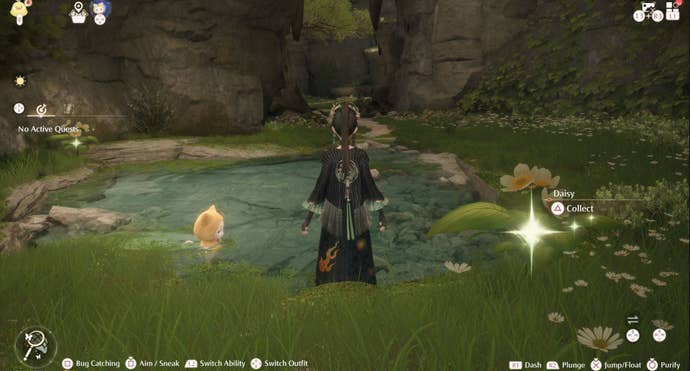
On this island fills a glowing ferret and, once groomed, it will give you a Whimstar.
You will have to sneak up on the ferret though.
Who would have thought that wild animals aren’t fond of surprise groomings?
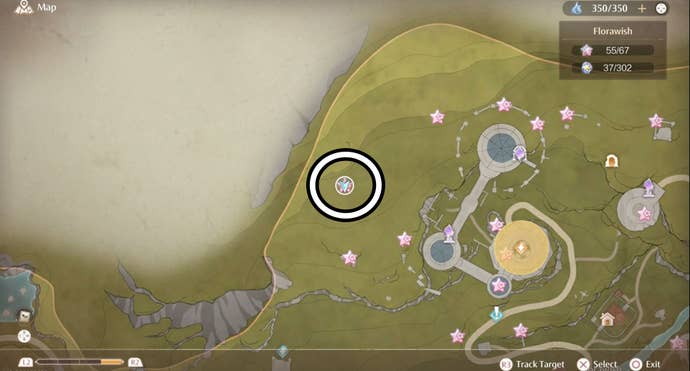
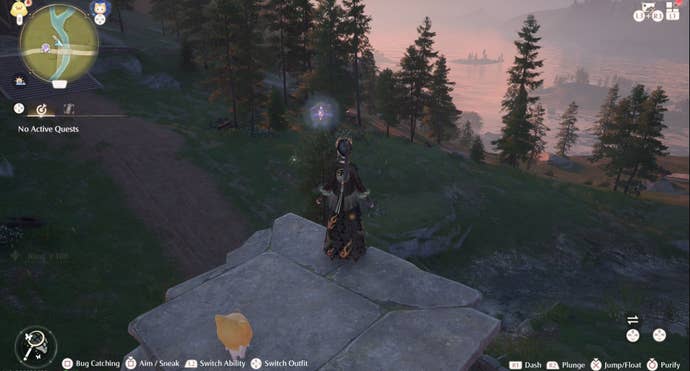
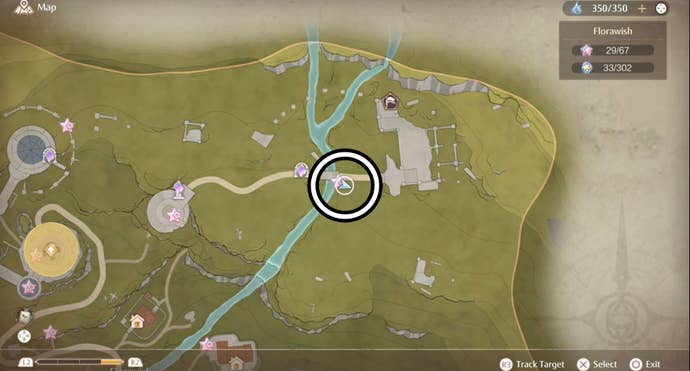
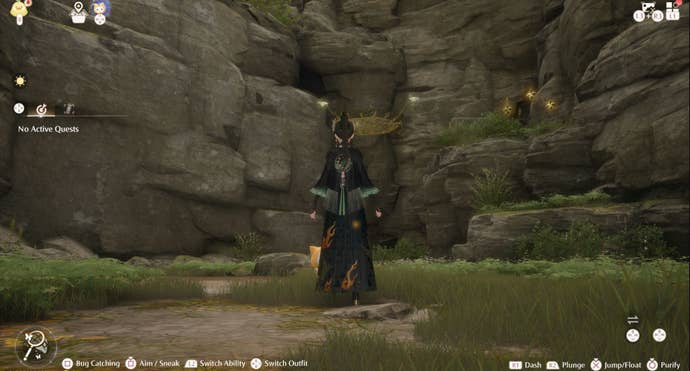
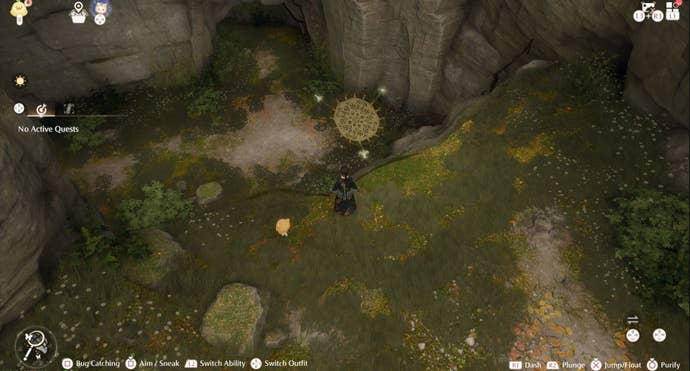
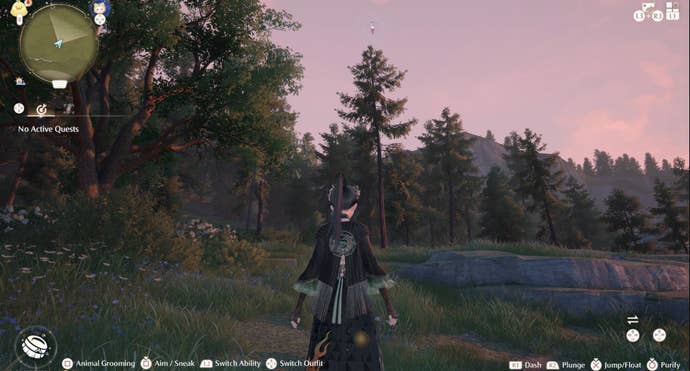
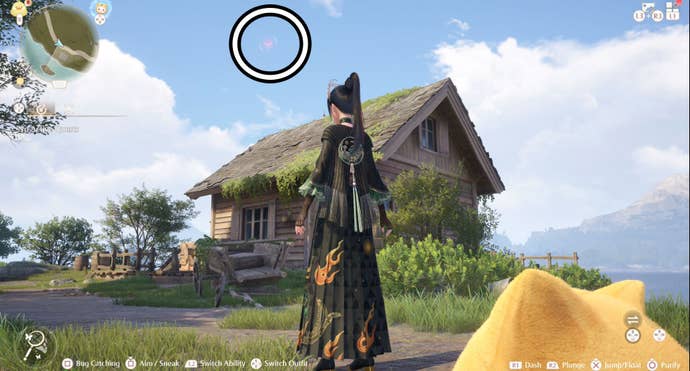
For this Whimstar, you better head to the cliff north of the Stitch Street Warp Spire.
Up here you’ll find a glowing butterfly and, once caught, it will give you a Whimstar.
The easiest way to obtain this Whimstar is to head north from the Secret Base Warp Spire.
Here you should be able to equip the Outfit and catch the butterfly.
Our recommended route begins at the Stylist’s Guild where you should probably head left past the Surprise-O-Matic machine.
Now climb up the cliffs until you reach a wooden house with a large cliff on its left-hand side.
This should bring you to the glowing butterfly who is flying just off the cliff’s edge.
Once caught, the butterfly will reward you with a Whimstar.
Now all you have to do is catch this butterfly to earn your Whimstar.
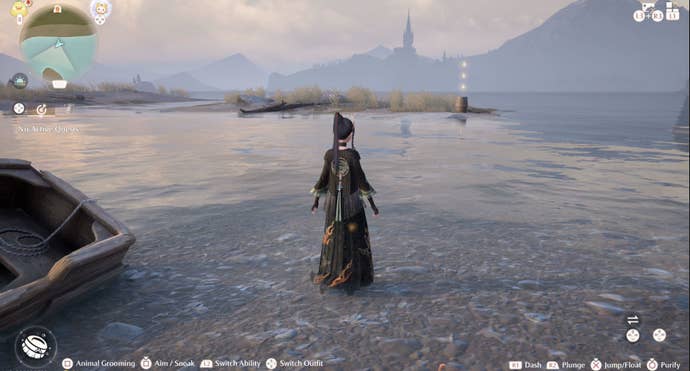
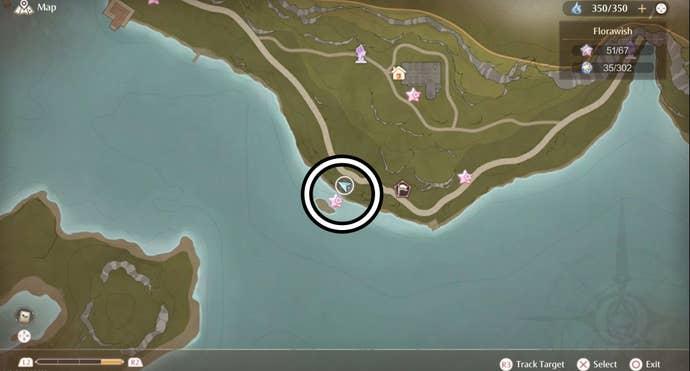
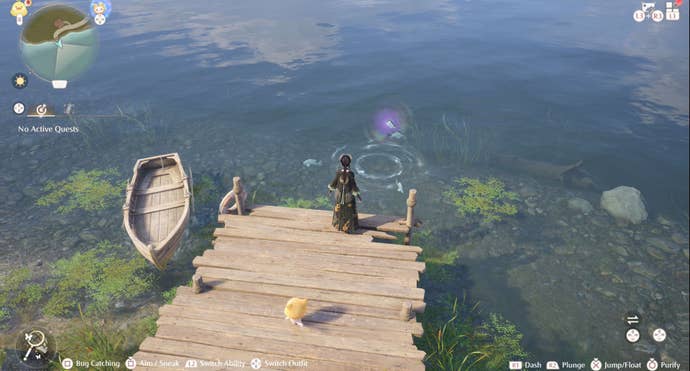
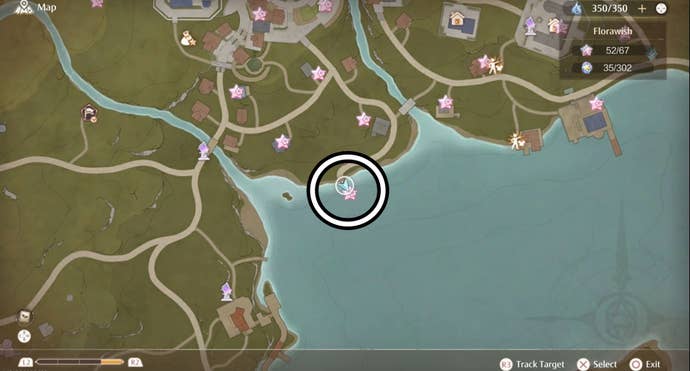
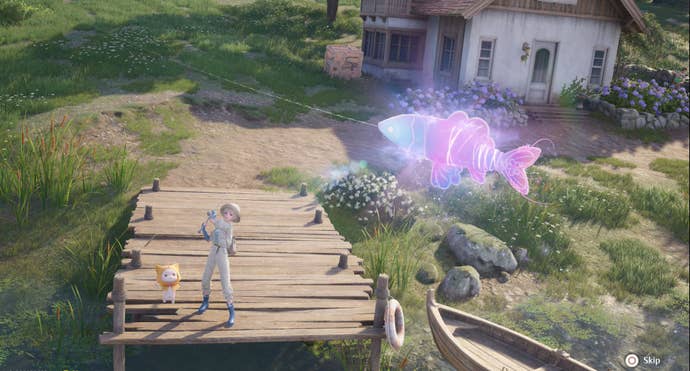
Once you’ve got this Outfit, head to the dock southeast of the Florawish Lane Warp Spire.
Like the above Whimstar, it’s crucial that you catch a glowing fish to earn this Whimstar.
Good luck finding all of the Florawish Whimstars in Infinity Nikki!
Remember to check out our guides on theWell of Fortune Whimstar locationsandDream Warehouse Whimstar locations.