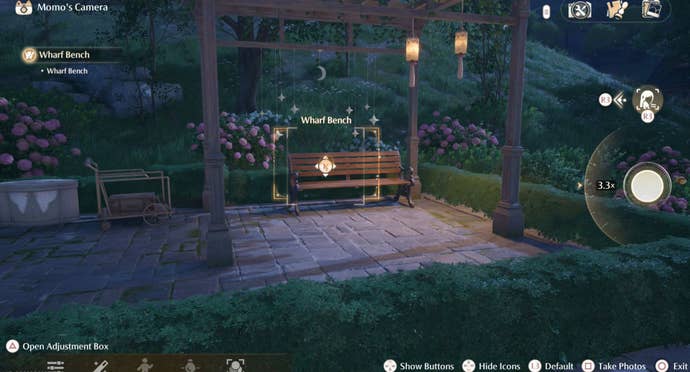
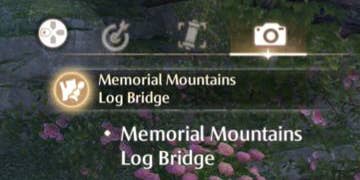
How to add photos to the Expedition Handbook.
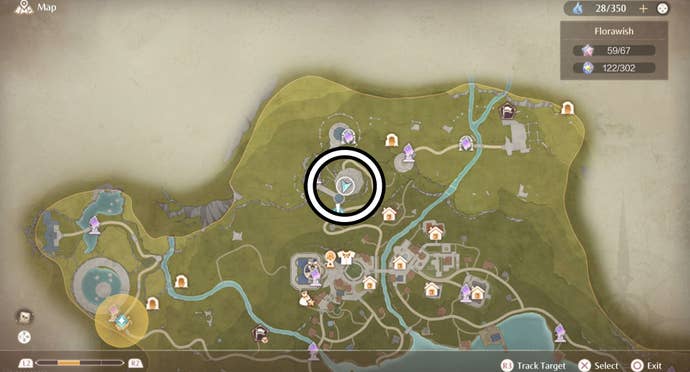
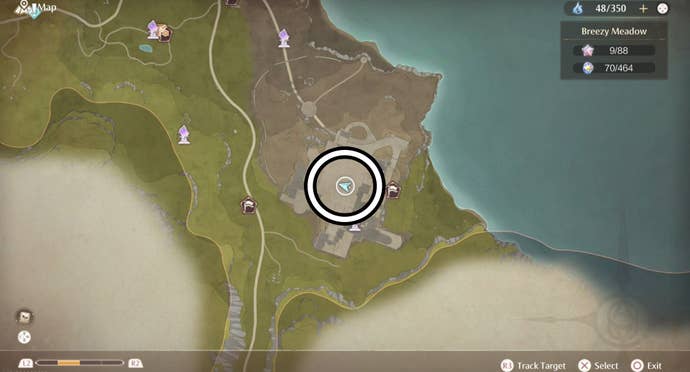
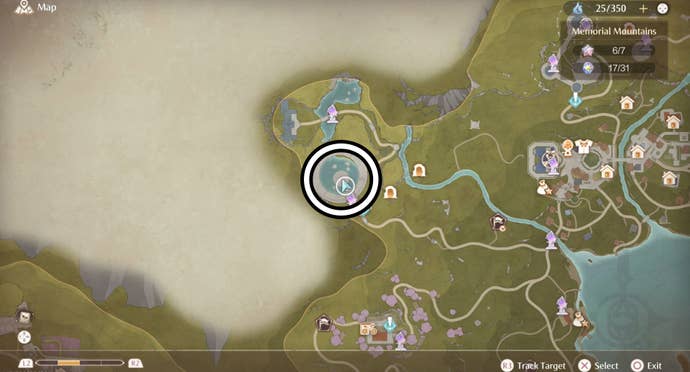
Wishfield is quite sizable after all.
Not to forget about theExpeditions: Wishfield random questeither.
Just keep taking photographs until you receive a message from the LuminaLens Touring Photographers.
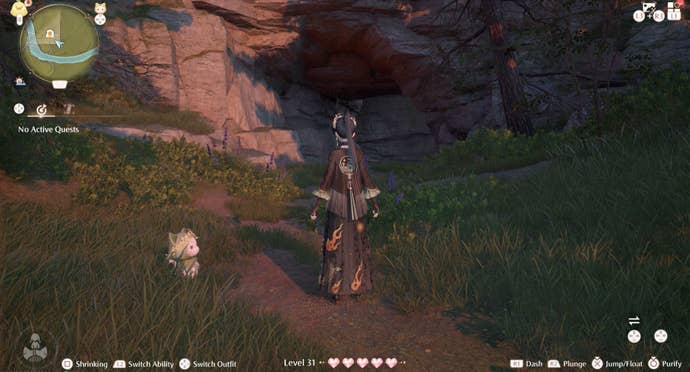
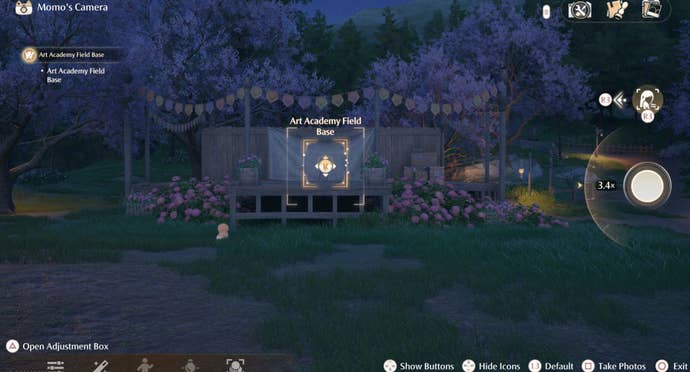
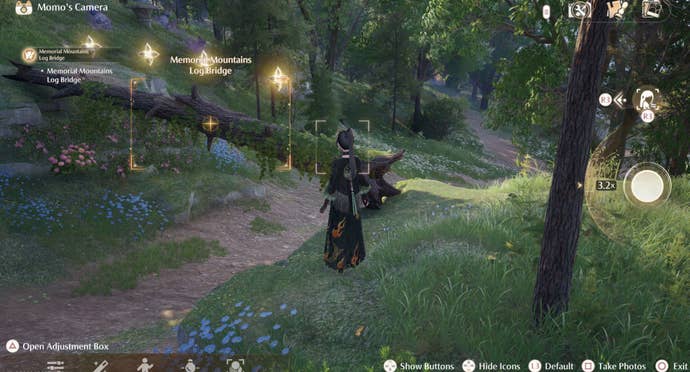
This is your que to get out Momo’s camera!
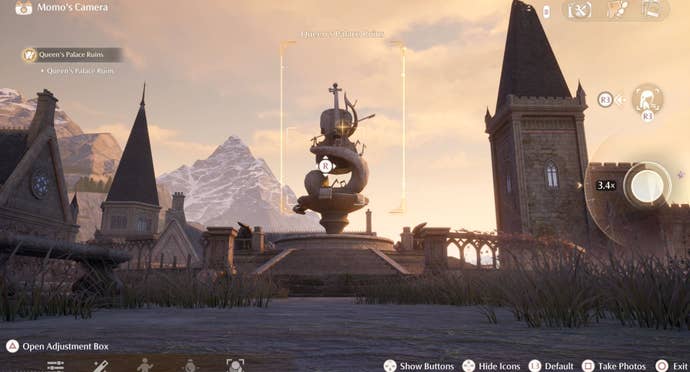
Now you should probably get the main subject of the camera prompt into the frame.
Next it’s time to take the photo!
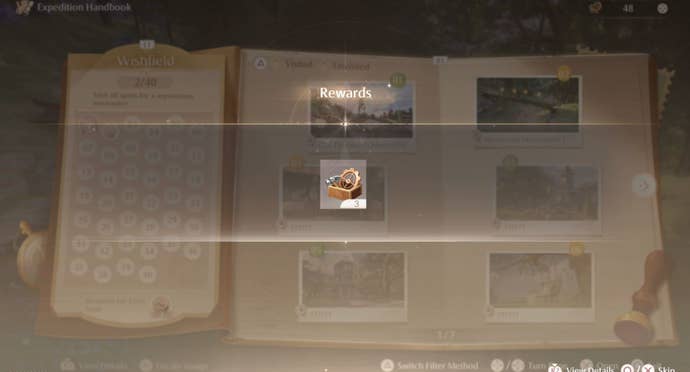
The final, and most important, step comes after the photo is taken.
Remember - select ‘Upload’ before closing the picture!
You’ll be rewarded with three Upgrade Packs for every photo you add to the Expedition Handbook.
These can be spent on camera modifications for lighting, poses and filters.
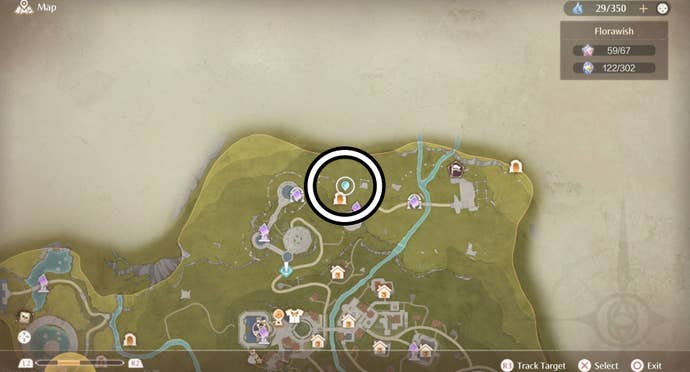
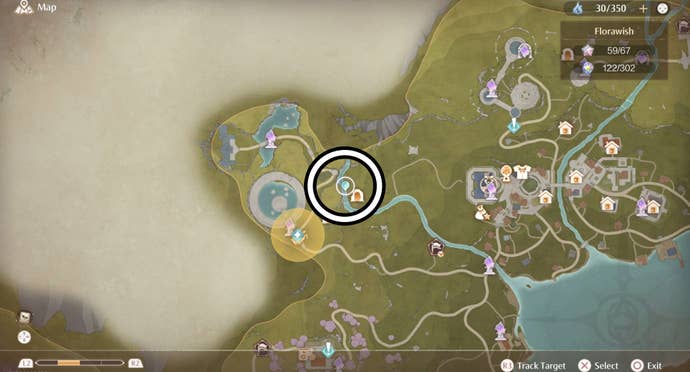
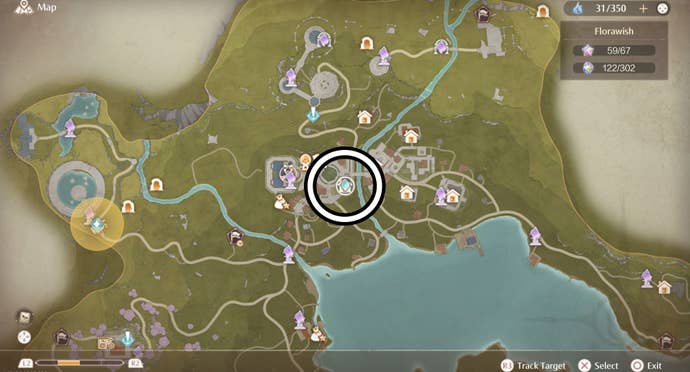
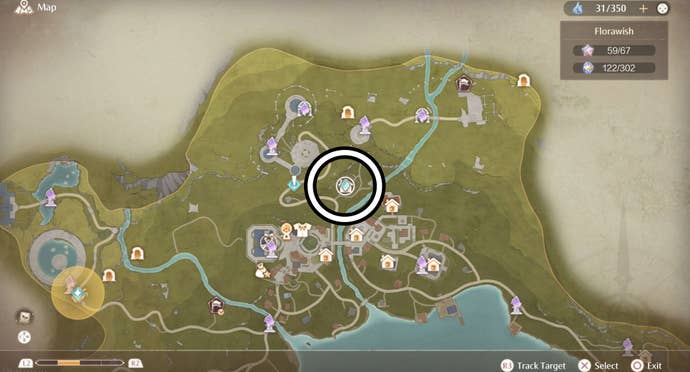
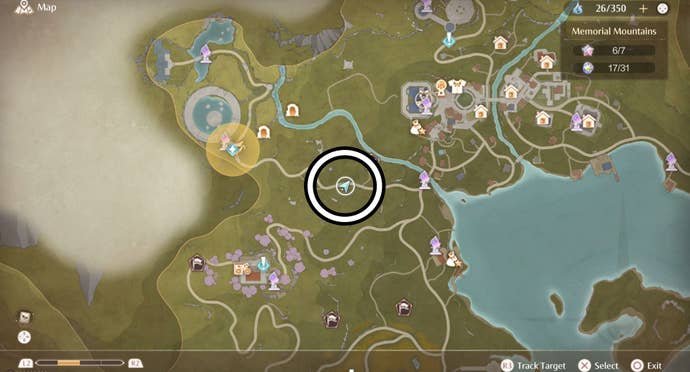
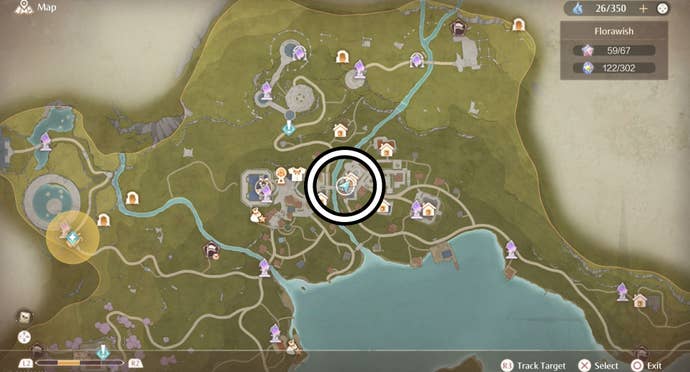
It’s also where you’ll find Kilo the Cadenceborn.

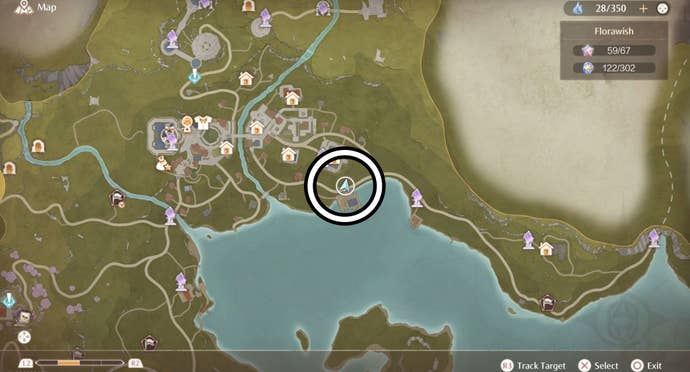
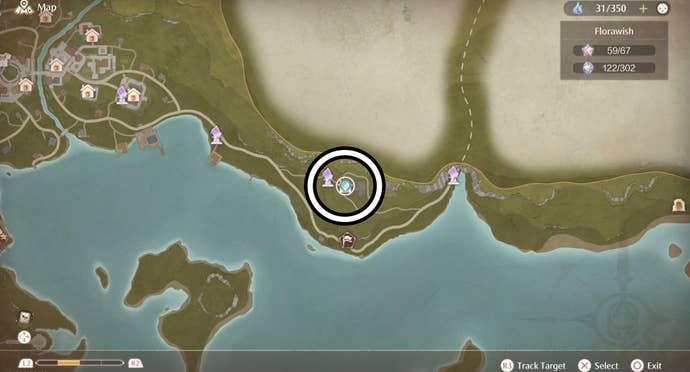
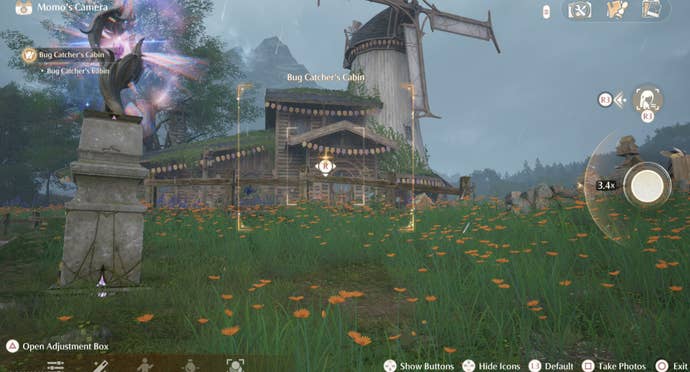
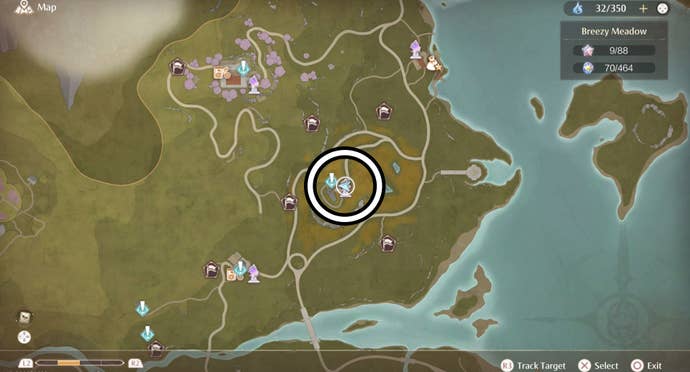
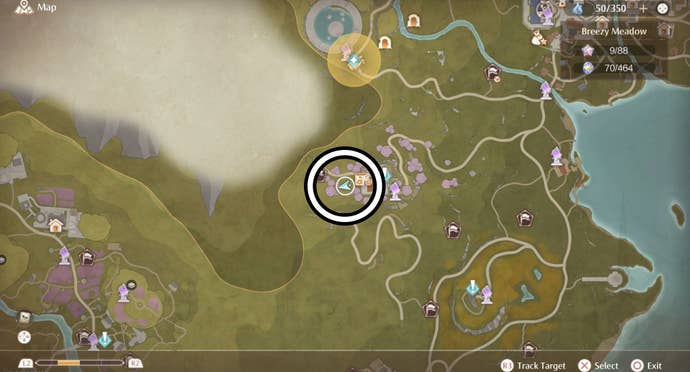
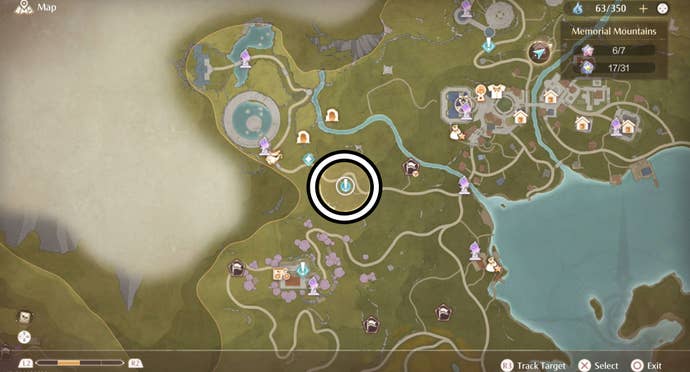
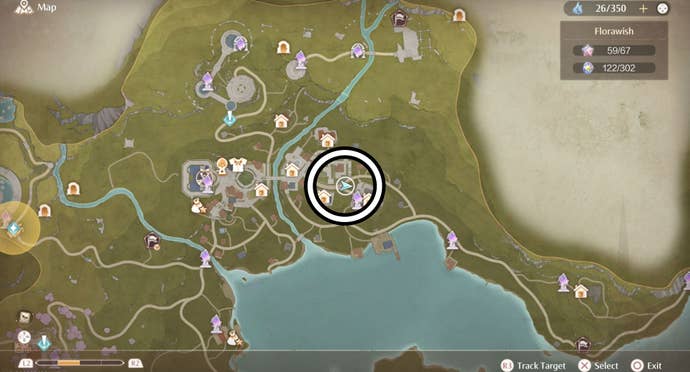
It’s just south-west of the mini-game that sits close to the Florawish border.
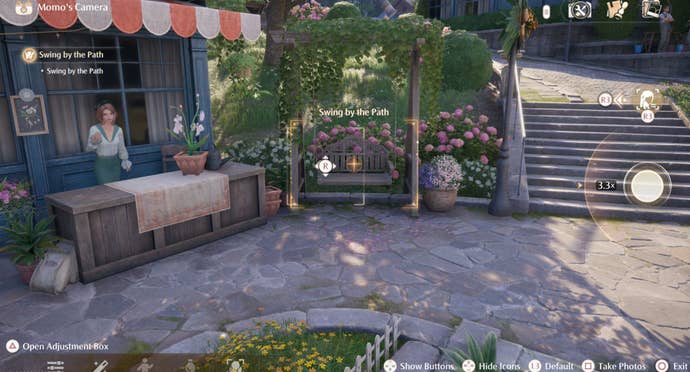
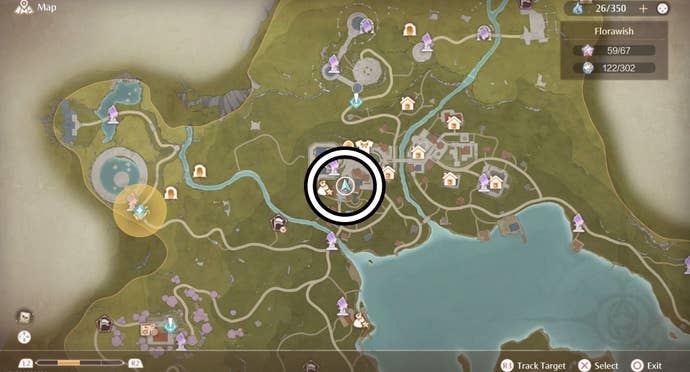
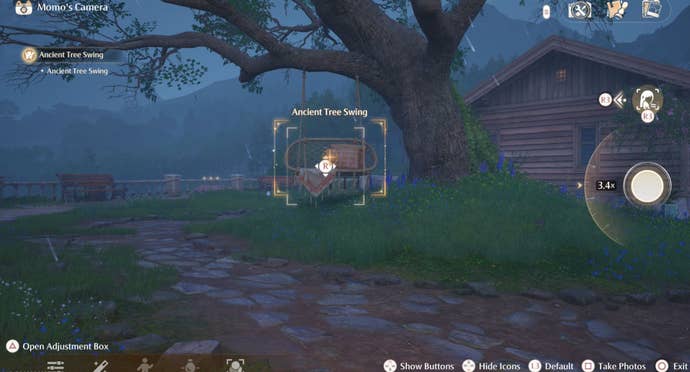
6 - Ancient Tree Swing, Florawish
Another tree swing!
This time it can be found on the small overlook area directly south of the Wishing Tree.
Though depending on the time and weather, you might just find a lantern.
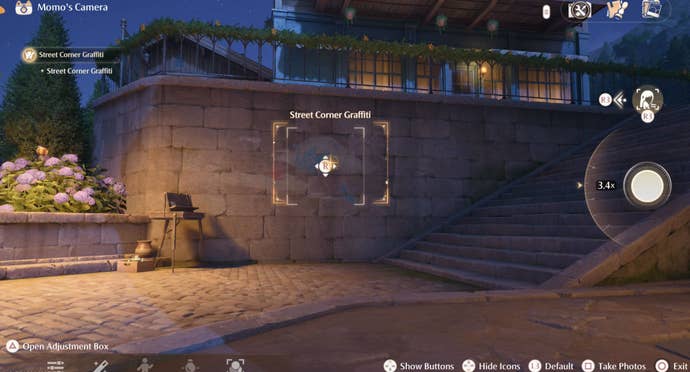
The graffiti can be found on the wall at the foot of these steps.
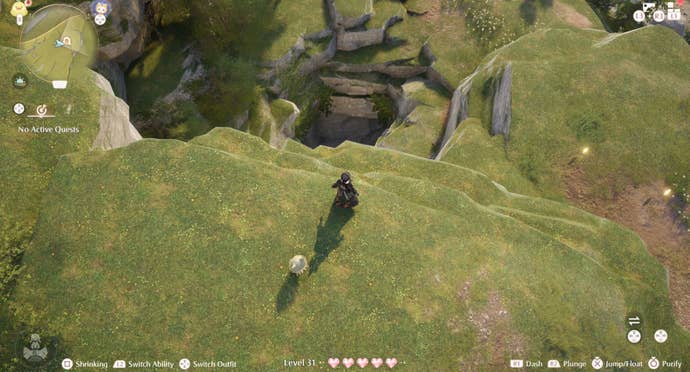
This involves dropping down to a lower level when you reach a cliff.
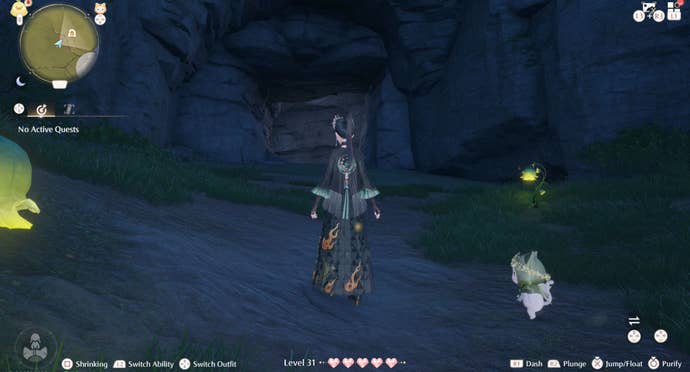
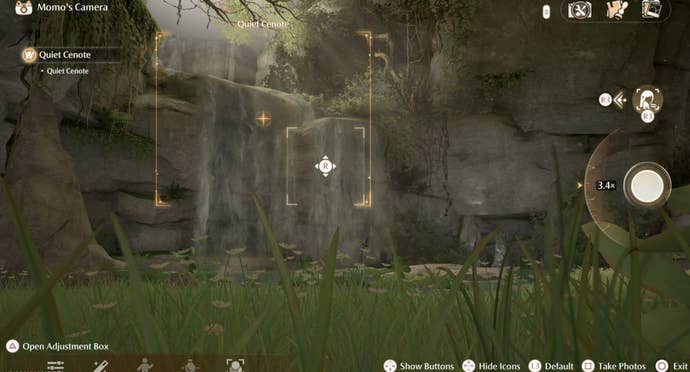
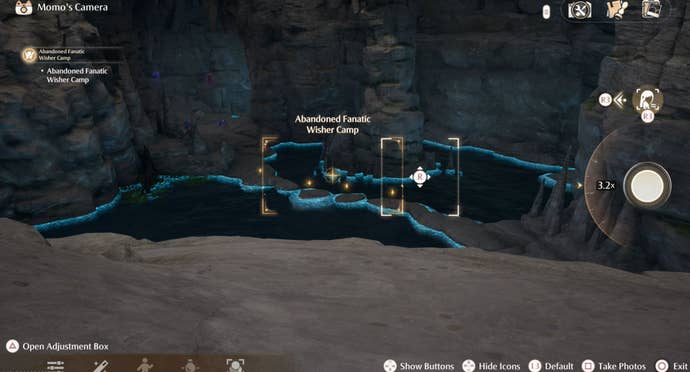
You will eventually find the entrance to the Riverside Cavern near the top of this river.
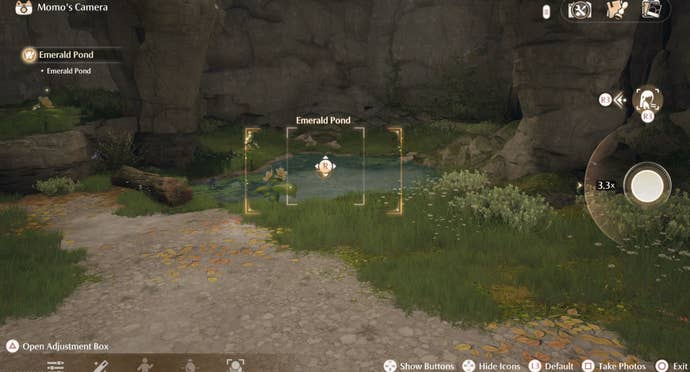
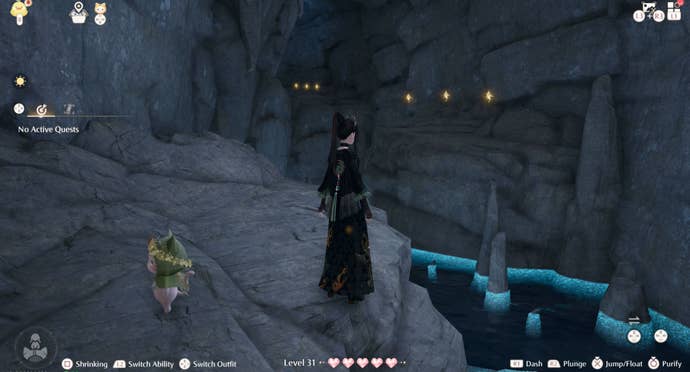
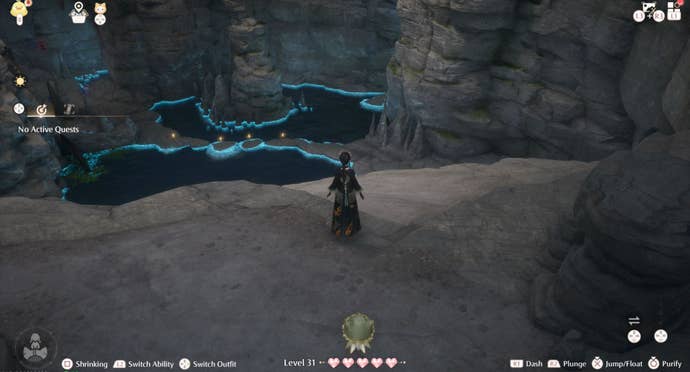
Once inside the Riverside Cavern, simply follow the path inside until you reach a pond.
This is the Quiet Cenote, so take a picture of that waterfall.
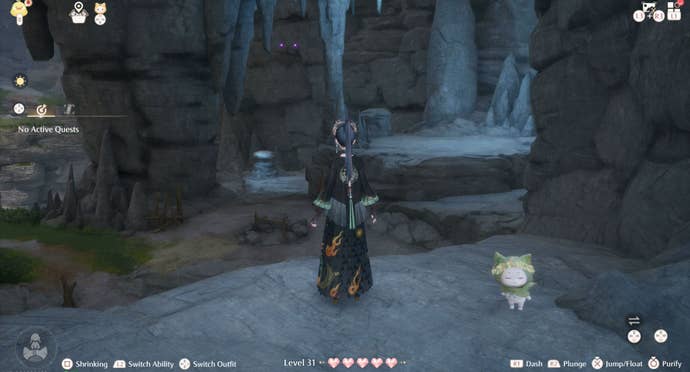
Again, there’s a Whimstar hidden within this cave.
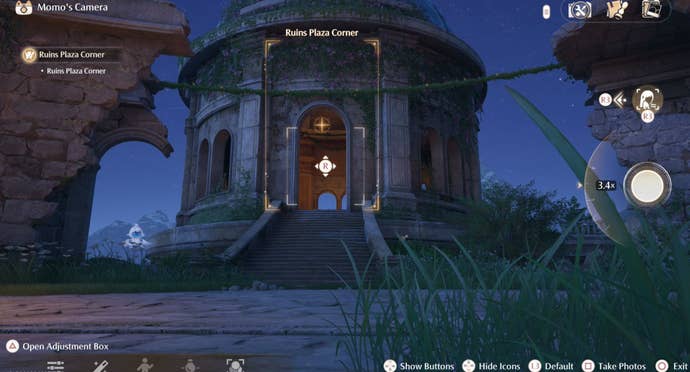
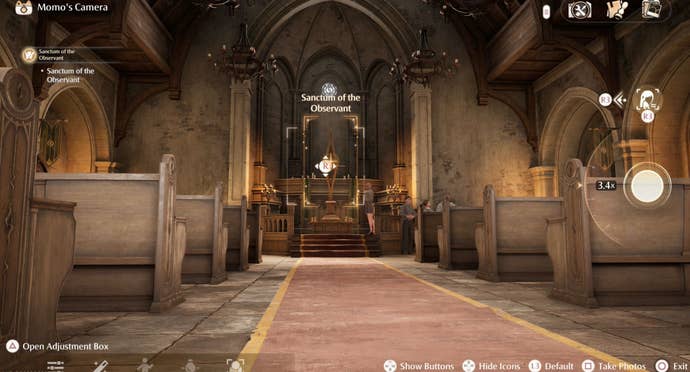
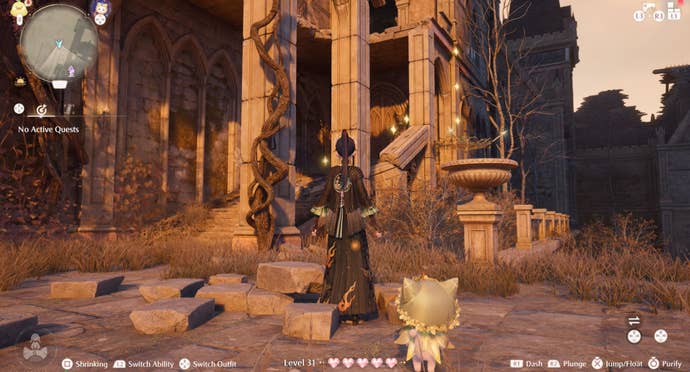
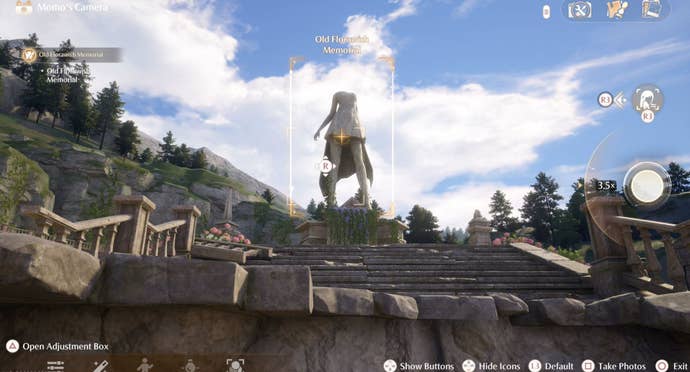
Head inside the Sanctum and take a picture of the altar.
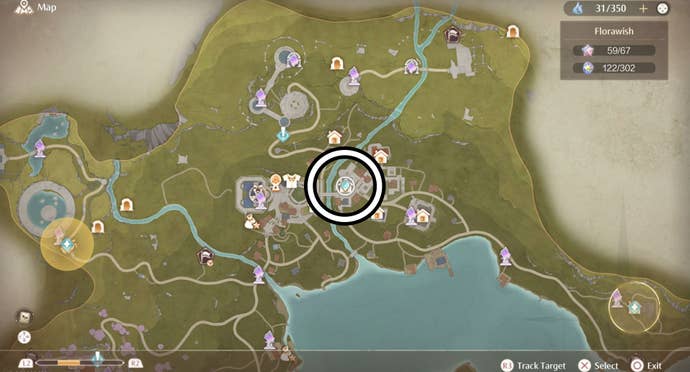
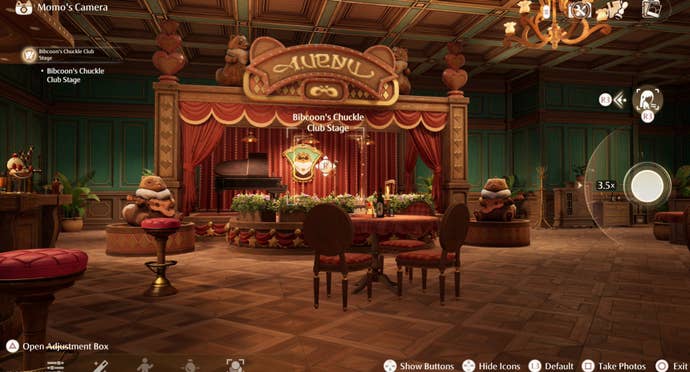
16 - Bibcoon’s Chuckle Club Stage, Florawish
It’s time to head inside another building!
(Don’t worry, you’re free to’t miss it.)
If you’re having trouble finding it, explore the area with the yellow-ish grass.
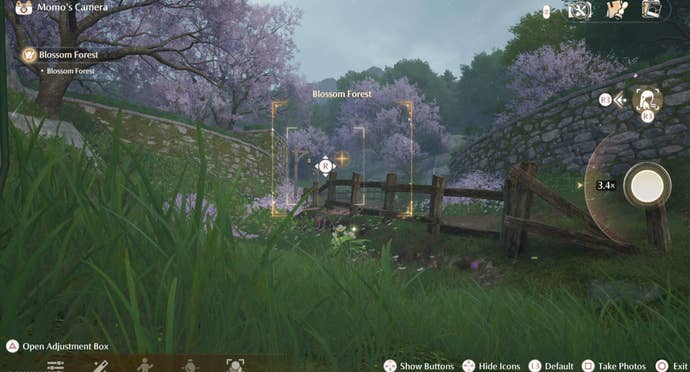
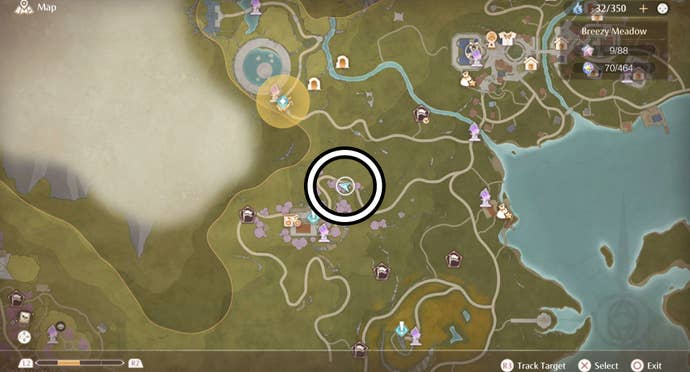
Simply take a picture of these trees to fill in this handbook entry.
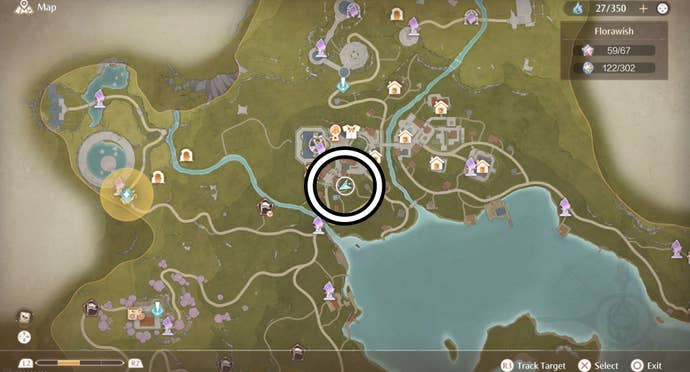
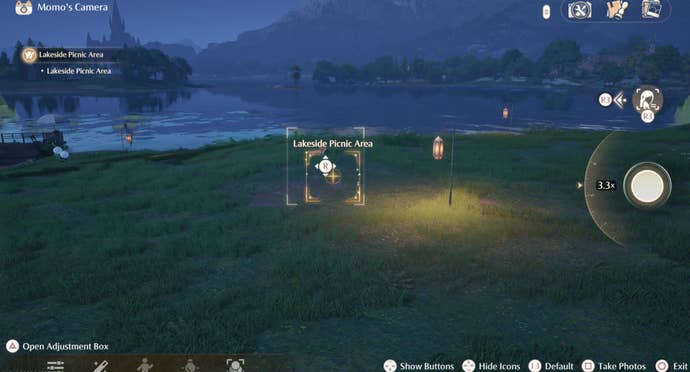
It’s where the lake has created a small cove.
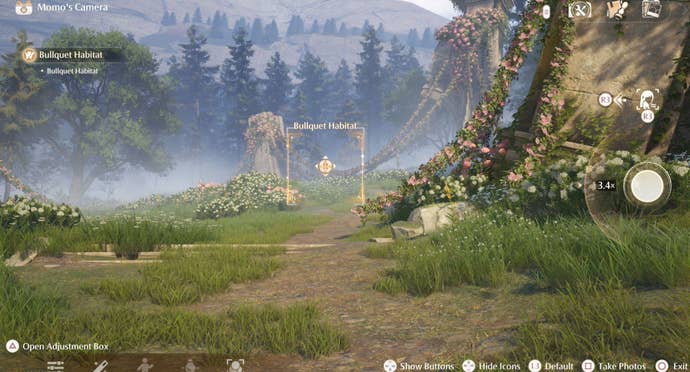
This path leads directly to the Bullquet Habitat, which consists of a number of pillars and a Bullquet.
you’ve got the option to reach this by using the broken pillar on the staircase.
see to it you activate the Warp Spire to make return visits easier!
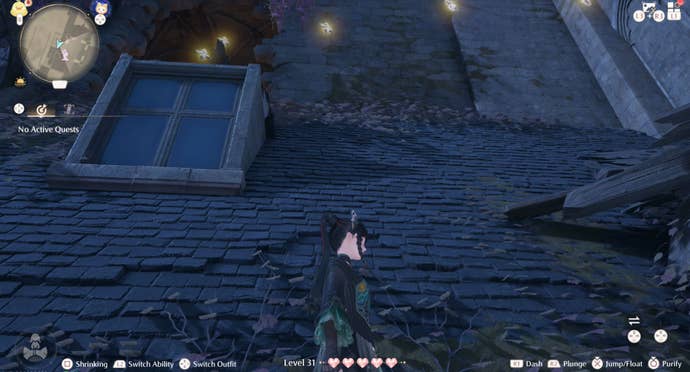
When you reach the top, take a picture of the broken window.
Still, even if you know its rough location, the Campsie Cavern can be quite hard to find.
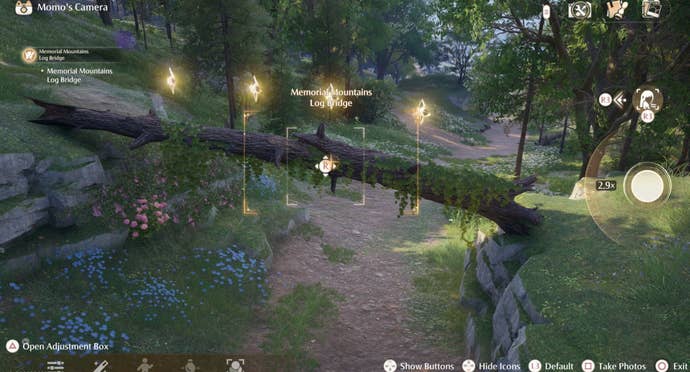
Cross this bridge before defeating even more Esselings.
Next, follow the path through the cave - jumping from platform to platform to avoid the water.
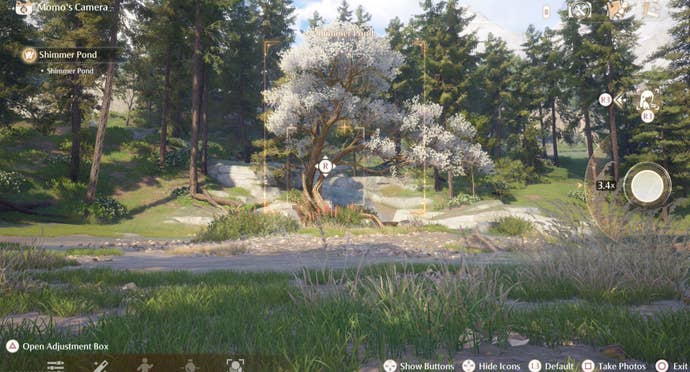
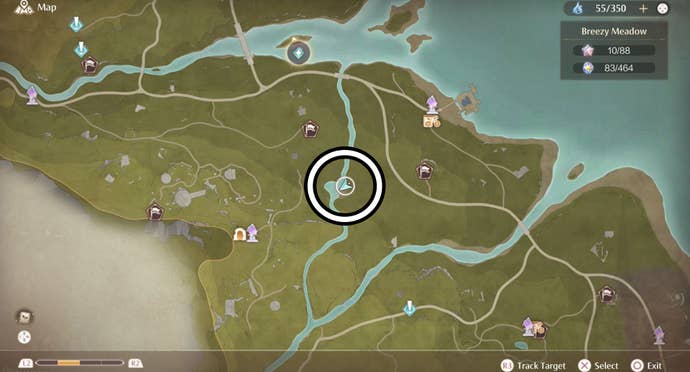
Next head towards the lake, but, when you encounter a river, follow it southward.

You’ll quickly find the Shimmer Pond.
This will help you avoid entering a Styling Challenge when attempting to take this photograph.
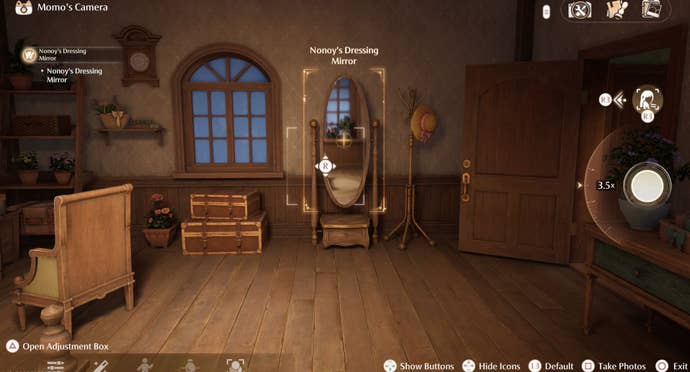
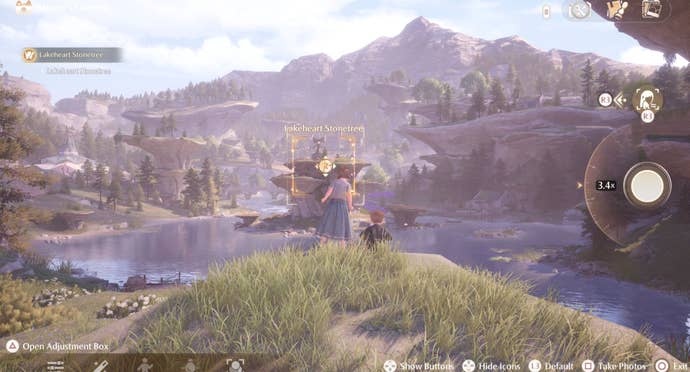
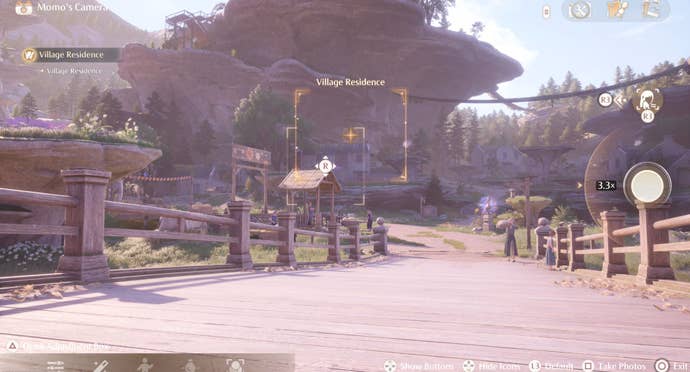
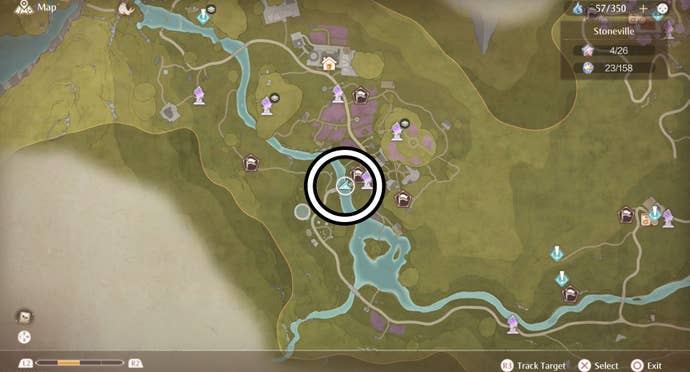
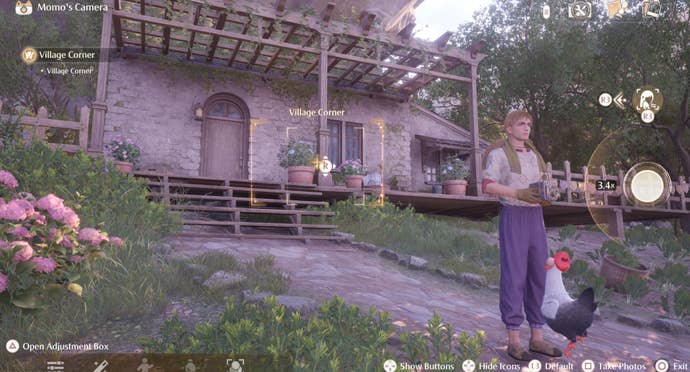
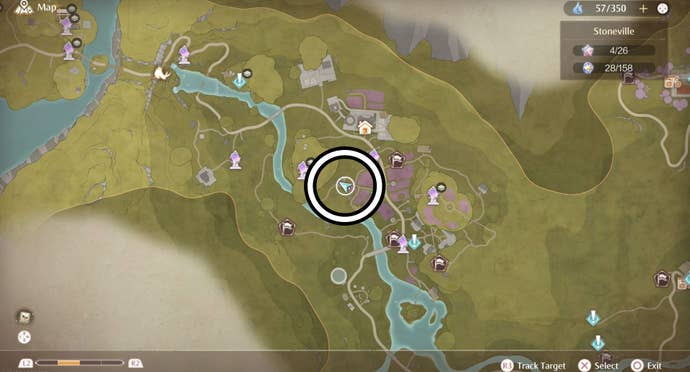
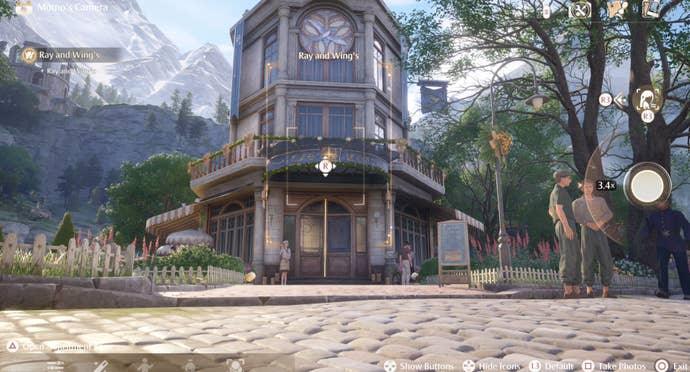
29 - Village Residence, Stoneville
We took this picture on the second bridge in Stoneville.
What you gotta photograph is the large building which stands almost opposite you on this bridge.
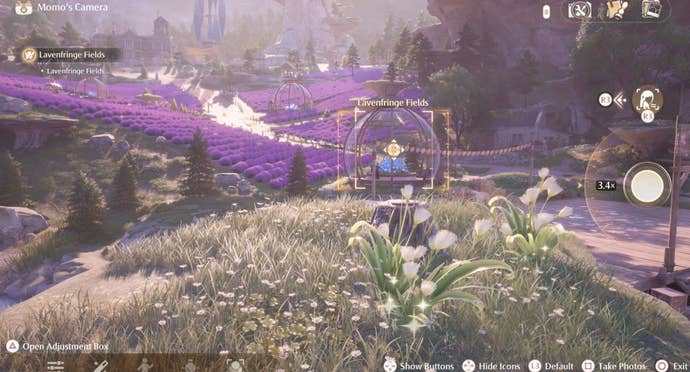
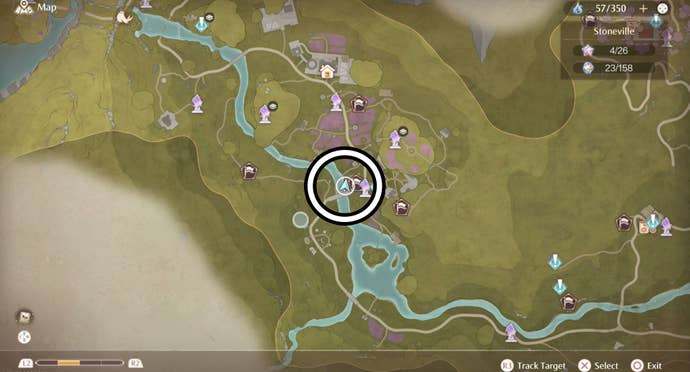
Here you should be able to take a picture of the purple Lavenfringe Fields.
We recommend aiming for one of the round glass houses.
If you’ve reached the Dye Workshop, then you’ve gone too far.
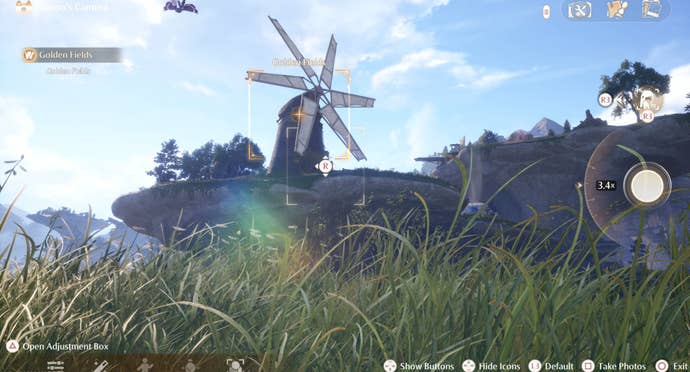
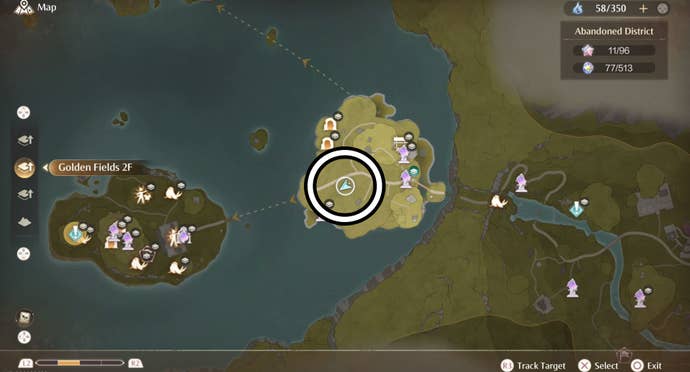
For this entry you should probably photograph the windmill on the first stonetree you visit in the Abandoned District.
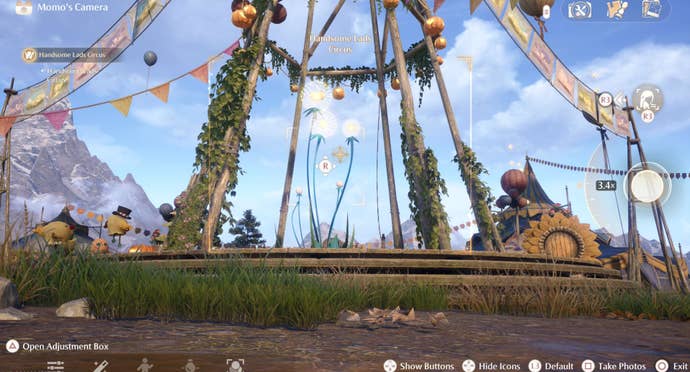
Next simply take a picture of the middle of the circus.
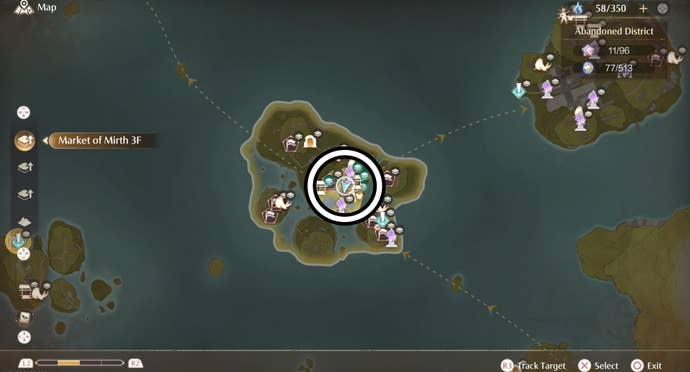
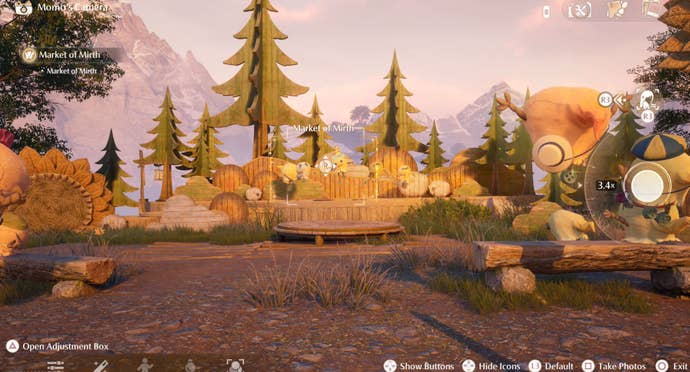
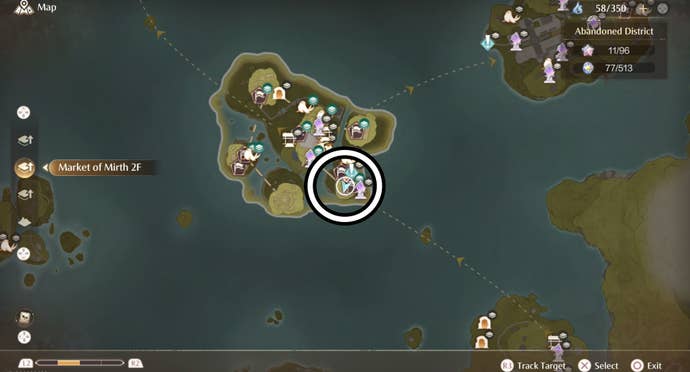
Once you’ve at this point, photograph the stage at the Market of Mirth.
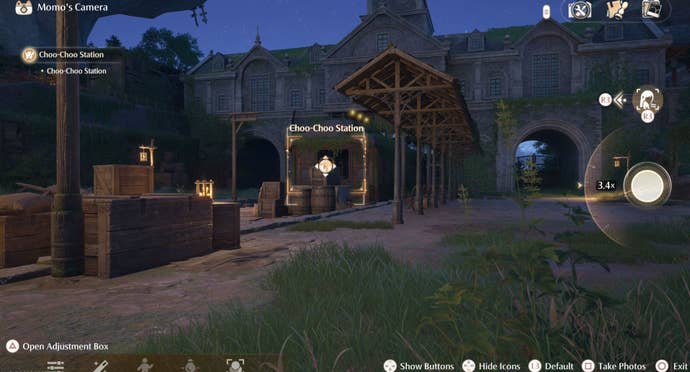
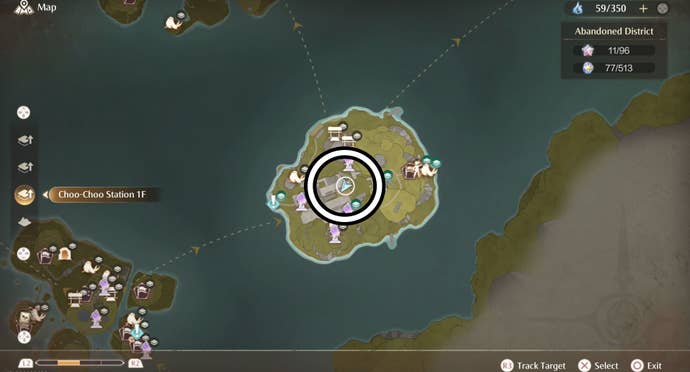
Doing so will allow you to visit the Choo-Choo Station.
Once there, head into the station itself and photograph the train awaiting its passengers.
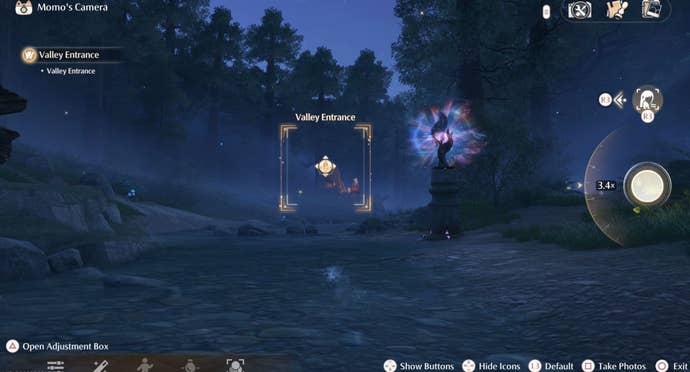
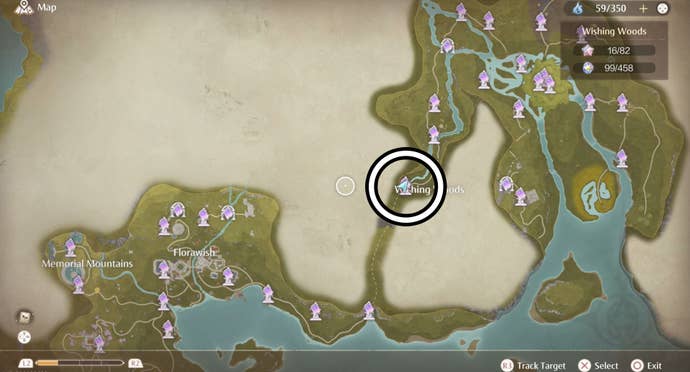
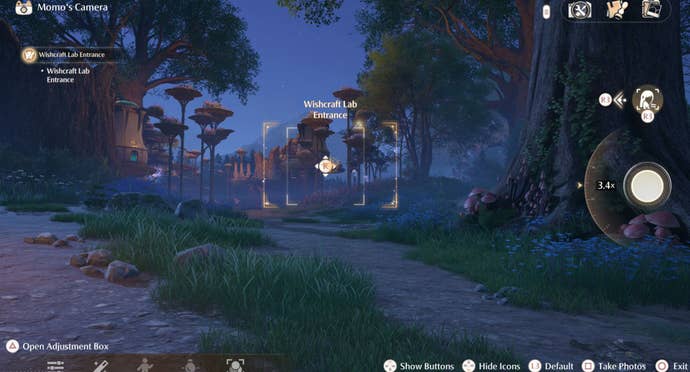
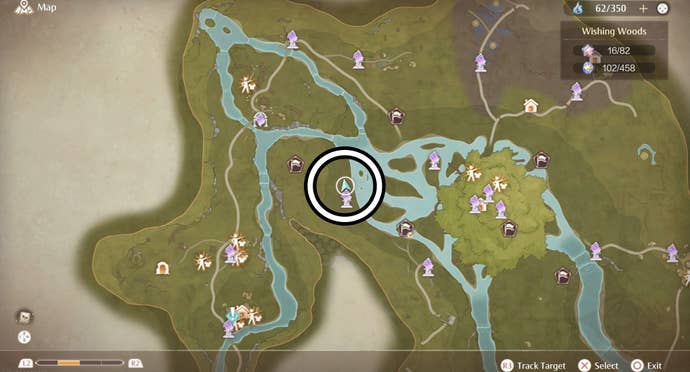
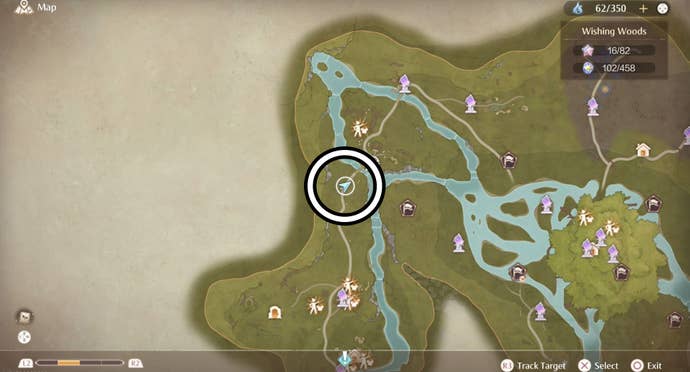
It’s literally by the first Warp Spire in the Wishing Woods.
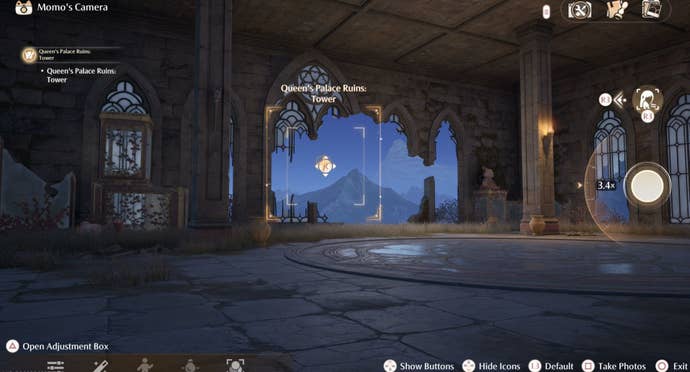
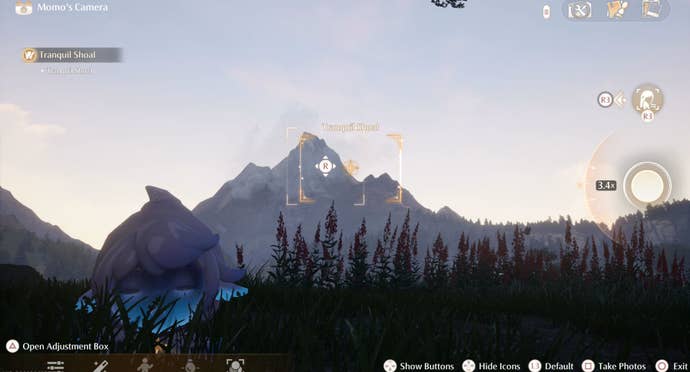
Now take a photograph of the mountain to the north.
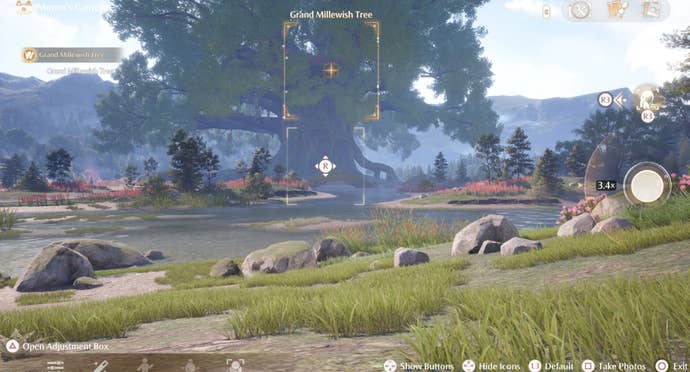
Now take a picture of the Grand Millewish Tree.
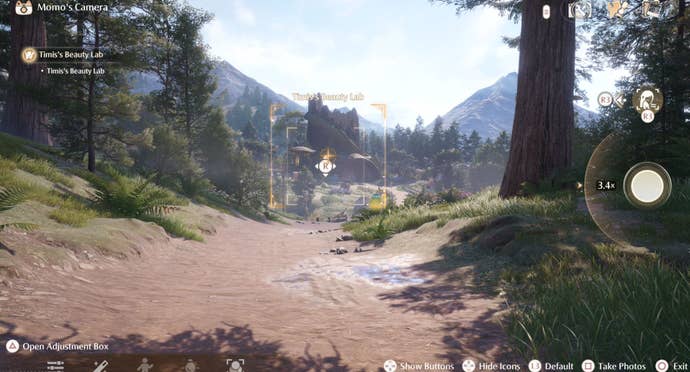
Timis’s Beauty Lab can be found on the island in the north-eastern side of the Wishing Woods.
We recommend standing not far from the bridge leading to this island to photograph the building.
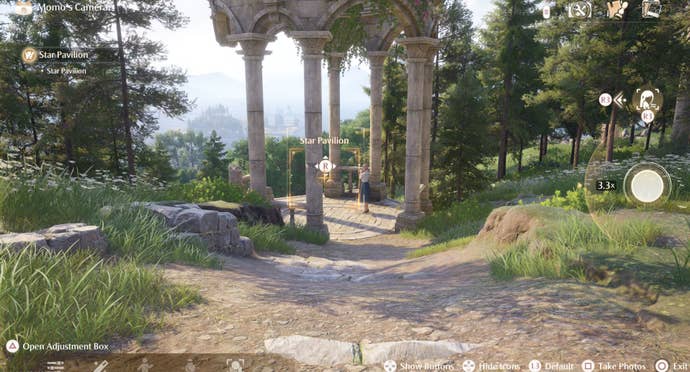
This challenges you to find one final Mysterious Spot showcased in the Expedition Handbook.
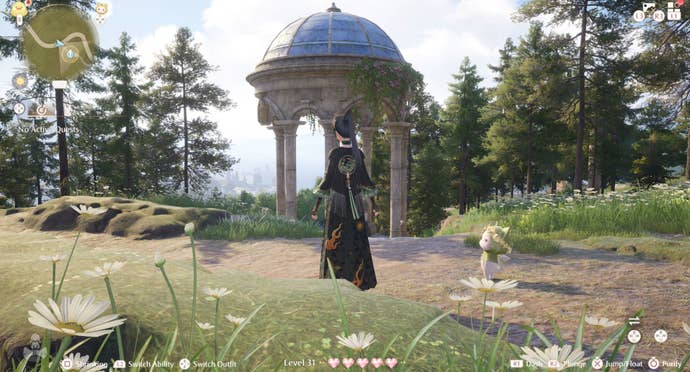
You will eventually come to the Star Pavilion, which is the mysterious location Nikki’s been looking for.
There seems to be someone waiting in the pavilion though, so head inside and talk to Visuno.
ensure to upload it to the Expedition Handbook!

This will begin the quest and the Expedition Handbook for Wishfield itself to a close.
As a final reward, you’ll receive 20 Diamonds and the sketch for the Expedition Souvenir jumper.
Best of luck completing the Expedition Handbook!